I have a glass jar I am using in key shot for an animation. I would like the jar to spin in place, and every 360 degrees, I would like the label on the jar to switch. I have been trying to use keyframe animations and apply the label at different key frames, but that is not working. I am also in the process of trying to use a color composite utility node. I have attached a sample video of what I am trying to create. Any help would be appreciated, I have only been using keyshot for a couple of weeks now, thanks!
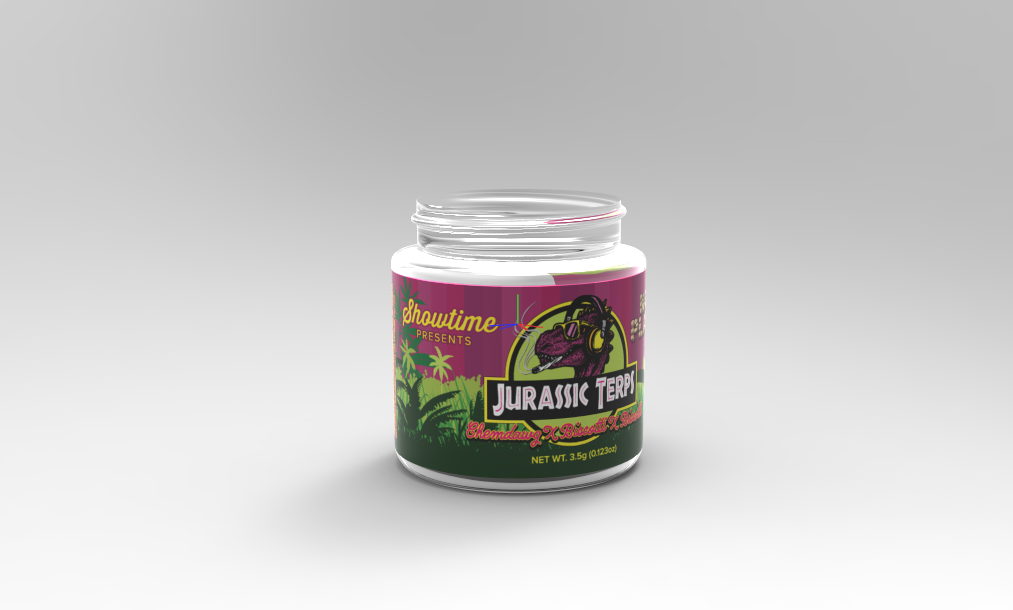
Here is the jar I am trying to accomplish this with.
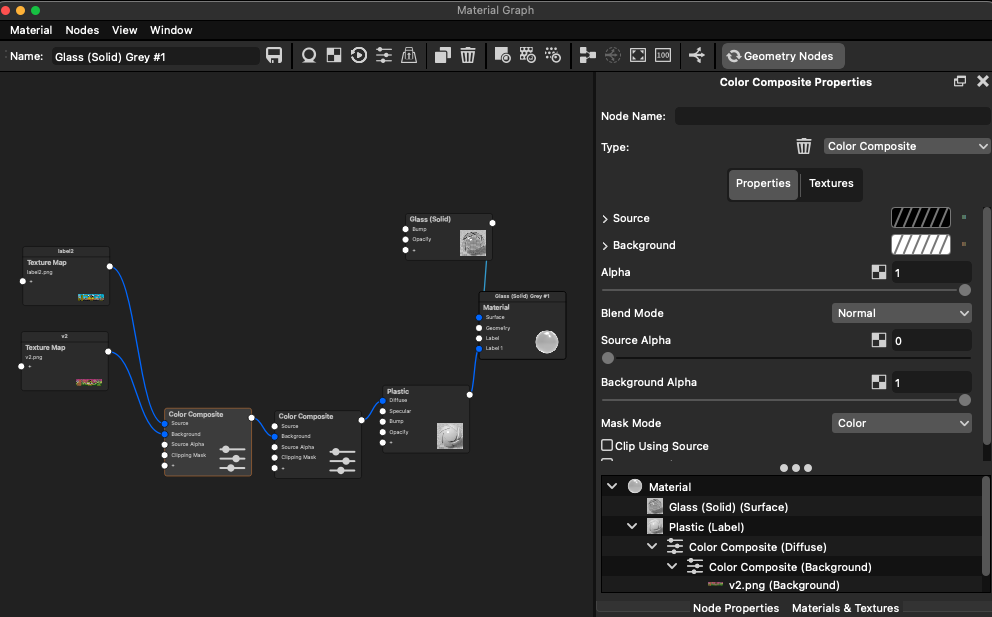
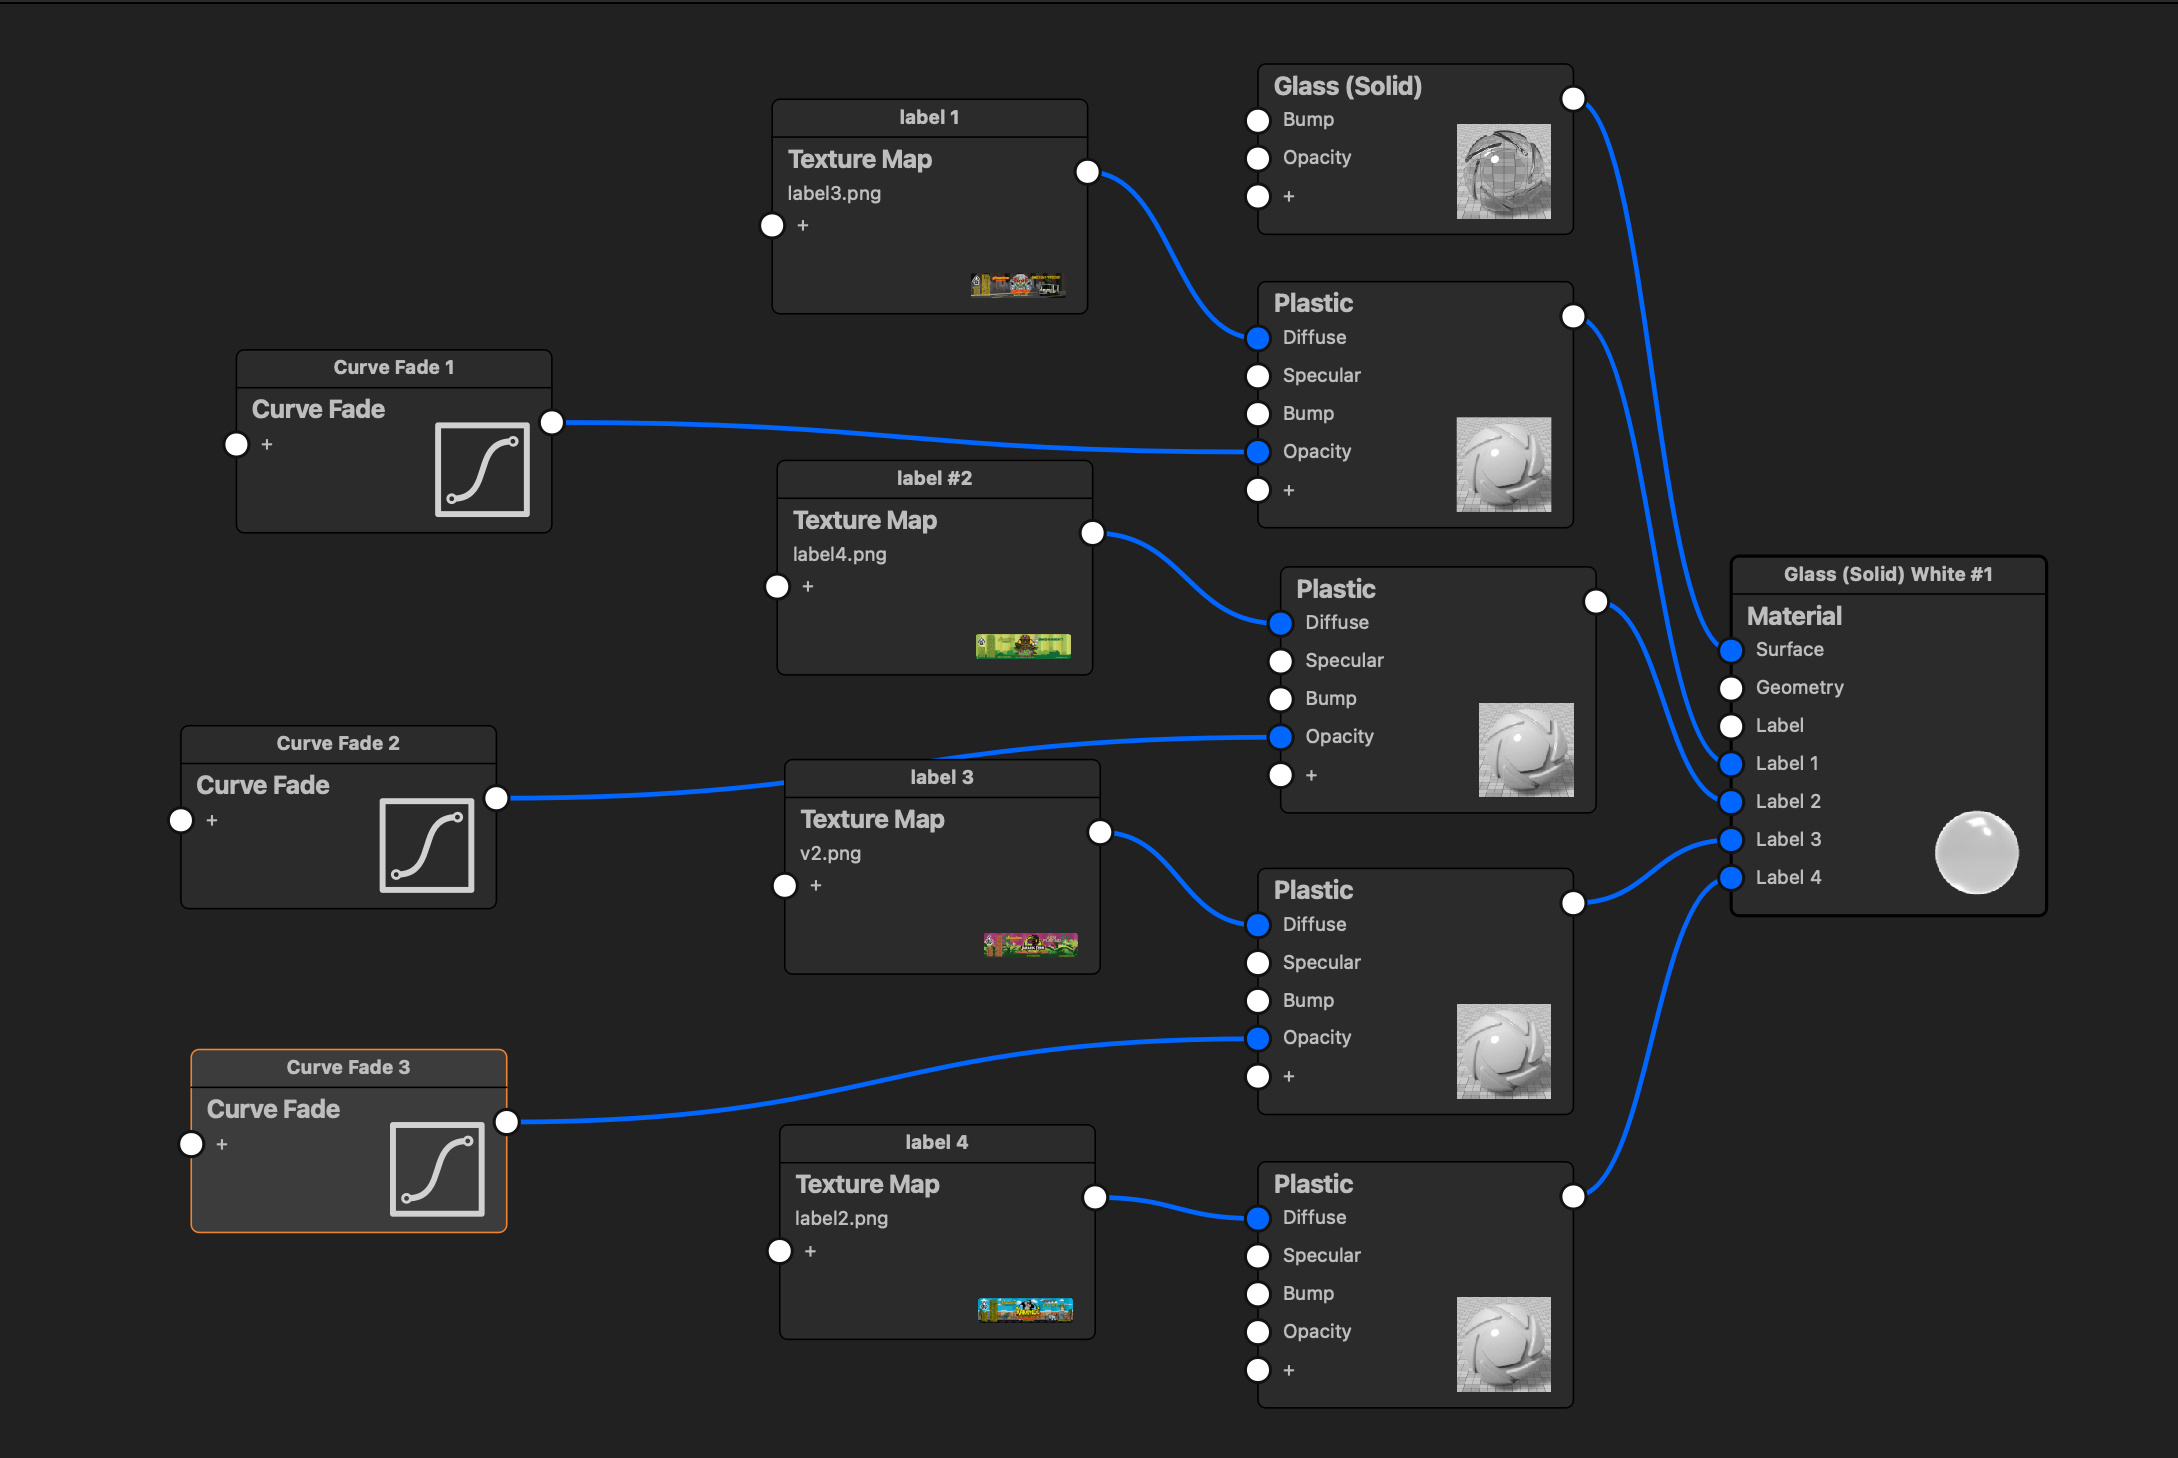
and here is my material graph currently
This isn’t super easy to do, but possible. You need to take a slightly different approach.
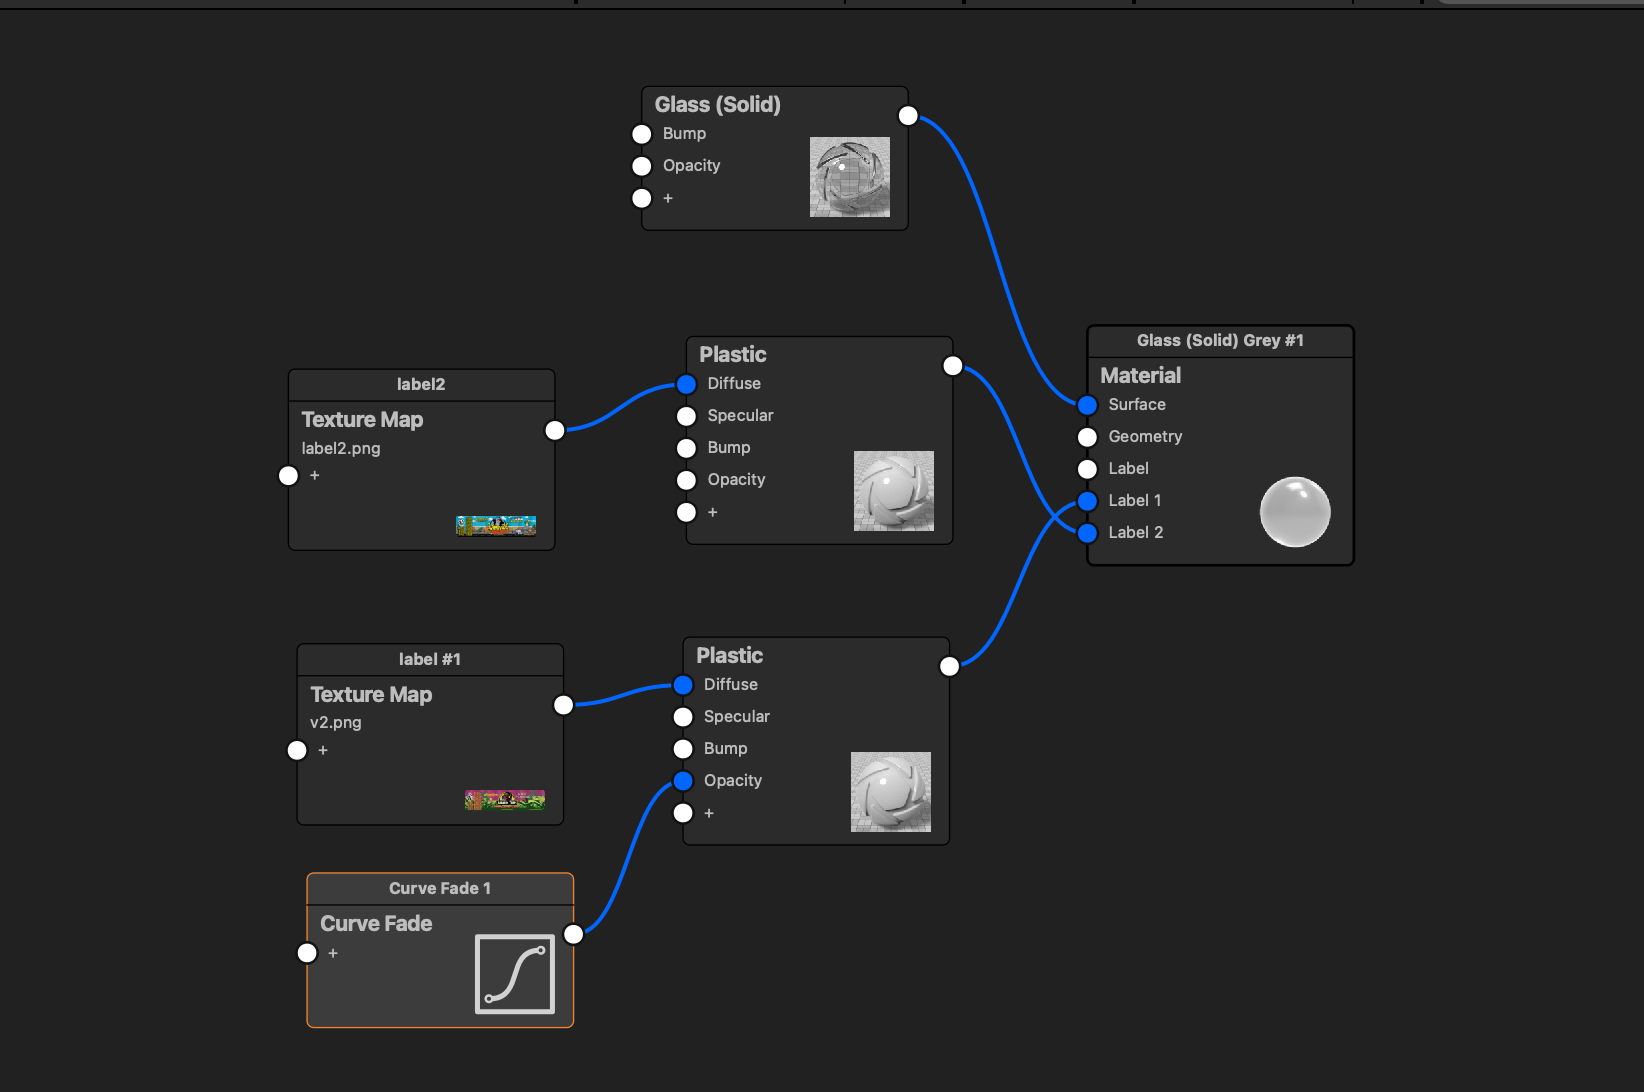
- Add label 1 as you usually would.
- Add a new plastic label and use your 2nd label as the diffuse color of that plastic material node.
- Use curve fade animation node to control the opacity of the 2nd label. It should begin at 0 and fade to 1 during the spin.
Should work fairly well. You basically cover up label 1 with label 2 by animating the opacity property.
1 Like
Thank you! I will give this a shot and see if I can make it work.
1 Like
do you happen to have a screen shot of how this is set up? I am a bit lost on what node the first label plugs into.
I was able to get it to work, rough draft like this.
There’s also the lazy approach  Just render that part of the scene multiple times with different labels and use a video editor to switch between labels. Makes it also easier if you like to so a bit of a fancy transform or add a little effect on change.
Hi,
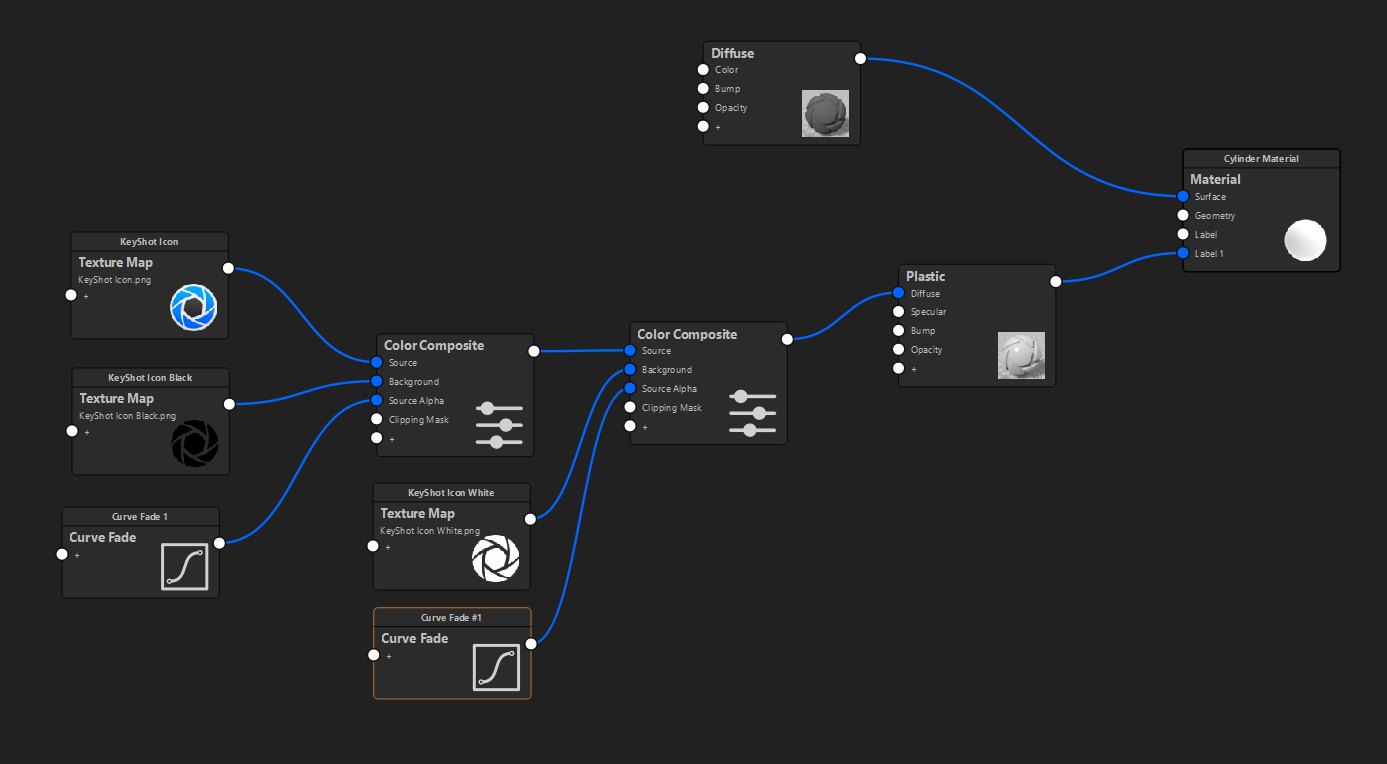
I guess you can keep just one label with only one plastic material trough the curve fade linked to the source alpha connector of your color composite. Then, just add cascade color composite with your different color channel.
Hey Oscar, I am still considering this approach and was wondering why I didnt think of that earlier haha thanks!
I am going to give this one a shot also and see how it works for me, thanks for the advice!
here is the finished product. Thanks for the help everyone! This is my first keyshot animation, excited to make more.
1 Like
Nice! See you went for the Curve Fade 
That looks cool! Have you played with the motion blur element? could be fun on the spinning of this render.
I have not, I was looking for a way to mimic that effect also. I’ll give it a try, thanks!
1 Like
It’s always nice to add a bit of motion blur either with Keyshot or with some video editor. Cinema/tv footage only looks fluid at 24/25 fps because it has all motion blur. It’s not so obvious in your clip but if you try to animation motion at 25 fps rendered frames without motion blur wouldn’t look really smooth.
If you want to save time you can also use something like Topaz Video AI which can render frames in between so you go from 25 to 50 for example. I’ve no stocks from Topaz but their software is really worth a try if you want to cheat a bit to save time or already have a set of frames rendered which you want to give some extra crispyness (not sure if that’s a word).
Thanks so much for this info, I was wondering why when I applied motion blur I could not really notice. I am trying to understand more about different FPS. I am using this program to make informational animations about the products that we carry, and we have a lot of products haha many more videos to create.
That’s an awesome job and a funny product which makes it easy to do also fun/creative animations with.
It not really complicated the FPS things but with a normal camera you have a certain shutter speed which will cause a blur if an object moves fast. I’m not sure if all translates 1:1 to keyshot but with a 24 frames per second animation you would have a 1/48s shutter speed.
Just googled a bit and this page explains it nice and simple: https://support.stocksy.com/hc/en-us/articles/360049933392-Video-What-shutter-speed-should-I-use
So in KeyShot you would put that value in the motion blur box of the animation bar. Because your animation goes really quick it could end up really blurry. You can either give some motions a bit more time or just adjust the shutter speed / motion blur to your likings. Especially with things moving it will feel more fluid.
Another good habit if you’re going to do lots of animations is to render animations always in frames/stills instead of a ready-made video. It’s really easy to combine those in DaVinci or Premiere and you are way more flexible if you need to render a part of an animation again because you changed something. You just render out the range of frames you need.
Another thing which is nice of frames is that you can save them for example as EXR or 16-bit TIF which gives you much better possibilities if you like to do some color grading in POST. It also makes you the ‘end boss’ of the compression so you’re in control of the final quality.
Will Gibbons has a great course and also great YouTube clips about these topics and especially nice if you’re at the start of creating loads of nice animations.