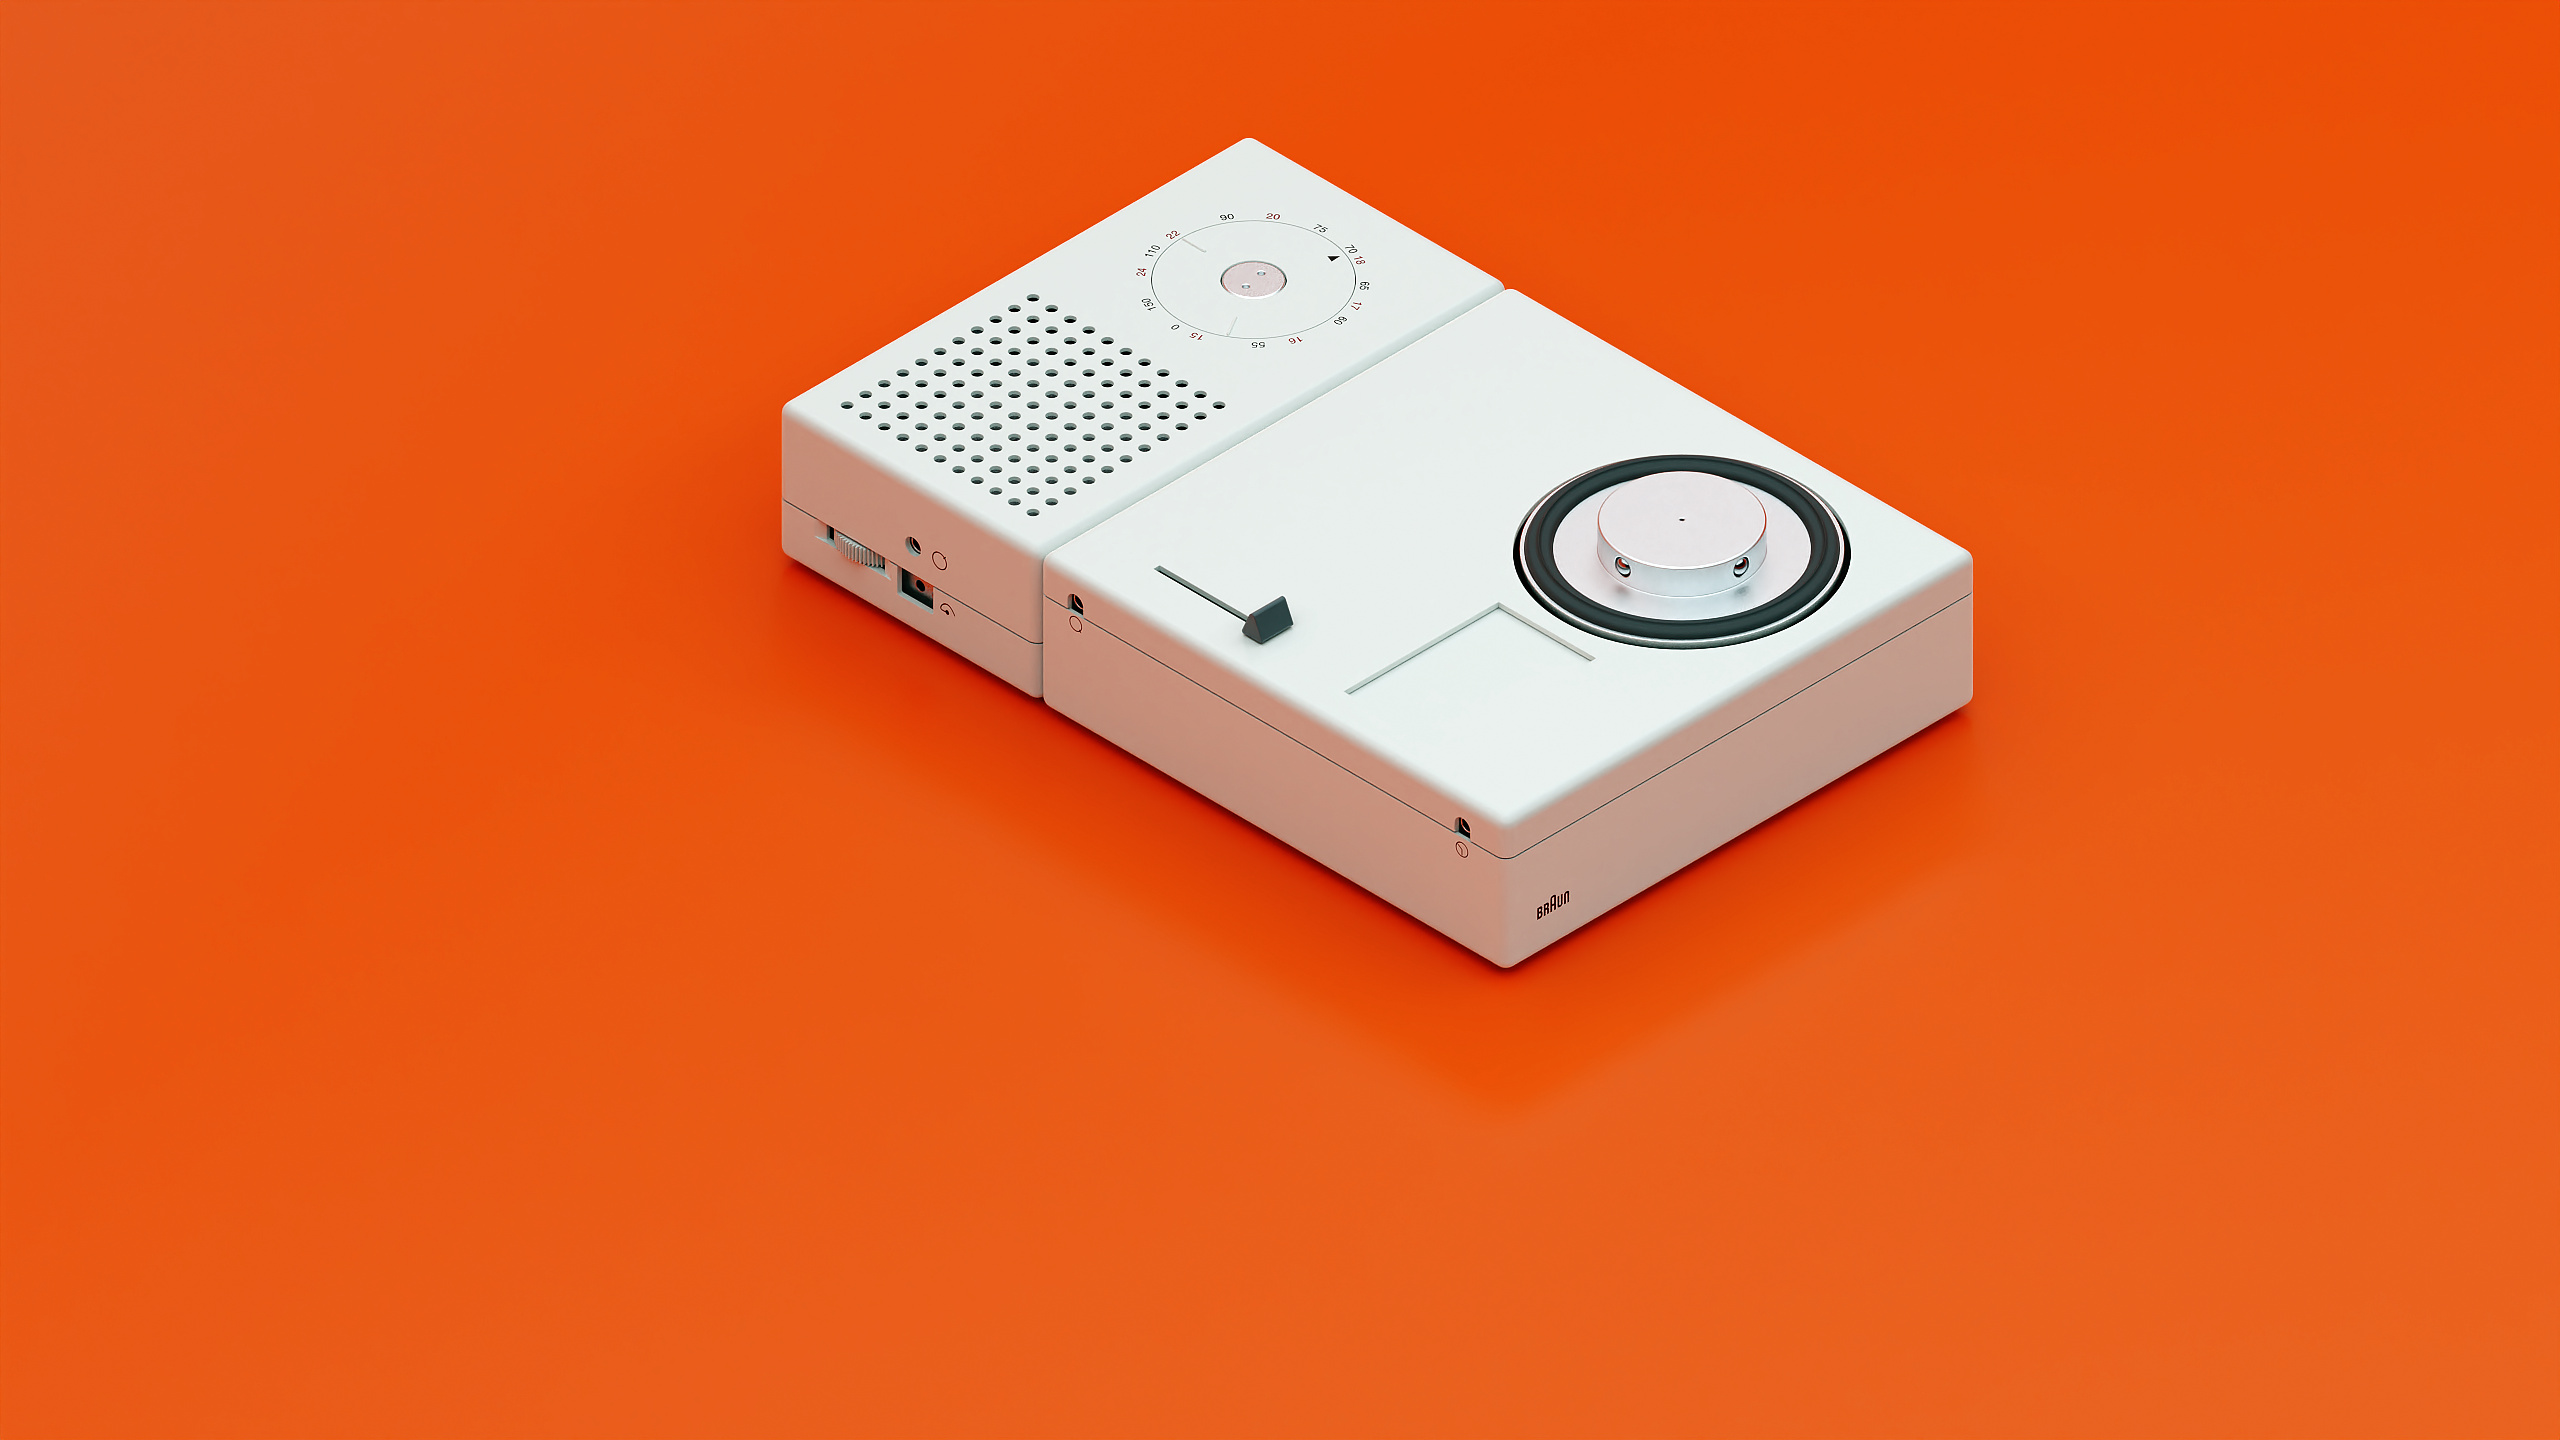
A work in process but maybe some people have some nice tips. I wanted to create something for the ‘Rock Out with KeyShot’ challenge and will try to do some animation and wear/tear later on. Model is quite simple but hard to find right pictures and not remake something which was already a render with some errors
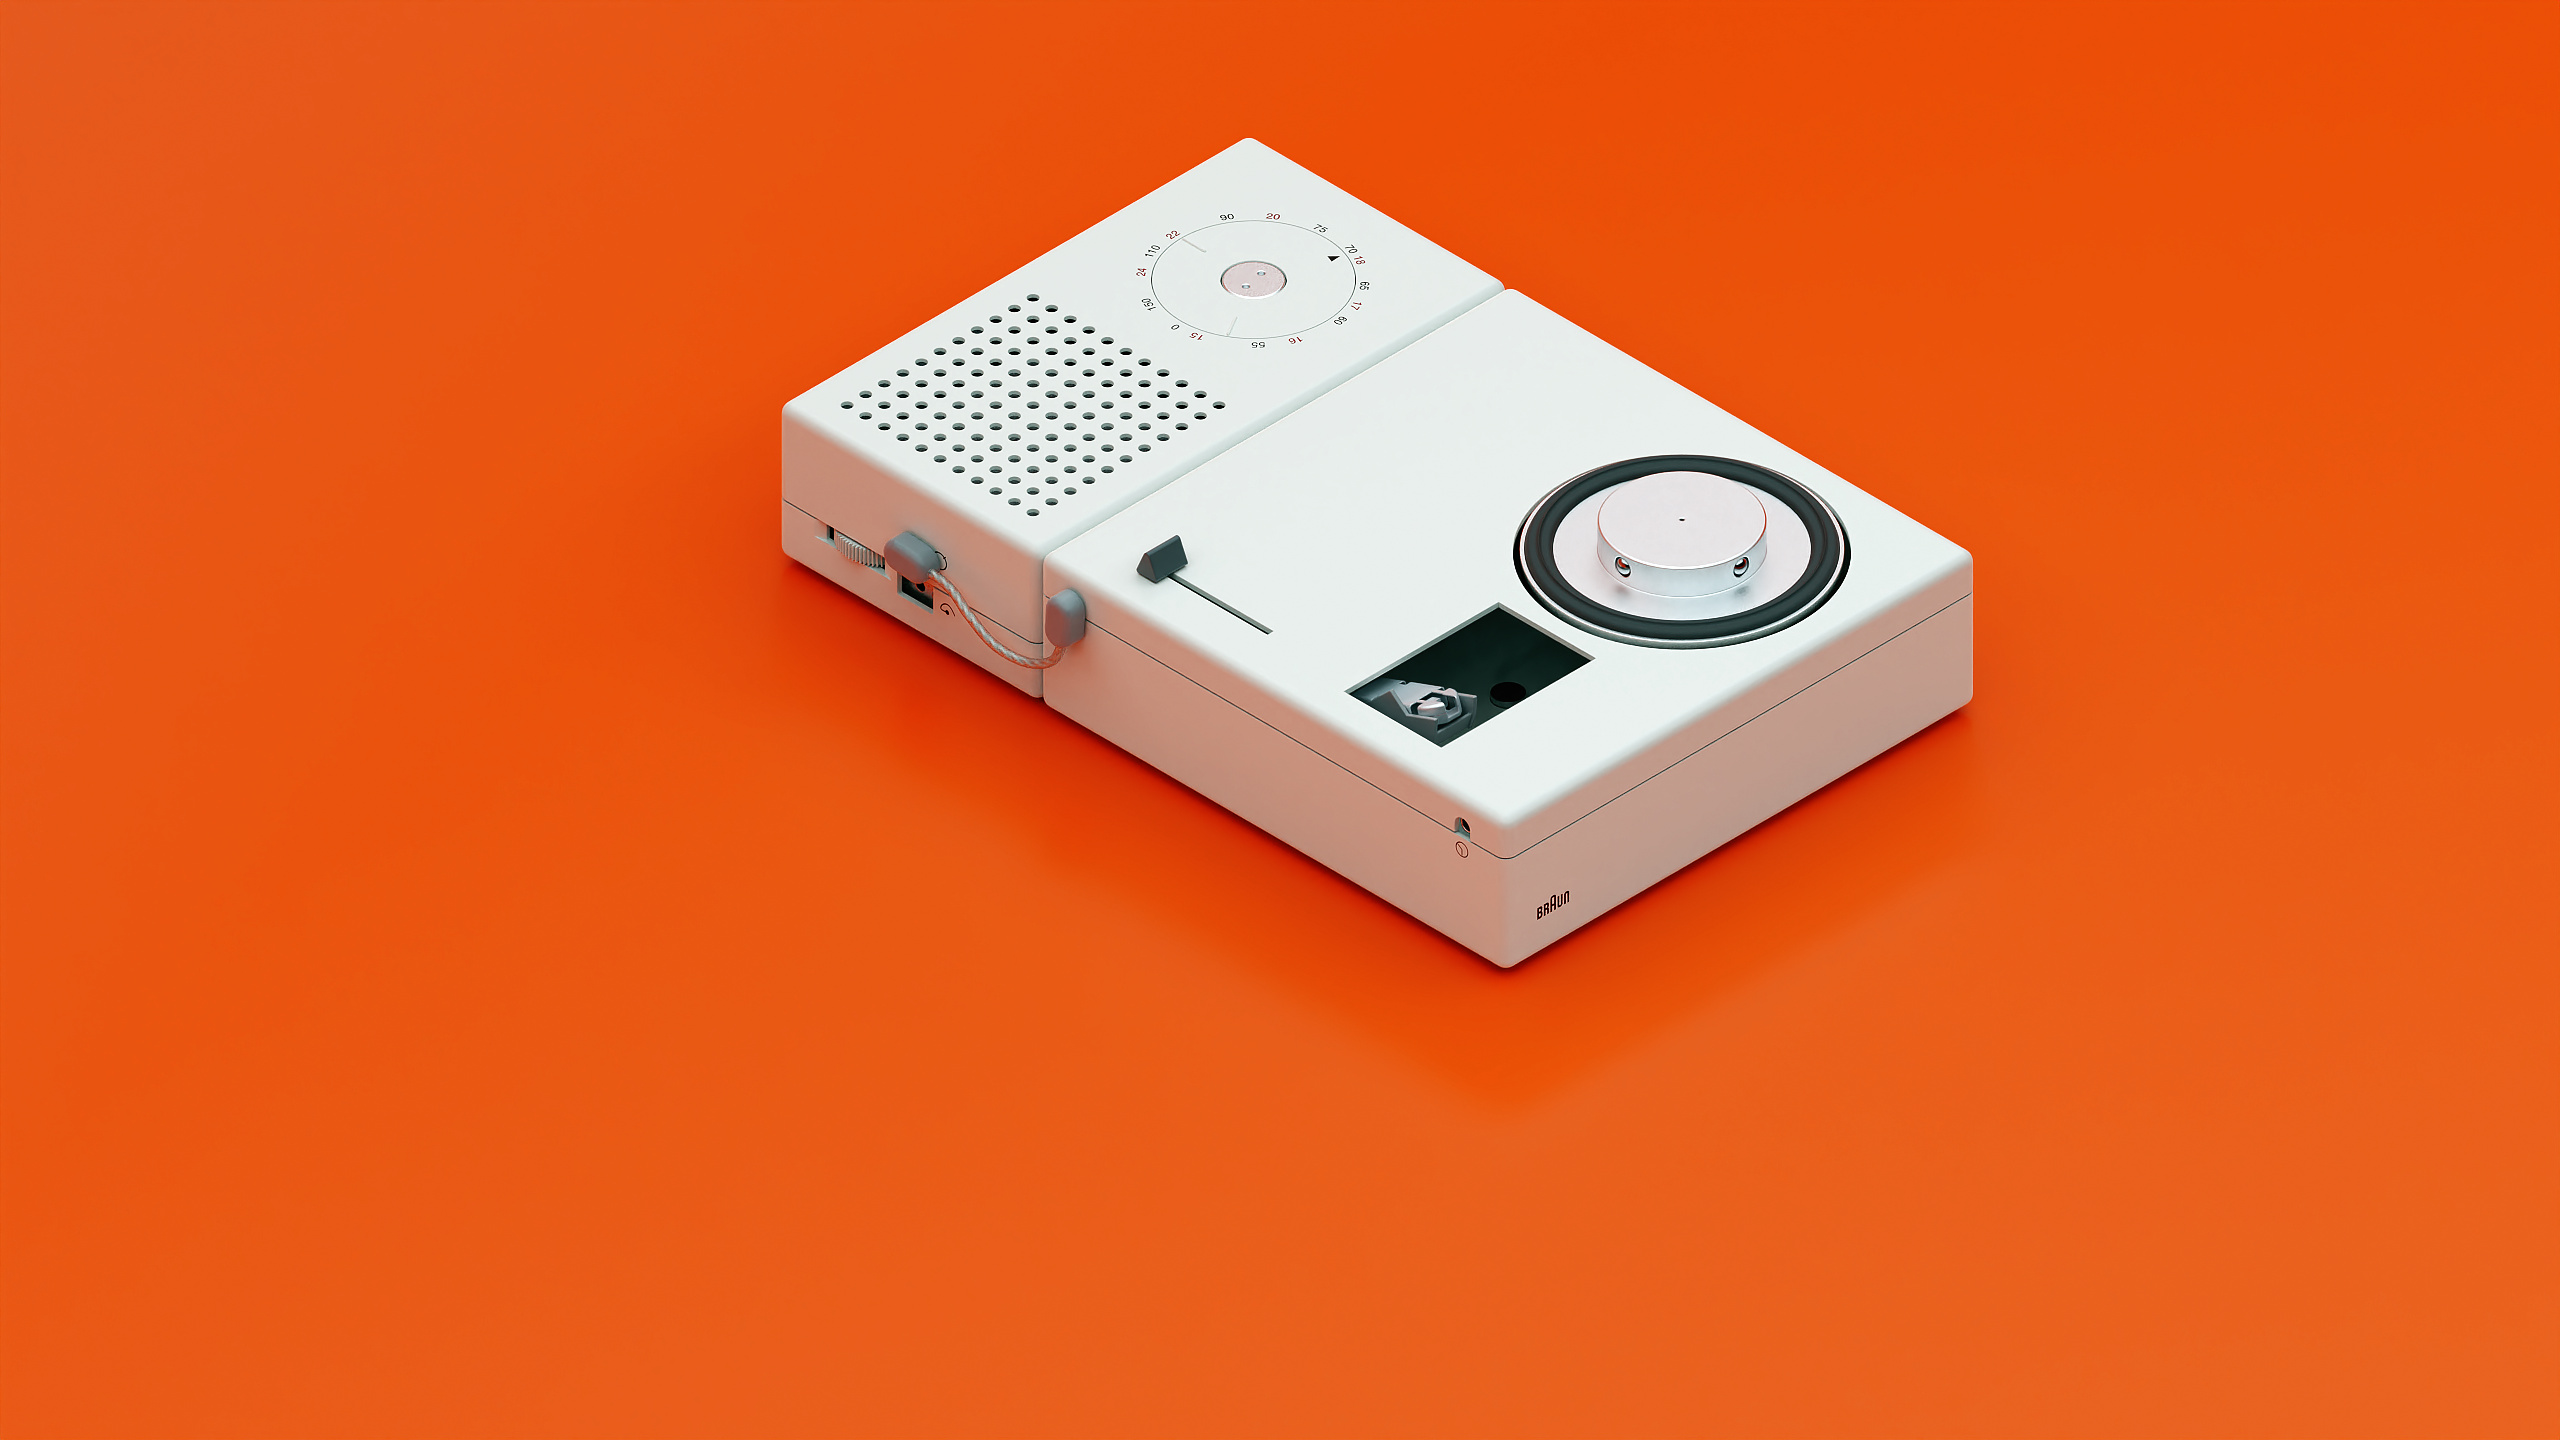
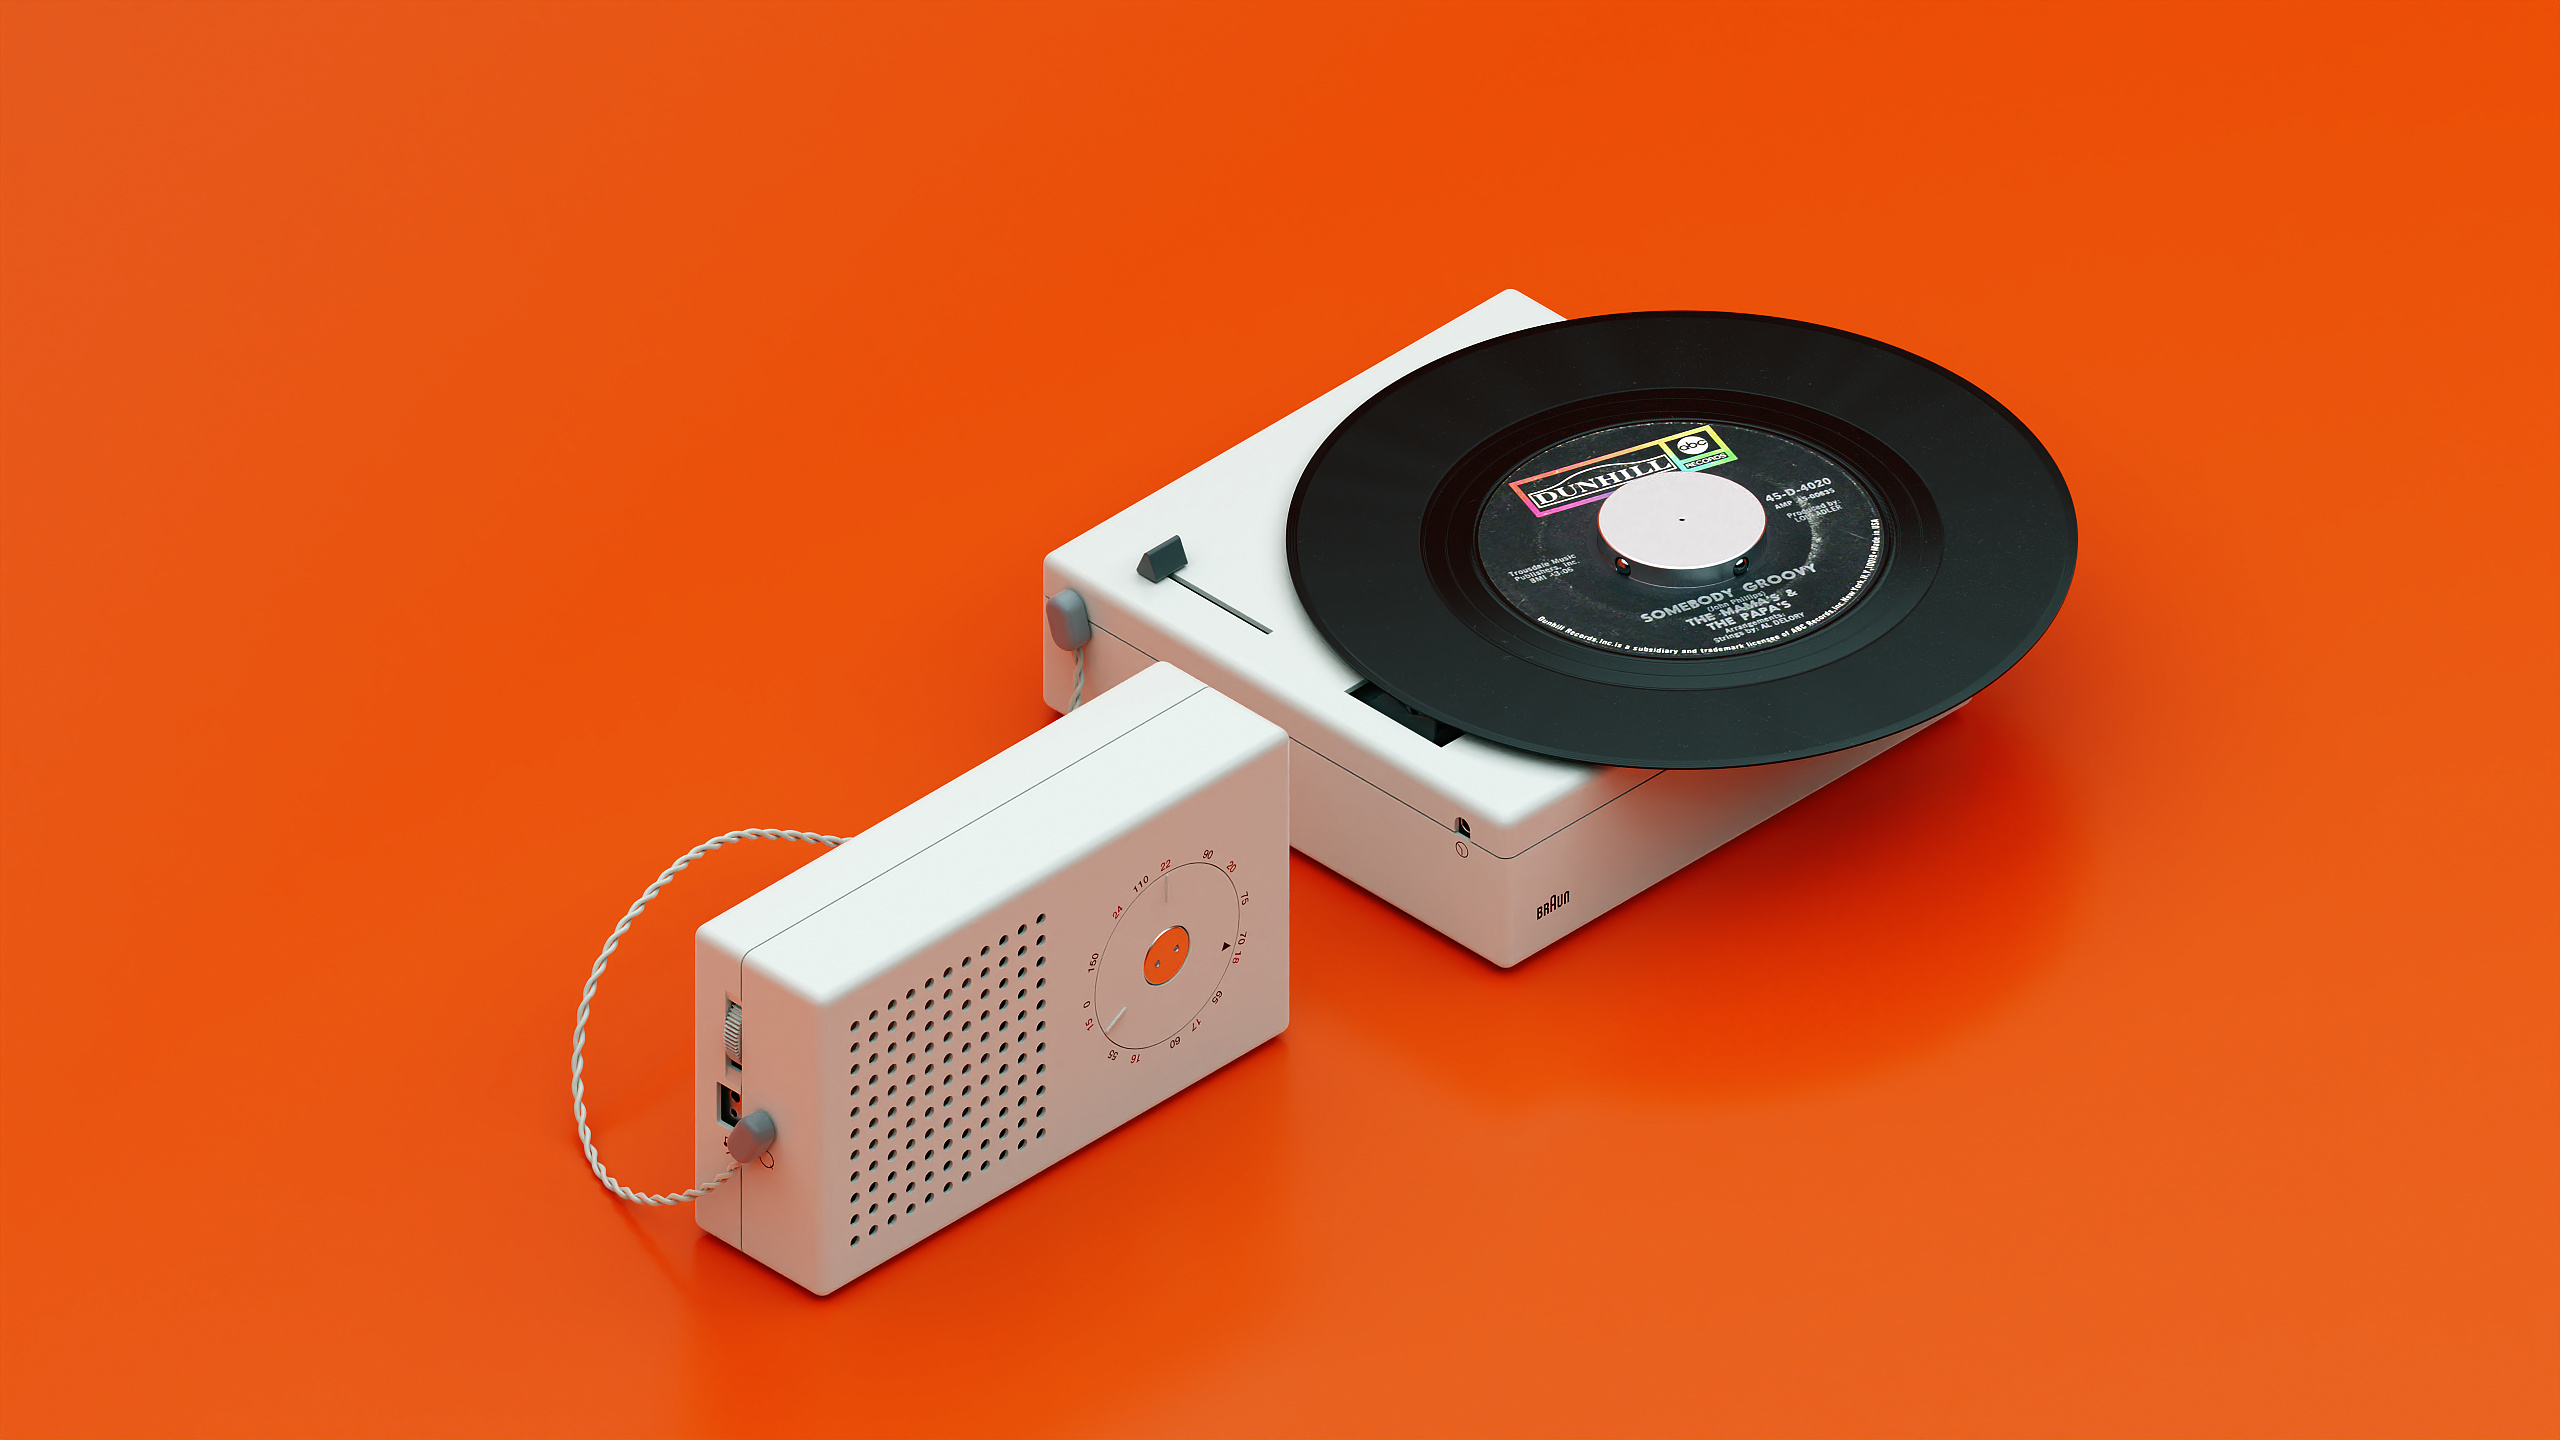
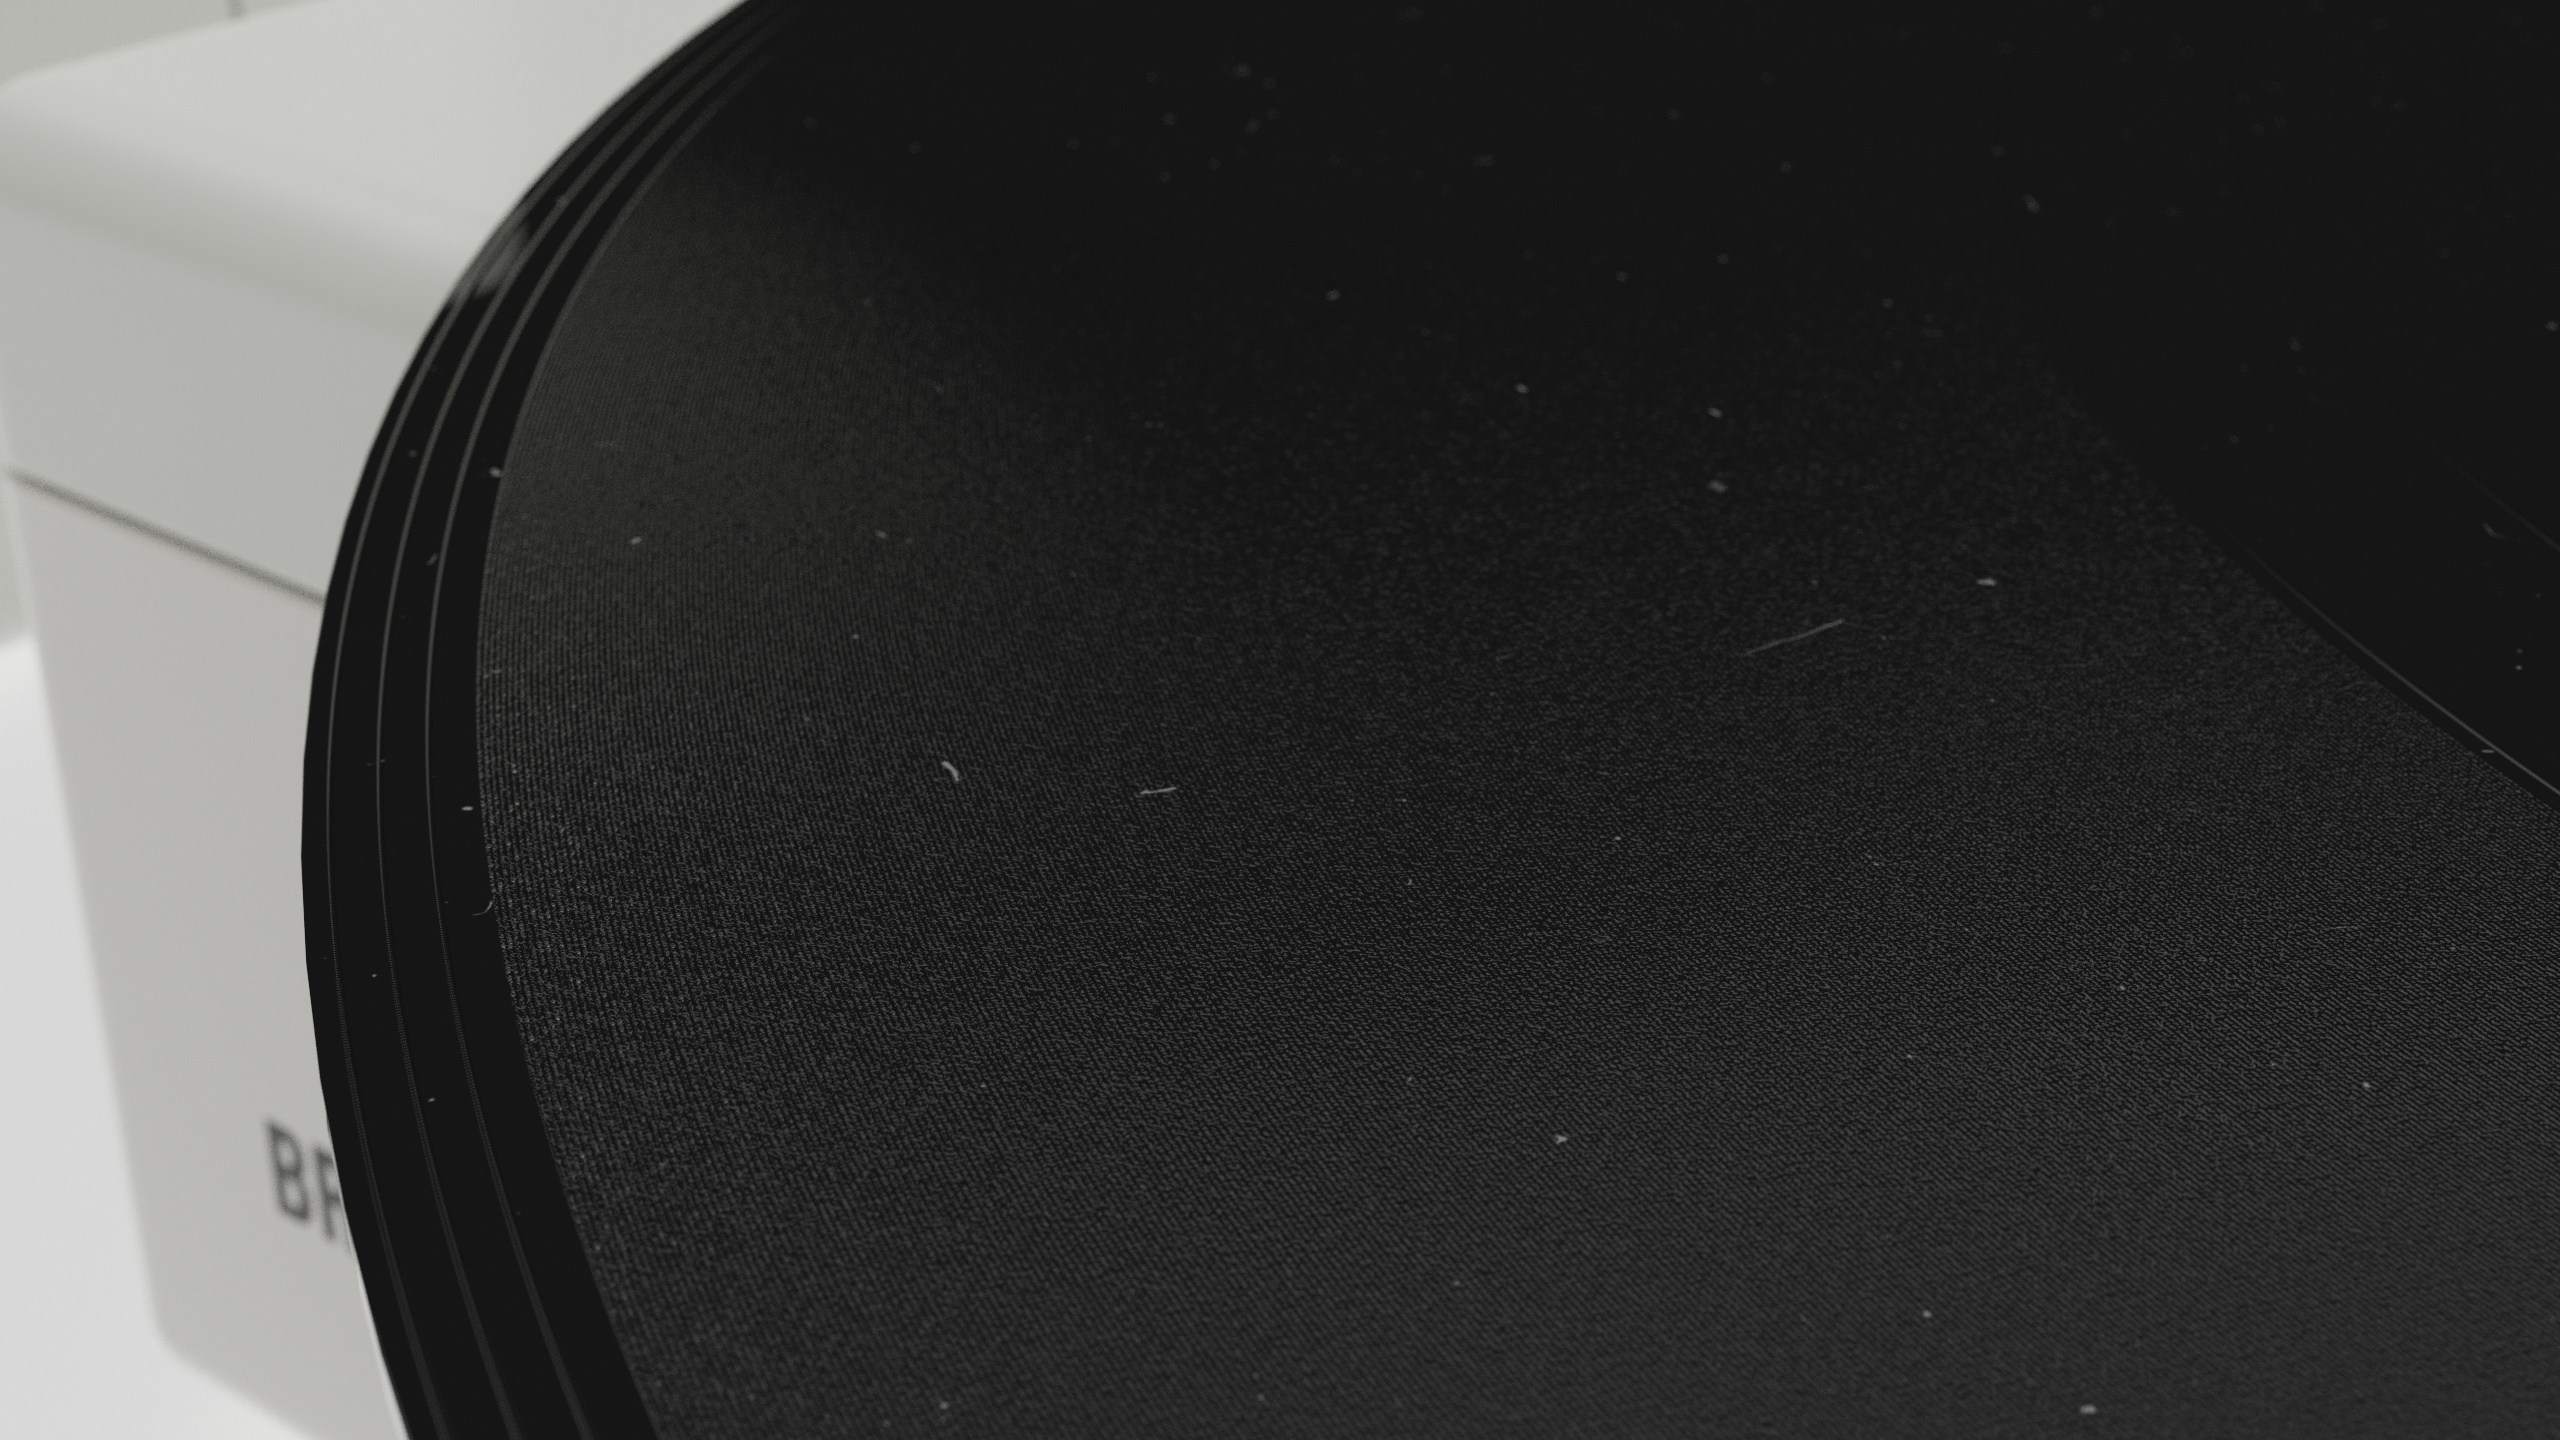
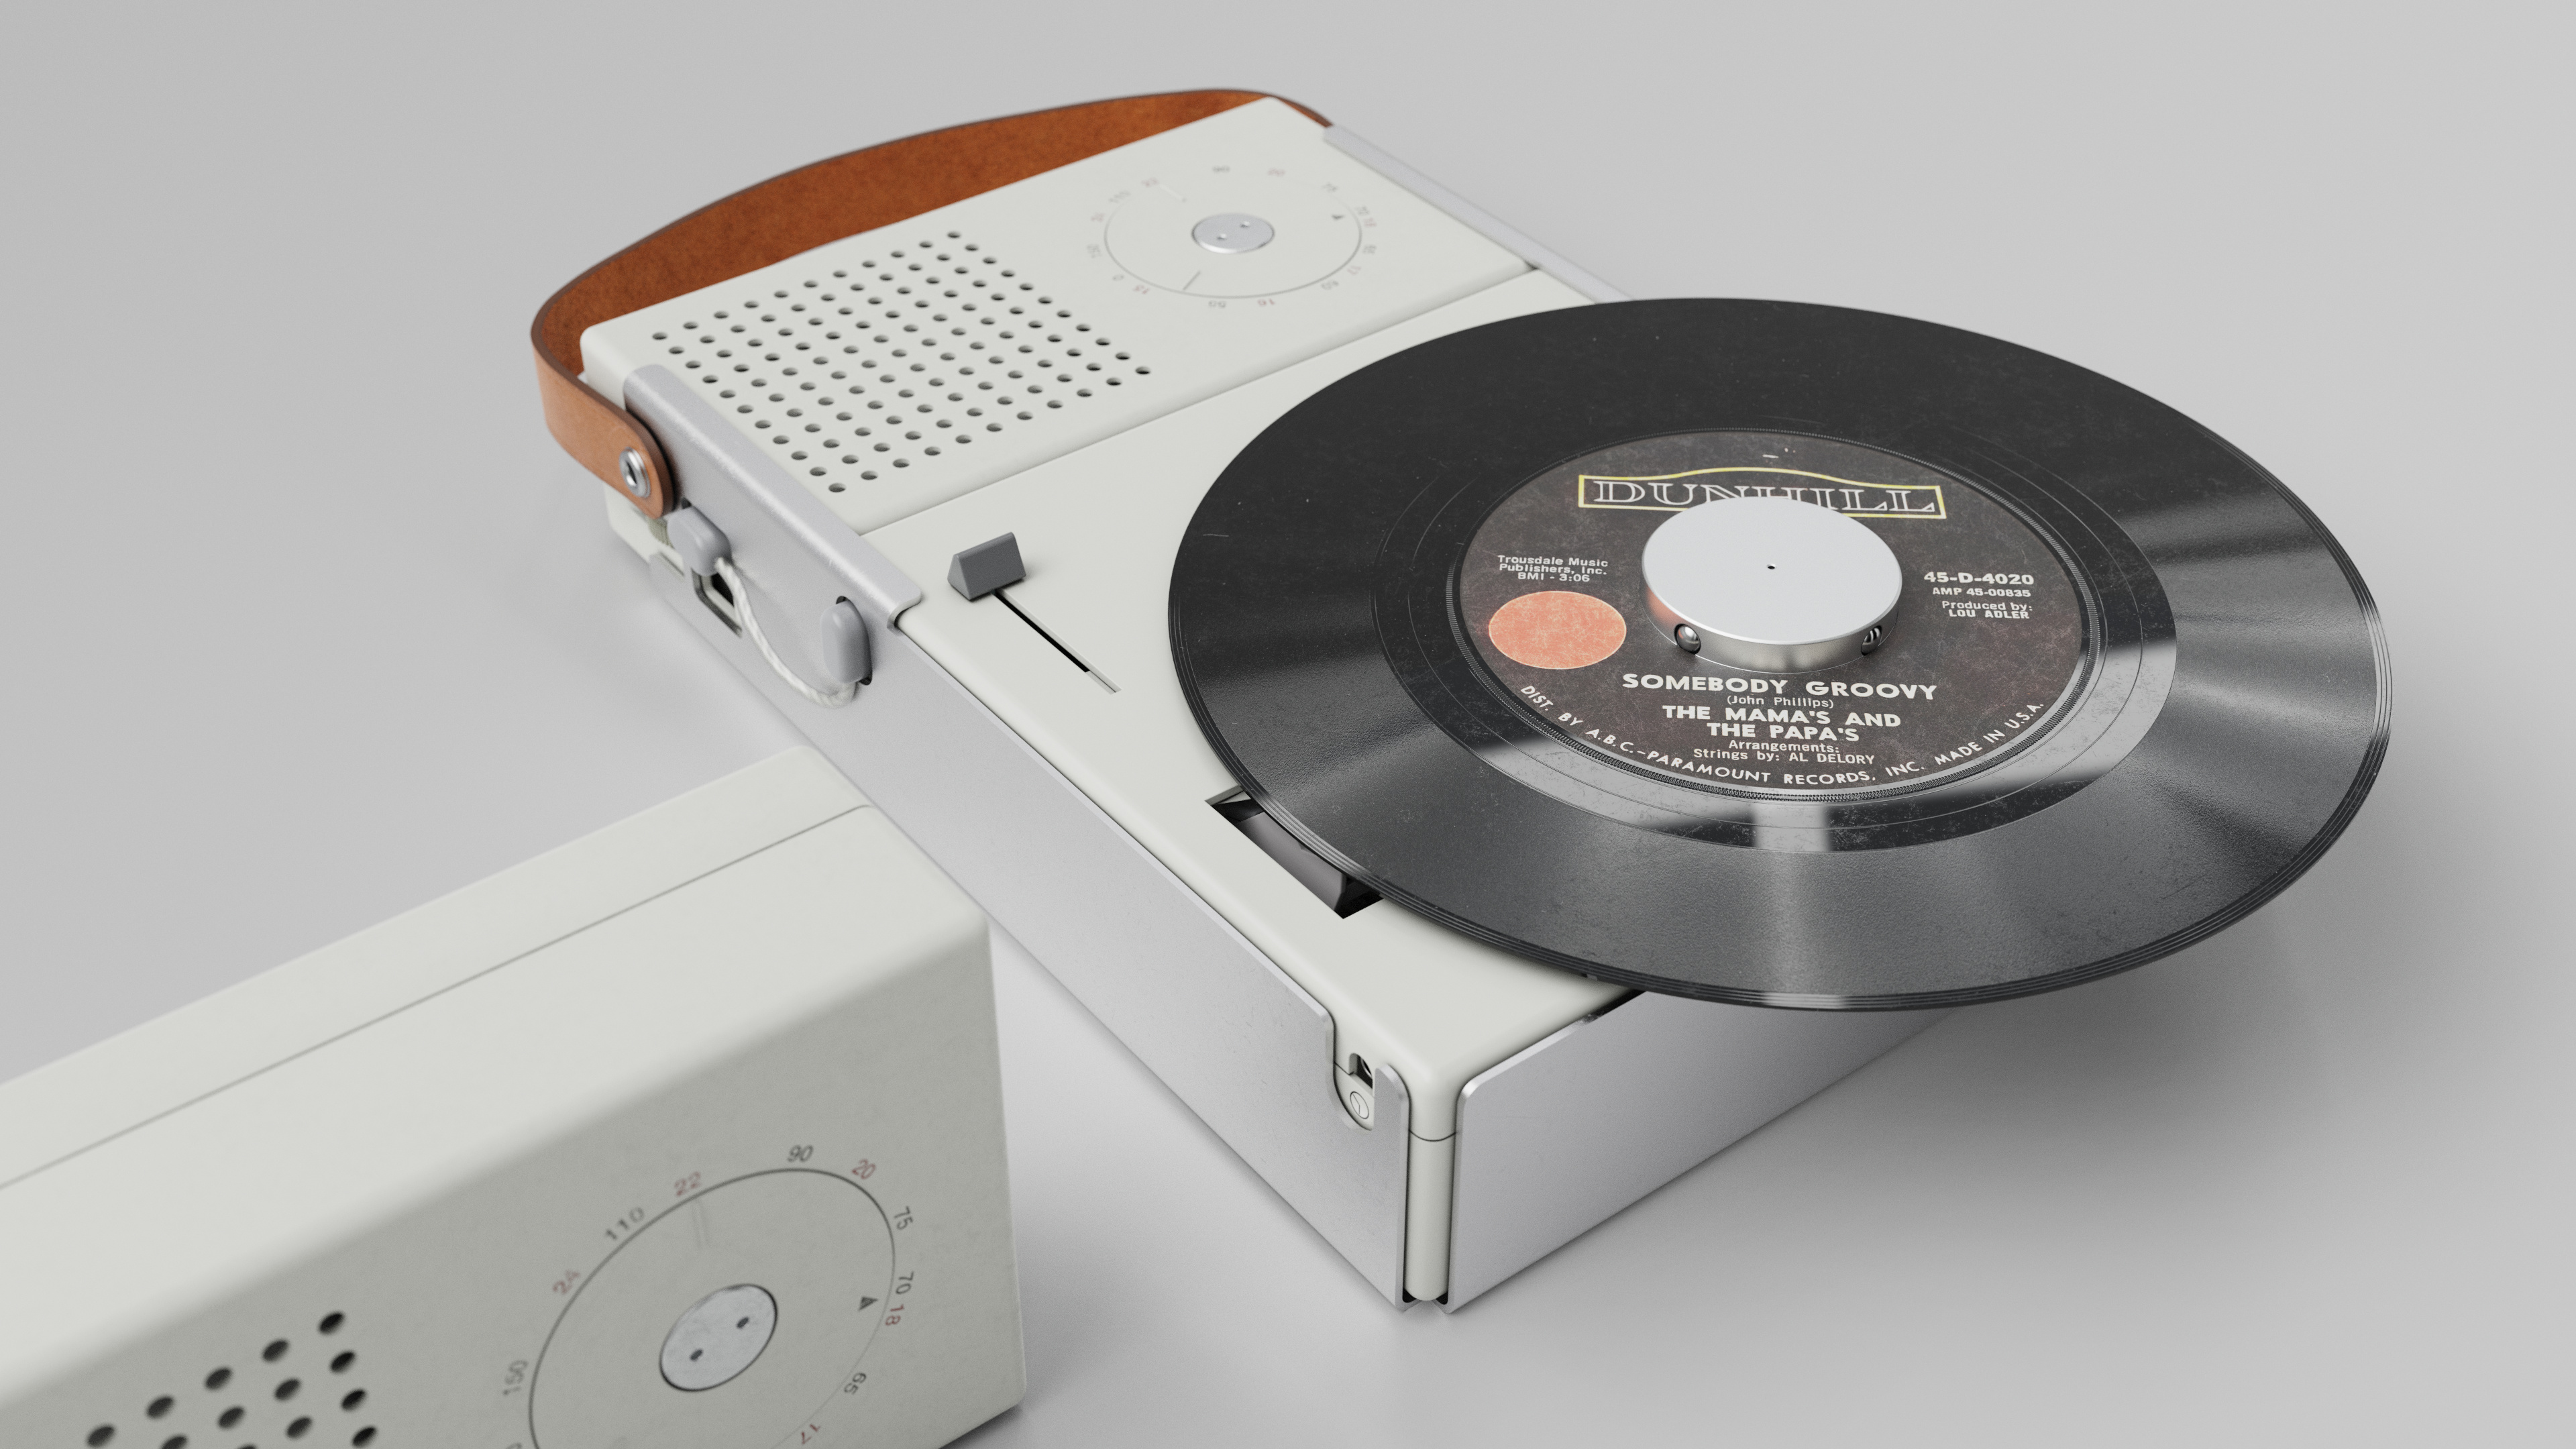
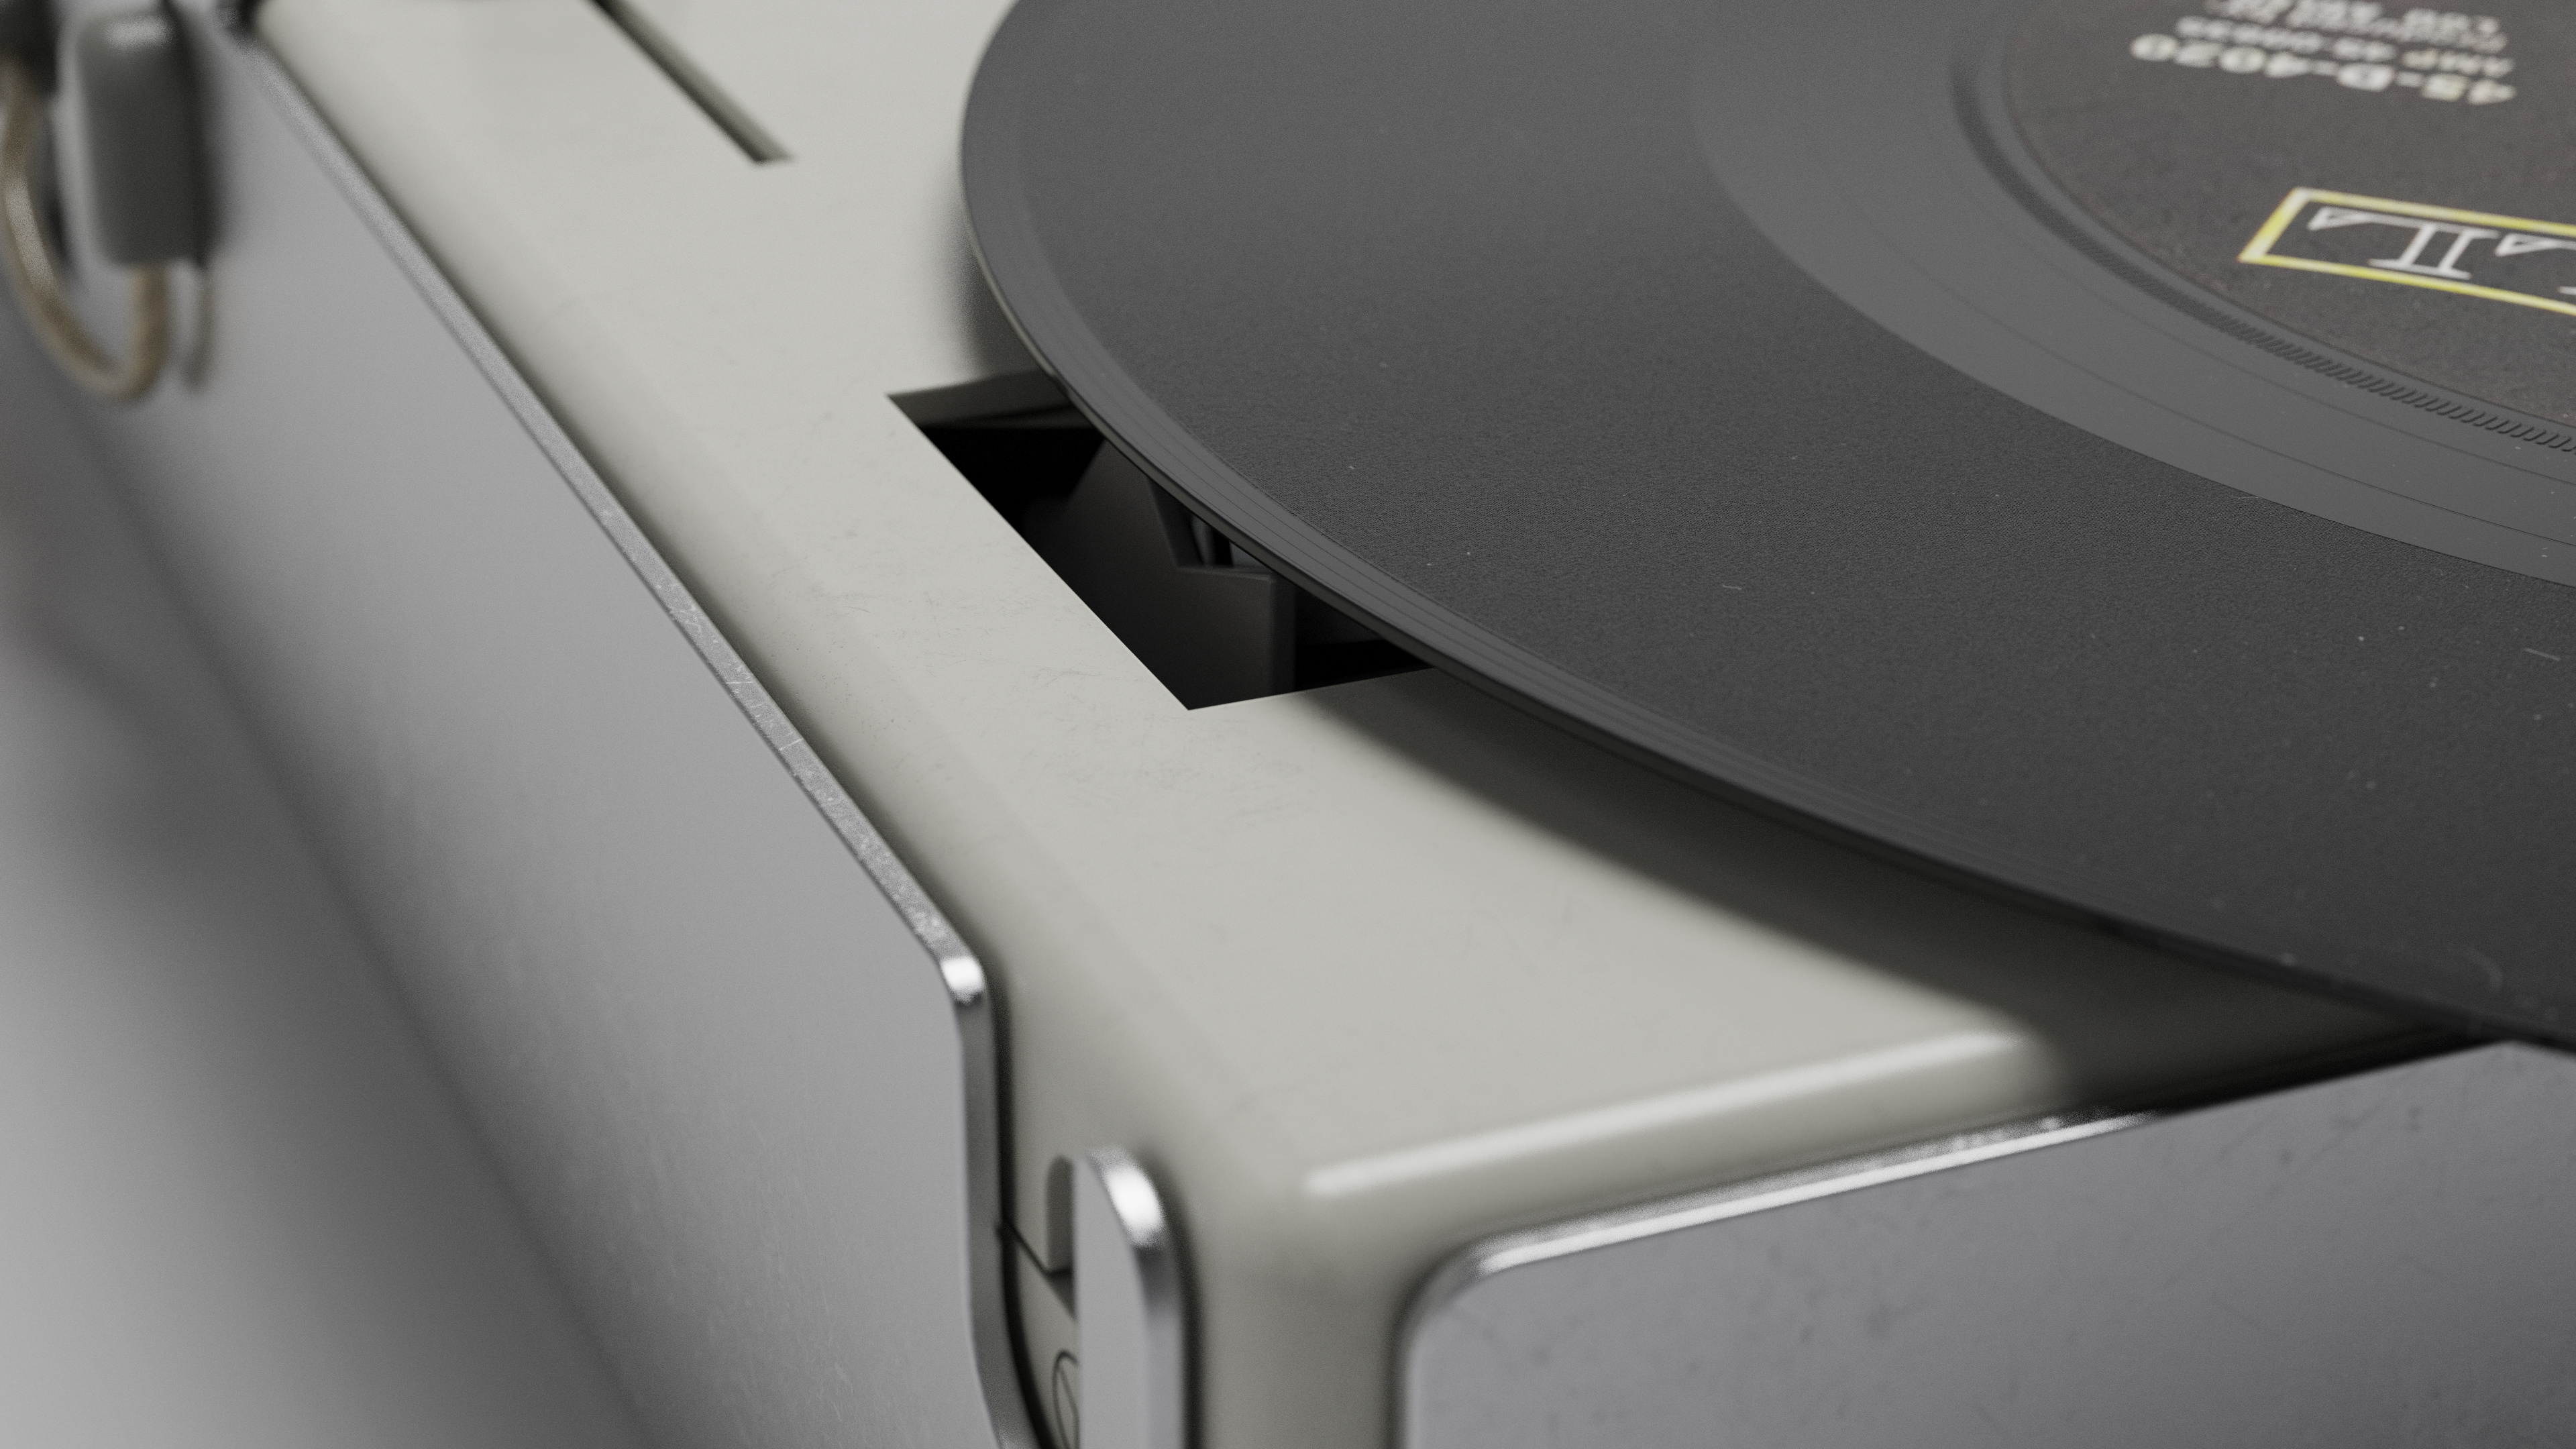
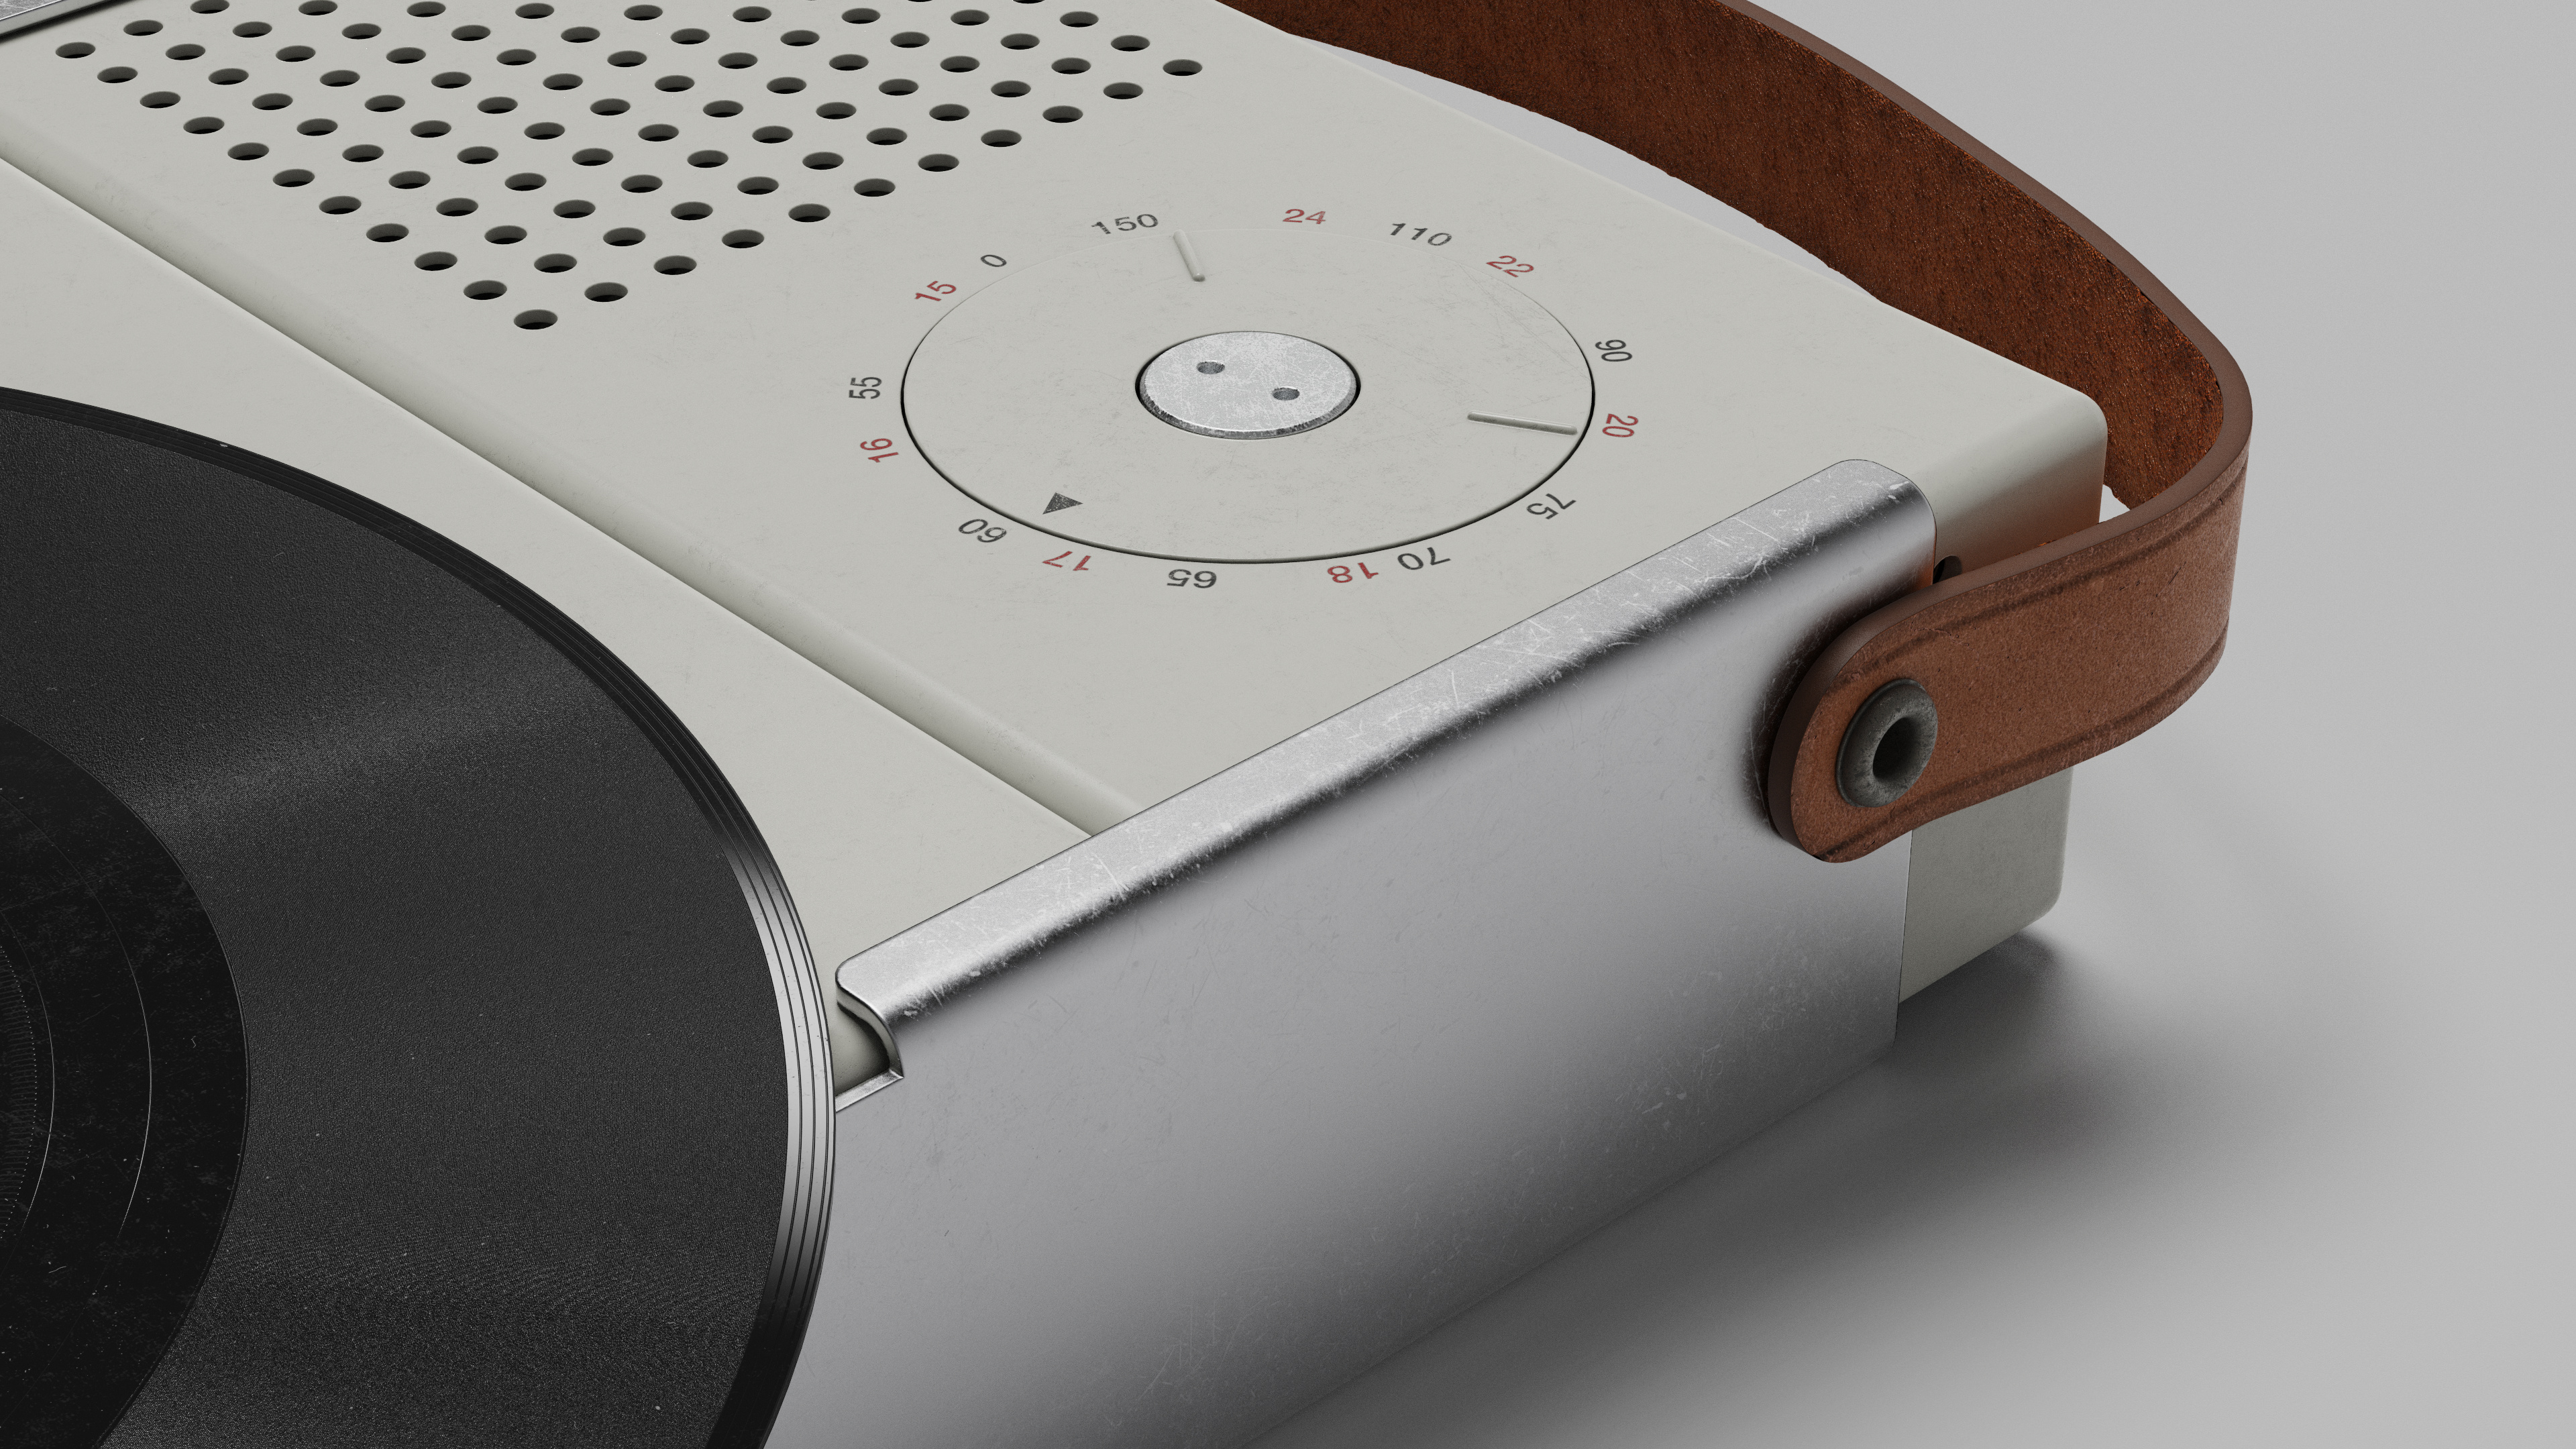
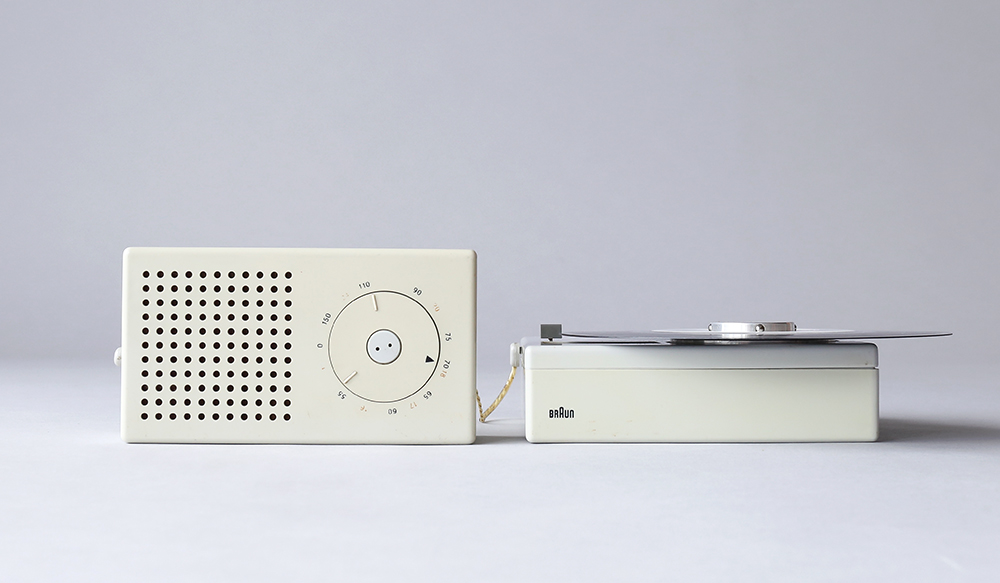
Bit of a tribute to the amazing designs of Dieter Rams as well. It’s cool how he combined a transistor radio and a record player and thought it was cool if you could carry it around in a chassis. Maybe not all that practical but modular and certainly ahead of time since this was from 1959/1960. You could even connect a clock so so it woke you up with some music you wanted.
Software used:
illustrator
photoshop (labels and bit of post, only LUT + sharpen)
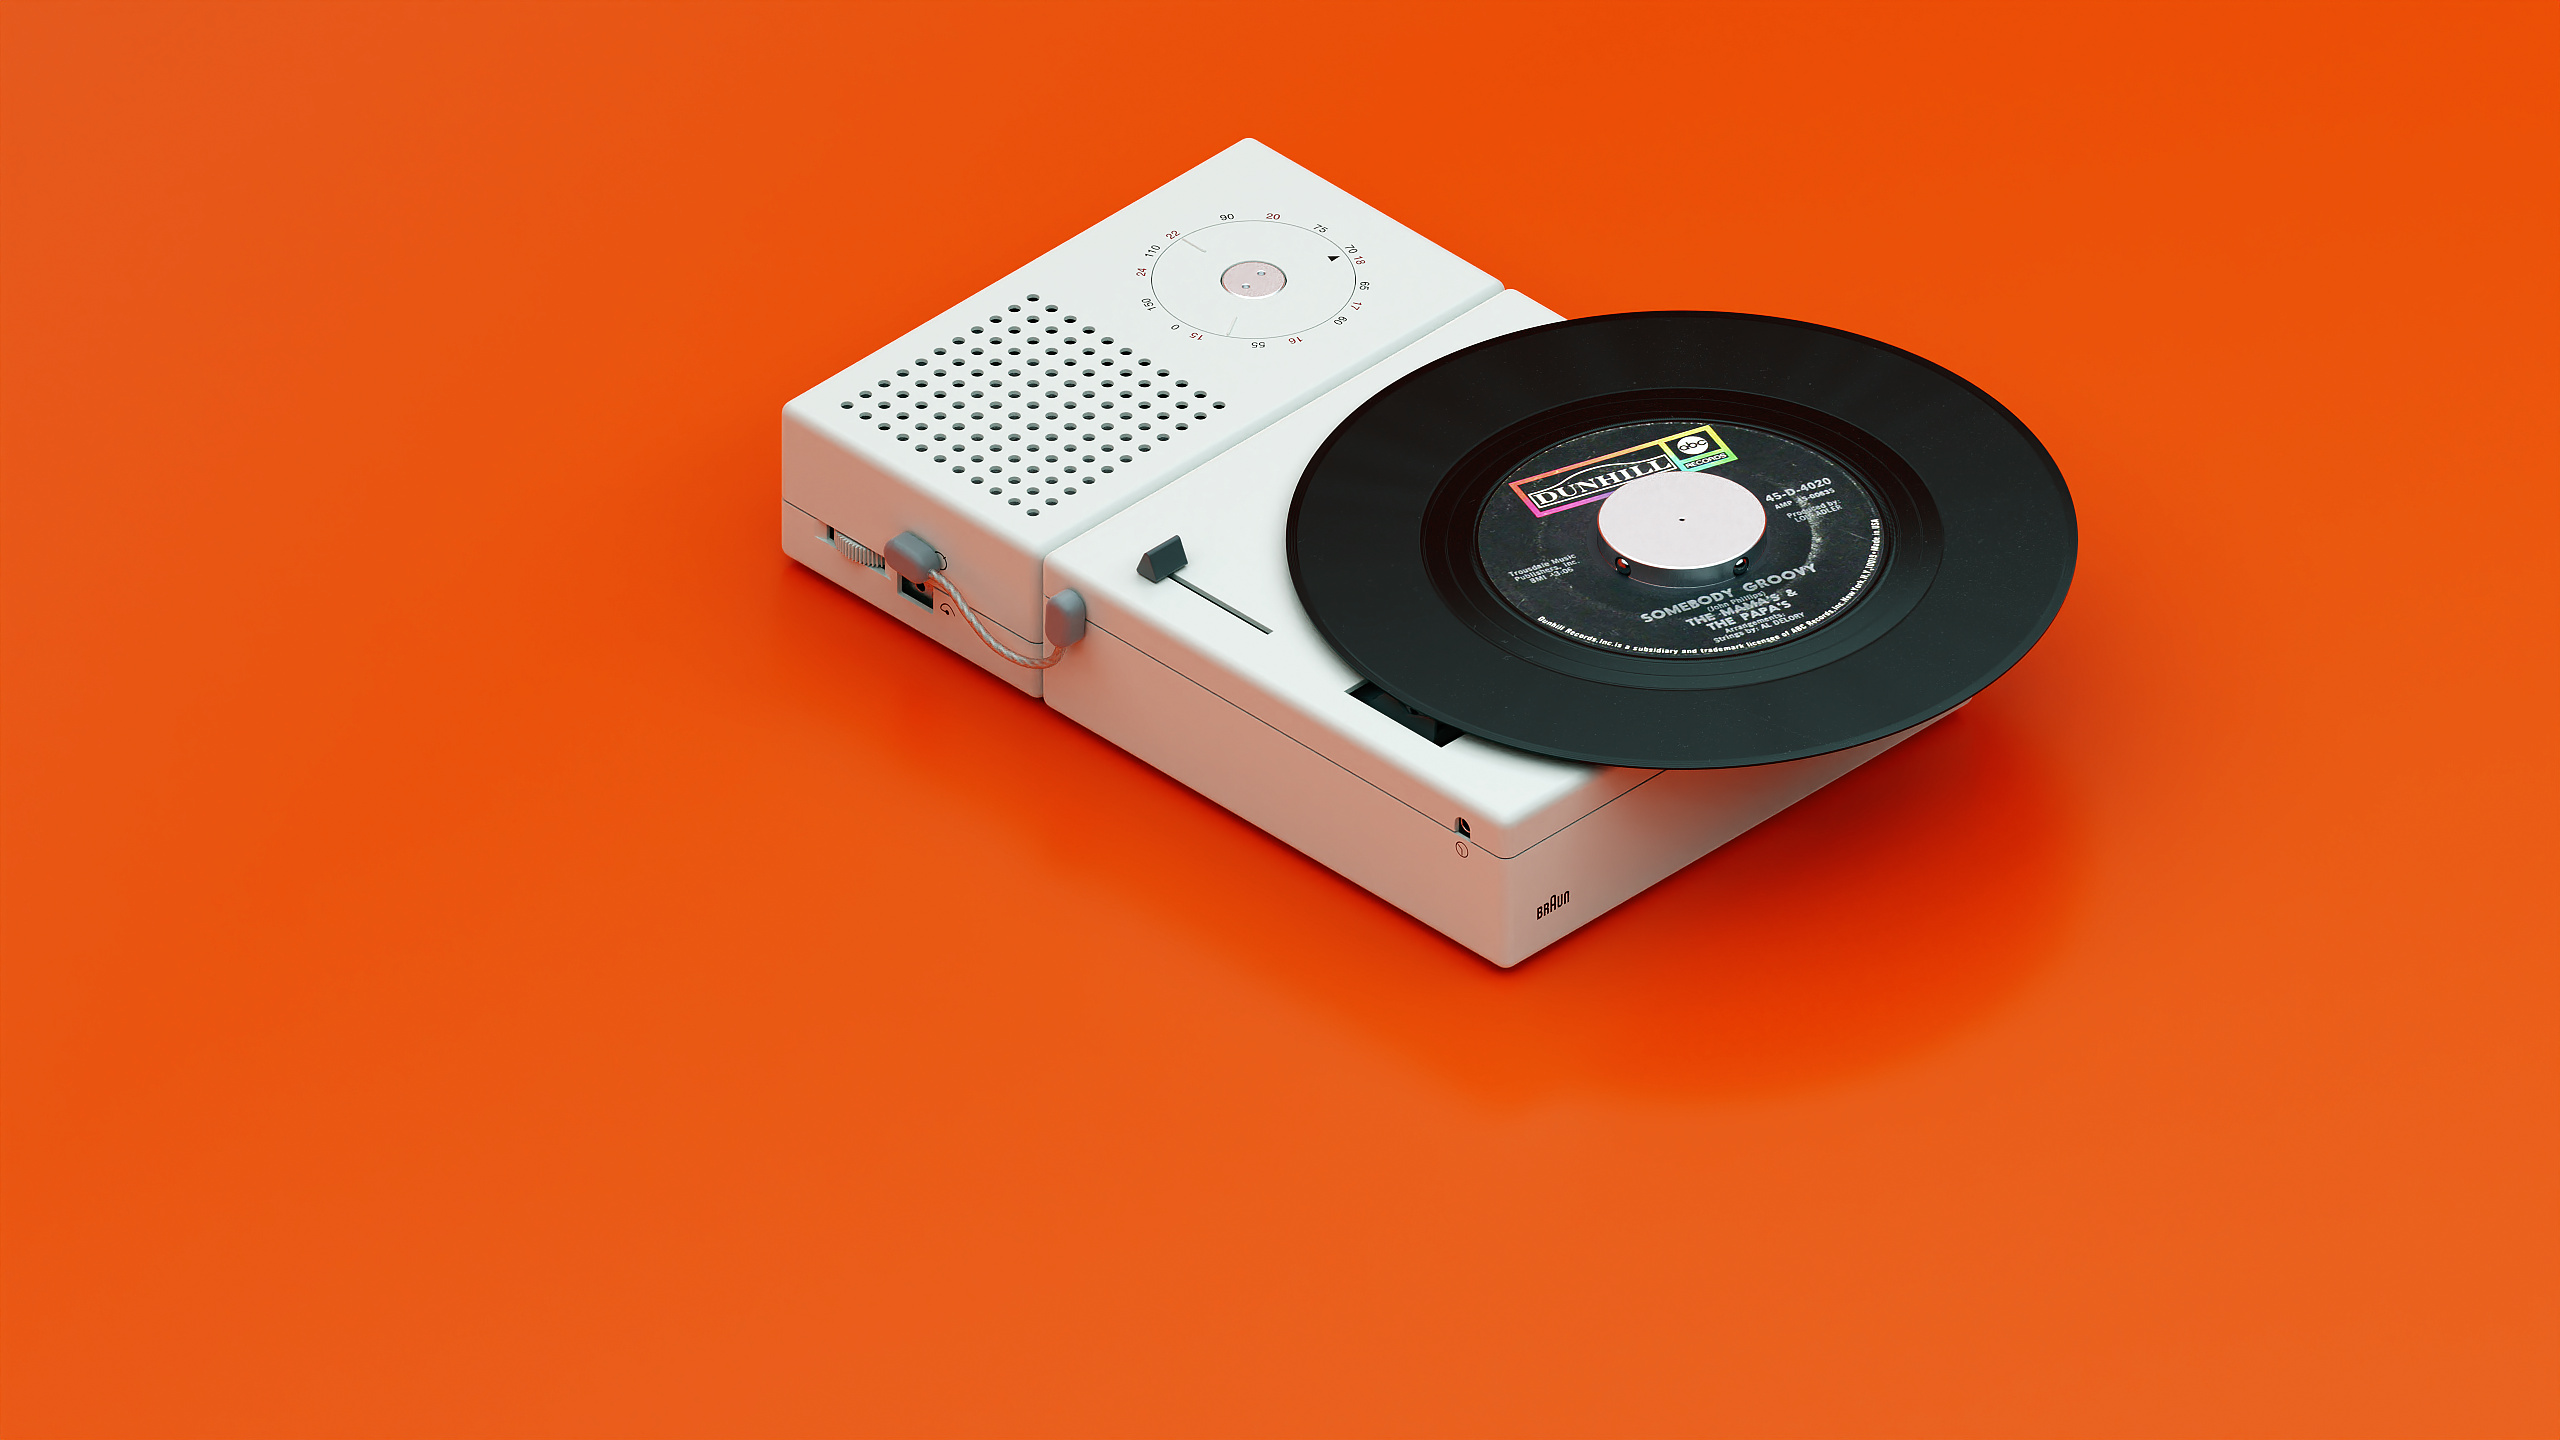
Thanks! Yeah I’ll try this one in pure KeyShot, good for me to look at the possibilities since I tend to use Substance Painter a lot. Worked already a bit on the record itself.
Think it’s also one of my best so far. Normally I use Substance Painter a lot but this is all Keyshot and some manual textures in Photoshop. Nice way for me to learn a bit more playing with the nodes in the material graph.
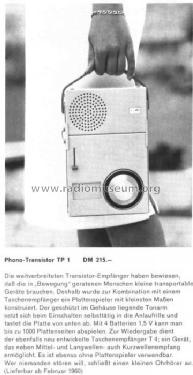
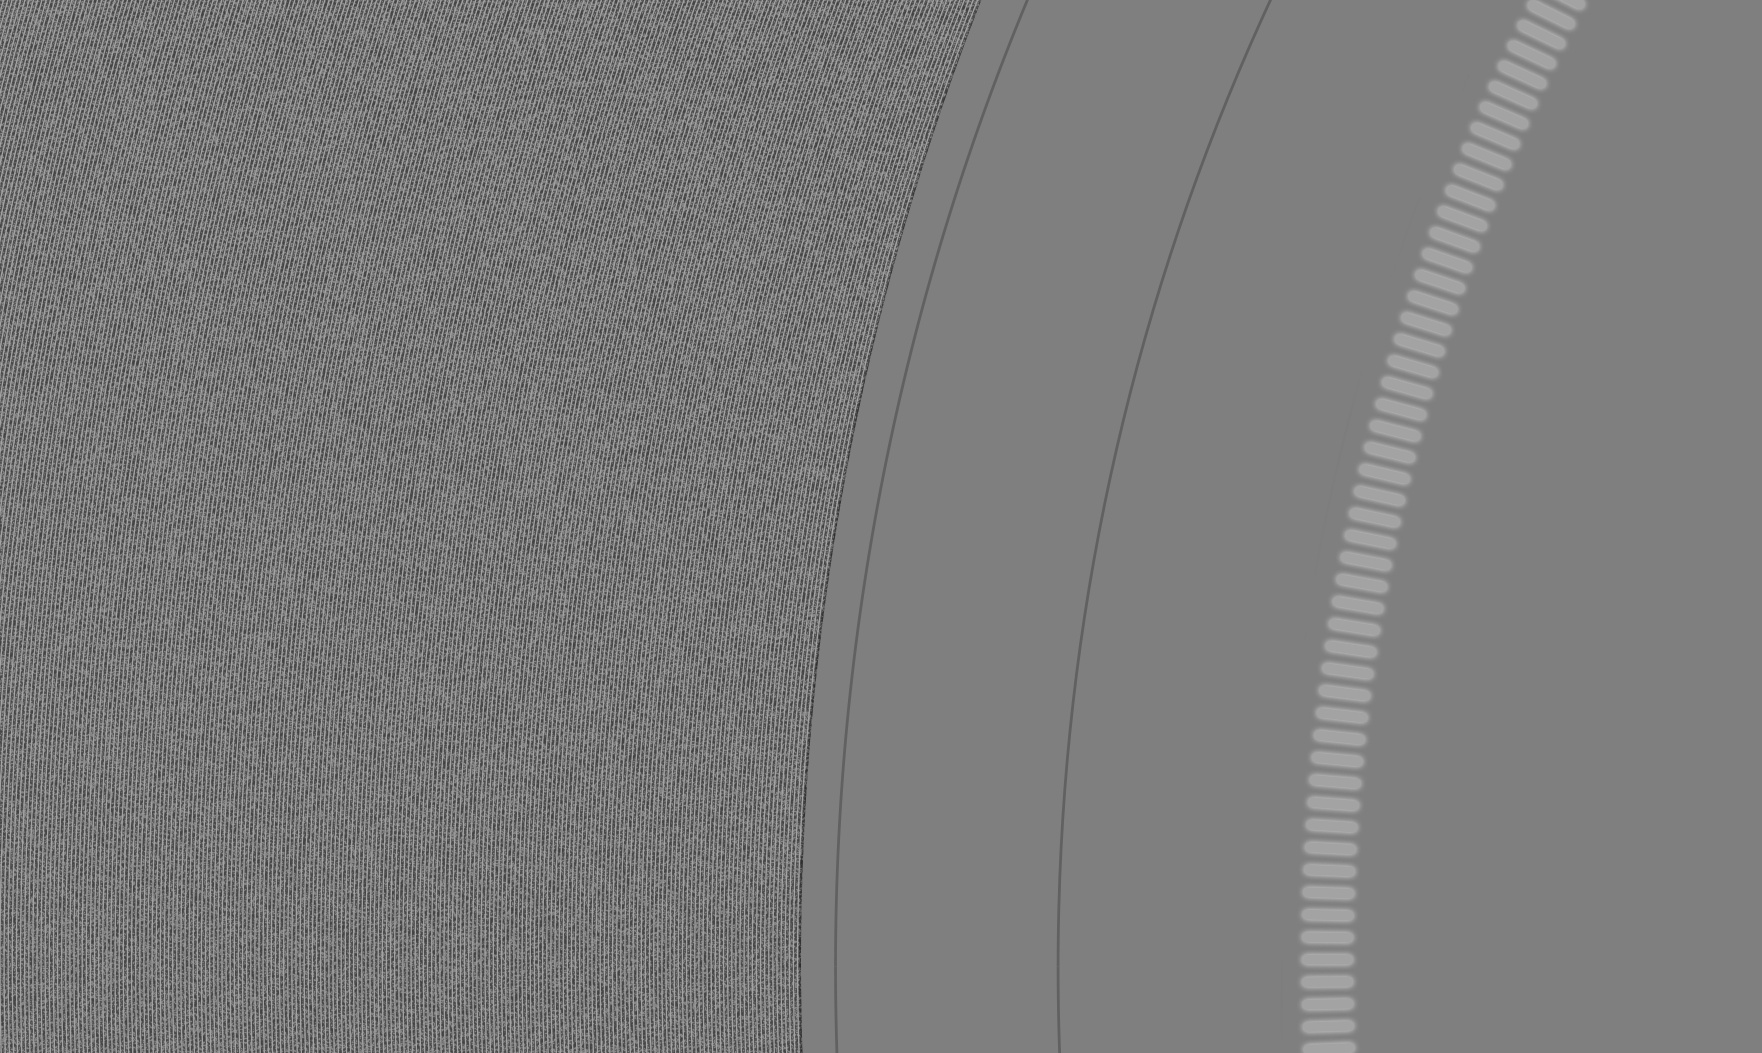
Thank you! I actually draw all the grooves using illustrator and looked a bit about what the normal width of such a groove was. Than I copied that illustration in Photoshop and put a bit of noise into the grooves.
But maybe you can enlighten me. The current version of the bump map has an average grey with darker grooves (pointing down) and at the inner part those lighter squares which should point up compared to a flat surface.
But I get the feeling in Keyshot the bump map is based on a black to white image and the value makes it engraved or embossed. So basically it means that you can’t have one texture which has lower parts and higher parts in one.
Tried to find it in the manual but not much information about that. Also the value of the bump height feels a bit abstract. Now I’m typing this, I maybe just should try it as a normal map instead of black/white image like this.
It’s actually just a HDR file. It’s from a set I had for a while but I use pretty often. Mainly because there are some pretty weird ones where the lines work well to give some more contrast on glossy surfaces and a less boring appearance.
It’s mainly a thing of trial and error but often I end up using one of this HDRI pack.
Than just let the record come down, start playing and then do some close up, slowly moving, cam shots of details and in end wrap all stuff in the aluminium chassis and take it away.
Keeps the animation maybe a bit cleaner and less hectic, just a lot of render time
So, you’re spot on here. When working with displacement, it’ll interpret grey 50% and darker will go negative, and lighter will go positive, in the case of bump… not so much. I’m not sure, but perhaps with a normal map, you’d get what you watned? But with so much detail, you could do it as 2 separate bump maps, one going negative, the other going positive.