Hello,
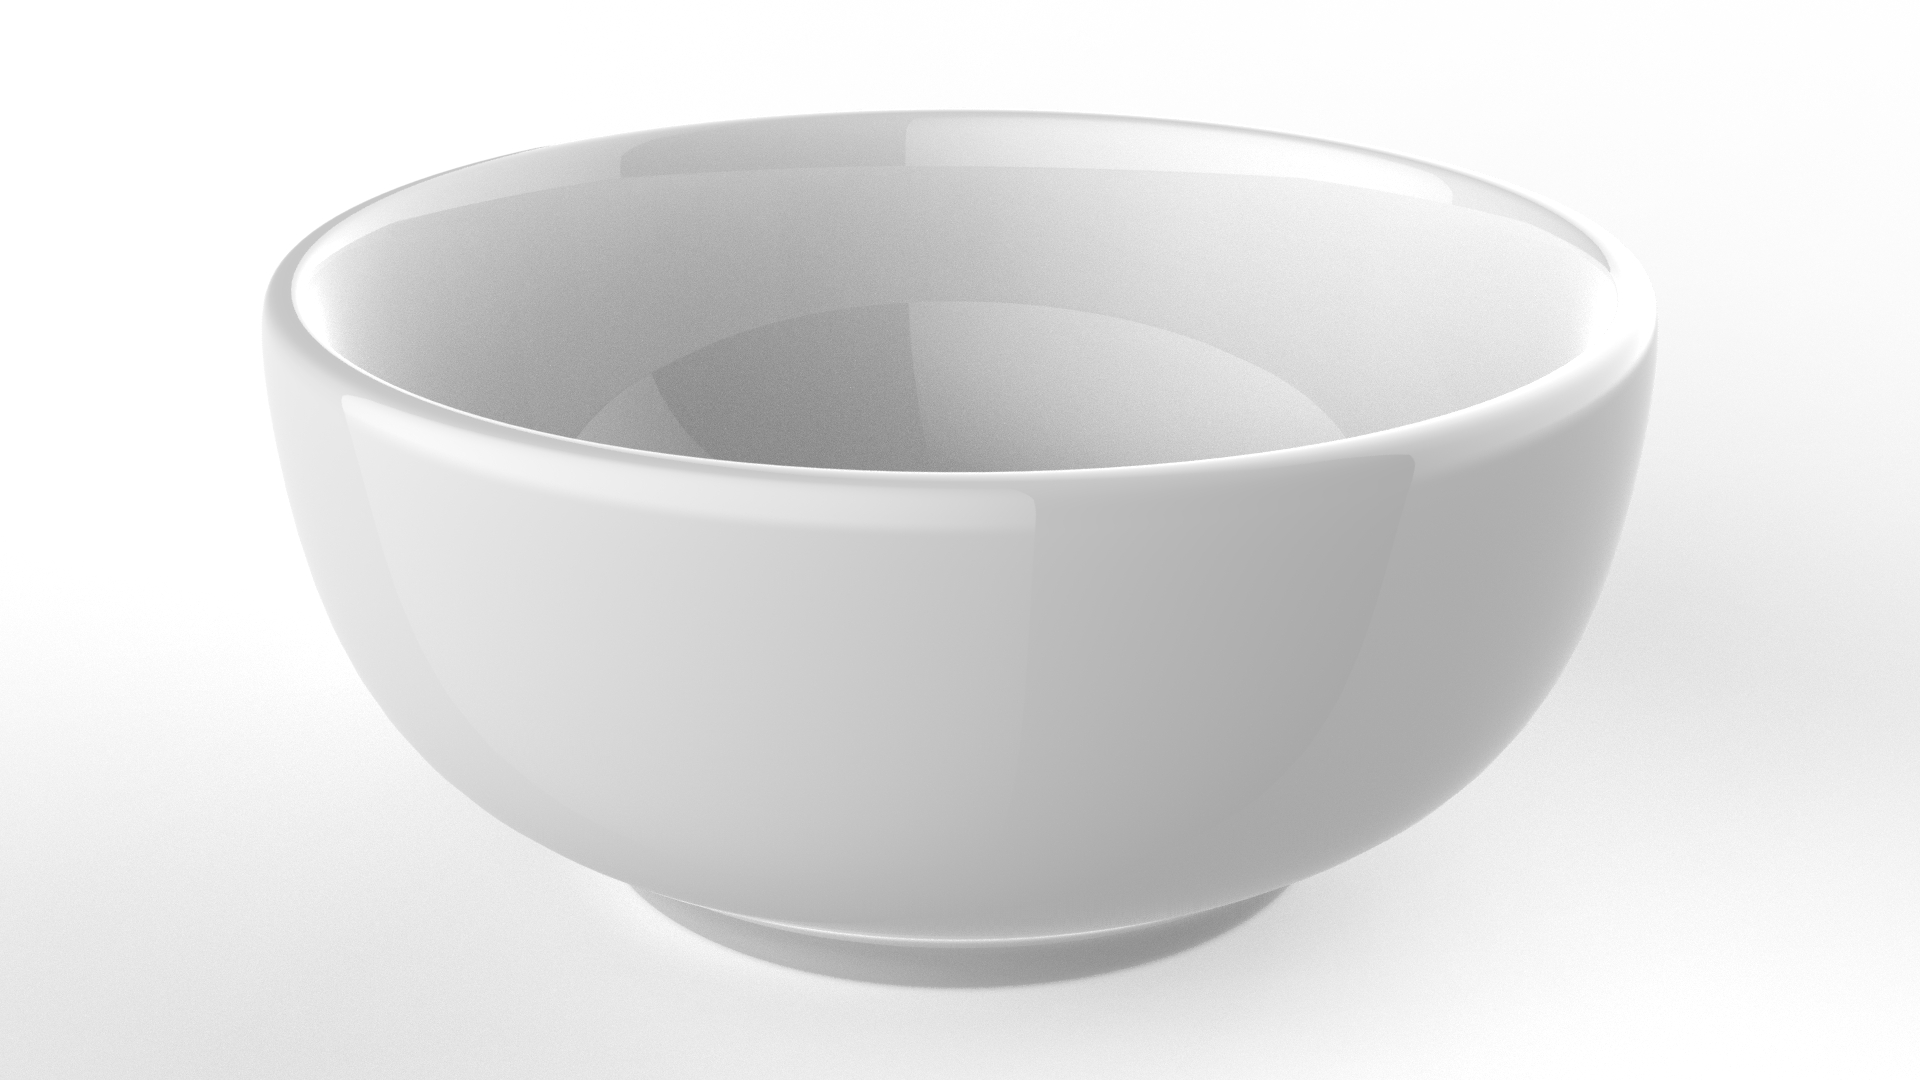
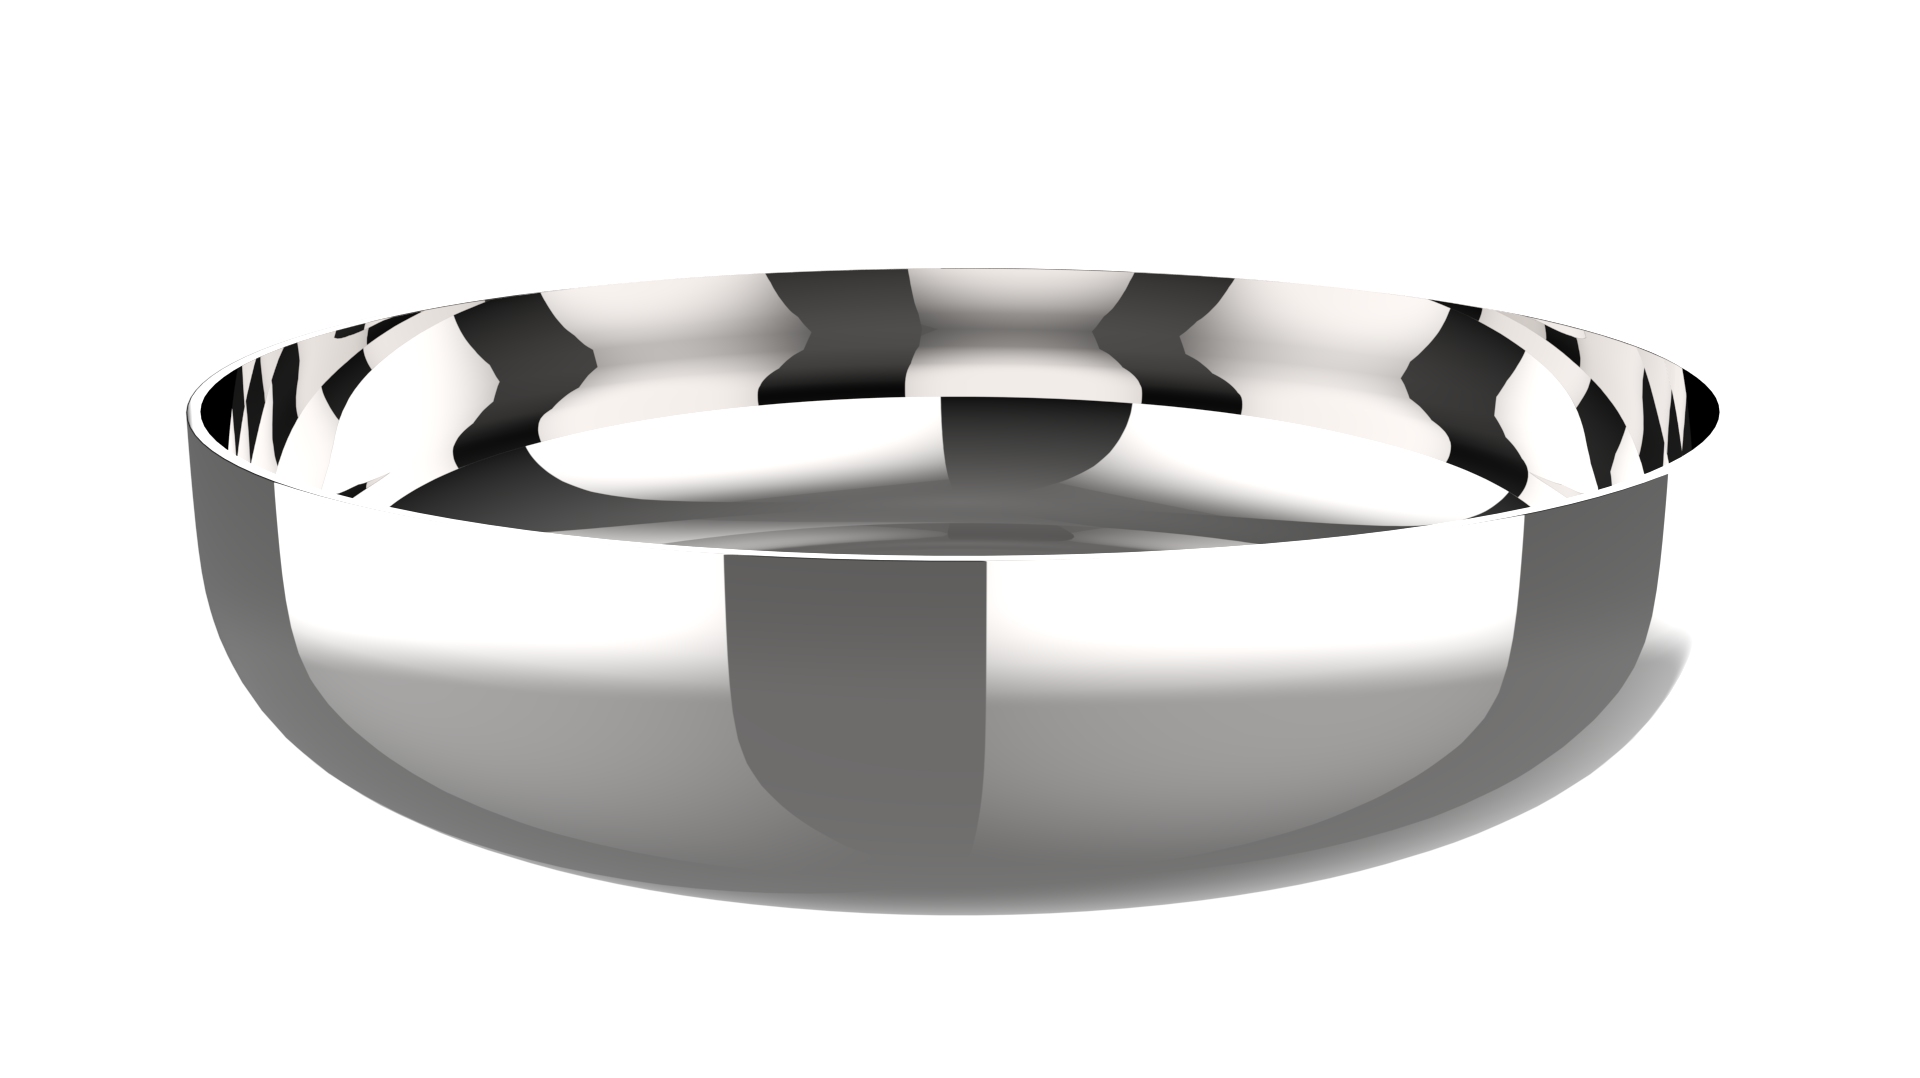
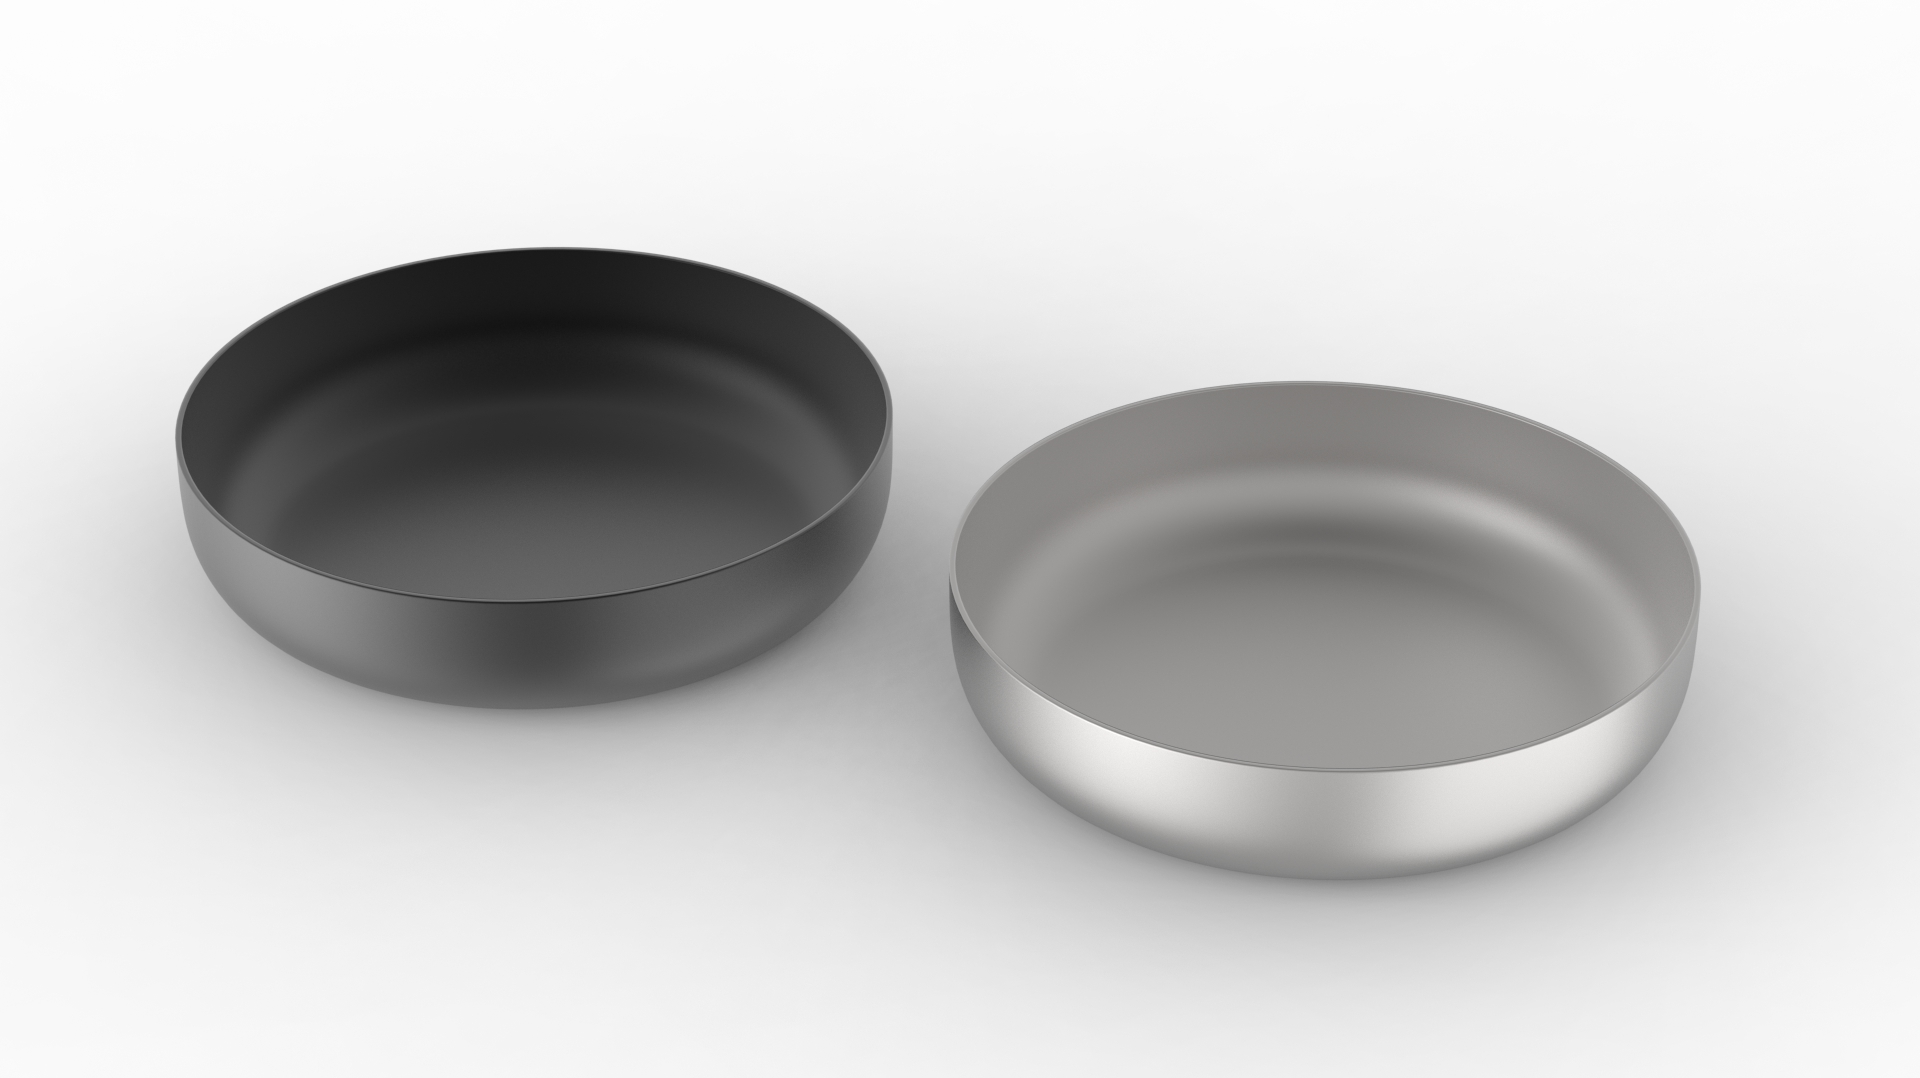
I was just wondering if there is a easy workflow to get rid of reflections on glossy materials like in the images below. I know I just used standard HDRIs for the renders, so don’t mind the light reflections. they are not the problem when used better adjusted lighting. The problem is that will always be the reflection of the front inside on the backside. So does anybody know a workaround that doesn’t need a complex setup or is it just possible to deactivate self reflections on the object. I know I can just make 2 renders, one with and one without the reflection and blend them togheter. But I thought there maybe a easier way to do this, because it appears on every reflective object where you can see the inside.
You can either play with the material roughness or HRDI blurriness (or pin falloff values).
I usually never use 0 roughness, for example, a 0.01 or 0.004 value blurs the reflection edges and keeps the light sources distinct.
Thank you for your answer.
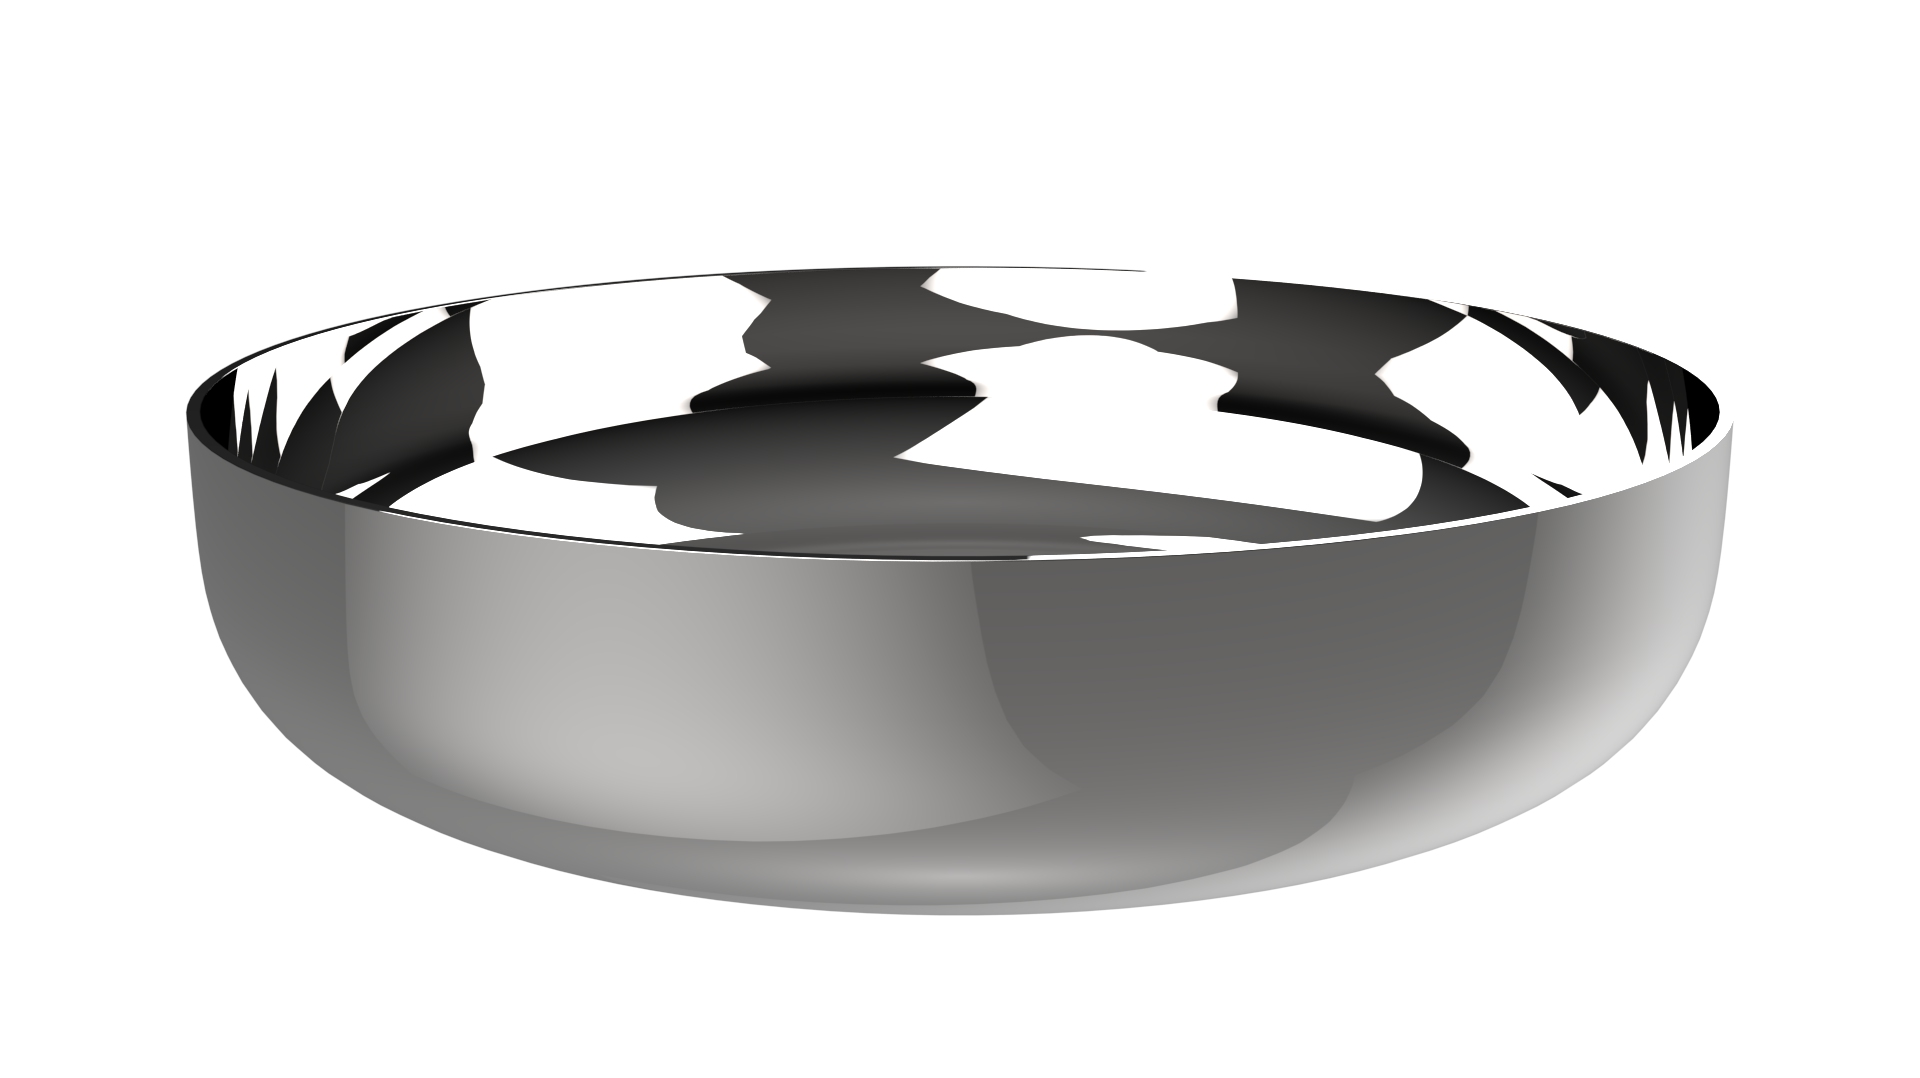
Maybe it wasn’t clear what I meant. I don’t mean how the light of the HDRI is reflected on the object. I was just wondering if there is a way to avoid the refelctions on the inside. Maybe I picked a bad standard HDRI for the examples. I rendered the bowl again with a roughness of 0,01 which is already pretty high, but the reflection in the middle is still there.
Isn’t that simply how reflections work in the real world? If you took a photo under the same conditions I assume it would show the same reflection.
Or is photo realism not relevant in your case?
2 Likes
I don’t know, if you look at 100 different products that aren’t photographed probably none does look photorealistic, even though most people say they do. No product looks like a visualized product in real life. Colors never come out as they do when visualized, everything is way to much saturated and way to perfect. Things don’t look like that in reality. So photorealism is not the problem here.
I usually try to avoid distracting reflections. And looking on cooking pans on Amazon they never have these reflections on the inside. I mean they are there sometimes, but really well hidden, either through lighting or using a really rough material, or I just realized that they are often viewed from a higher angle so the front part doesn’t get mirrored inside the pan.
Sorry for all that, but I’m just trying to get better at KeyShot.
1 Like
No worries, I was just curious. I can understand what you’re getting at, unfortunately I don’t know how to fix the issue. I hope someone else can point you in the right direction!
1 Like
I always tend to use to check sites for photographers to see what they do to avoid reflections they don’t want. Basically they have the same issues like you do, reflections they don’t want.

With product shots of a real life object photographers tend to use a lightbox or play with a lot of cardboard to avoid reflections. So most of the time if I have to get rid of reflections I just build a kind of studio setup with a few planes/lights so I mimic a normal studio.
With your example you have picked a HDR with hard shapes, that’s not the best way to start if you don’t like hard reflections in your subject. So you better use a HDR with soft lights in it or just build some simple 3-point light studio setup.
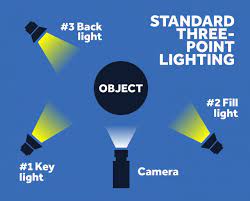
Once you’ve build a nice setup you can use it for every project again and saves you a lot of time in future projects. In My Documents\Keyshot 11\Environments\Studio\3 Point you’ll also see three setups you can load which would have way less reflections than the HDR you currently use.
I think what Joakim means is that a renderer should behave like real world lighting and while you can do some tricks about lights not casting shadows etc, it will always mean you get further away from a realistic render.
Think it’s better to look at if as if you were a photographer and pick their solutions for unwanted reflections. It’s also fun to play with and gives a nice insight/knowledge about how important and creative you can be with lighting if you approach is as real world lighting.
Good luck! And really try those default 3-point setups, work quite well I think in your example.
2 Likes
Thank you! I tried it again with the 3 point setup, increased the roughness of the metal a bit more and the falloff of the pins and it looks better. I think it could still lead to problems when I have an object with really small roughness below 0,01 like the one above, but for most things I can probably get around like this.
I guess it’s possible to achieve anything with a good light setup, but sometimes it takes to much time and I think it’s possible in other softwares to control which reflections will show in the render on the object. It would just be way faster if I could switch of the self reflections. Maybe I’ll add this feature to the product feedback section, but there are probably more important things Keyshot needs…
1 Like
Just thought about another option and that’s using the render passes option. So basically you render your shot with all separate render passes, reflection will be one of them.
That way you create a composite in f.e. Photoshop and you can just mask out the parts of the reflection pass you don’t want.
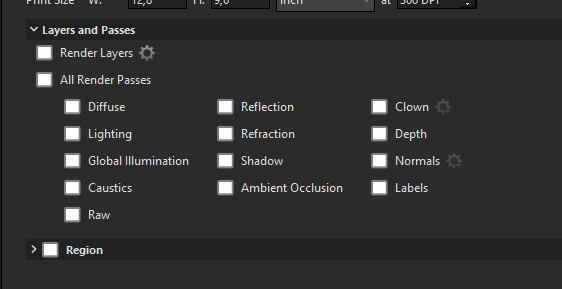
I’ve not much experience with it but it should do the trick pretty well since you’ve all stuff in separate layers. Think the best thing is to save the file as .exr file which has all the bit depth you need. Default Photoshop support of EXR is terrible but luckily there’s this free plugin which really is worth to take a look at: Exr-IO free Photoshop OpenEXR plug-in | OpenEXR Free plugin for Adobe Photoshop
I hope that didn’t sound rude. I just realized not to long ago that most ‚photorealistic‘ renders don’t look photorealistic even though realistic materials and light calculation is used. Anyways, thank you for your answer.
Thanks again. I will try and see if that works.
Just an idea: separate the surfaces of objects where you don’t want to see the reflection and unlinked material with higher roughness. But yes, more control over the reflection function is the more logical solution.
I see. By using two different materials on the inside and outside I could control the reflection inside the object separately.
So in some cases I can see that working. But with all the answers I got I think it depends on the object and roughness that is needed.
1 Like
Not to debate, but I don’t see how unlinking surfaces will allow you to control the reflection. All that does really is allow you to change the roughness or IoR (material properties). You won’t be able to mask reflecitons of existing objects.
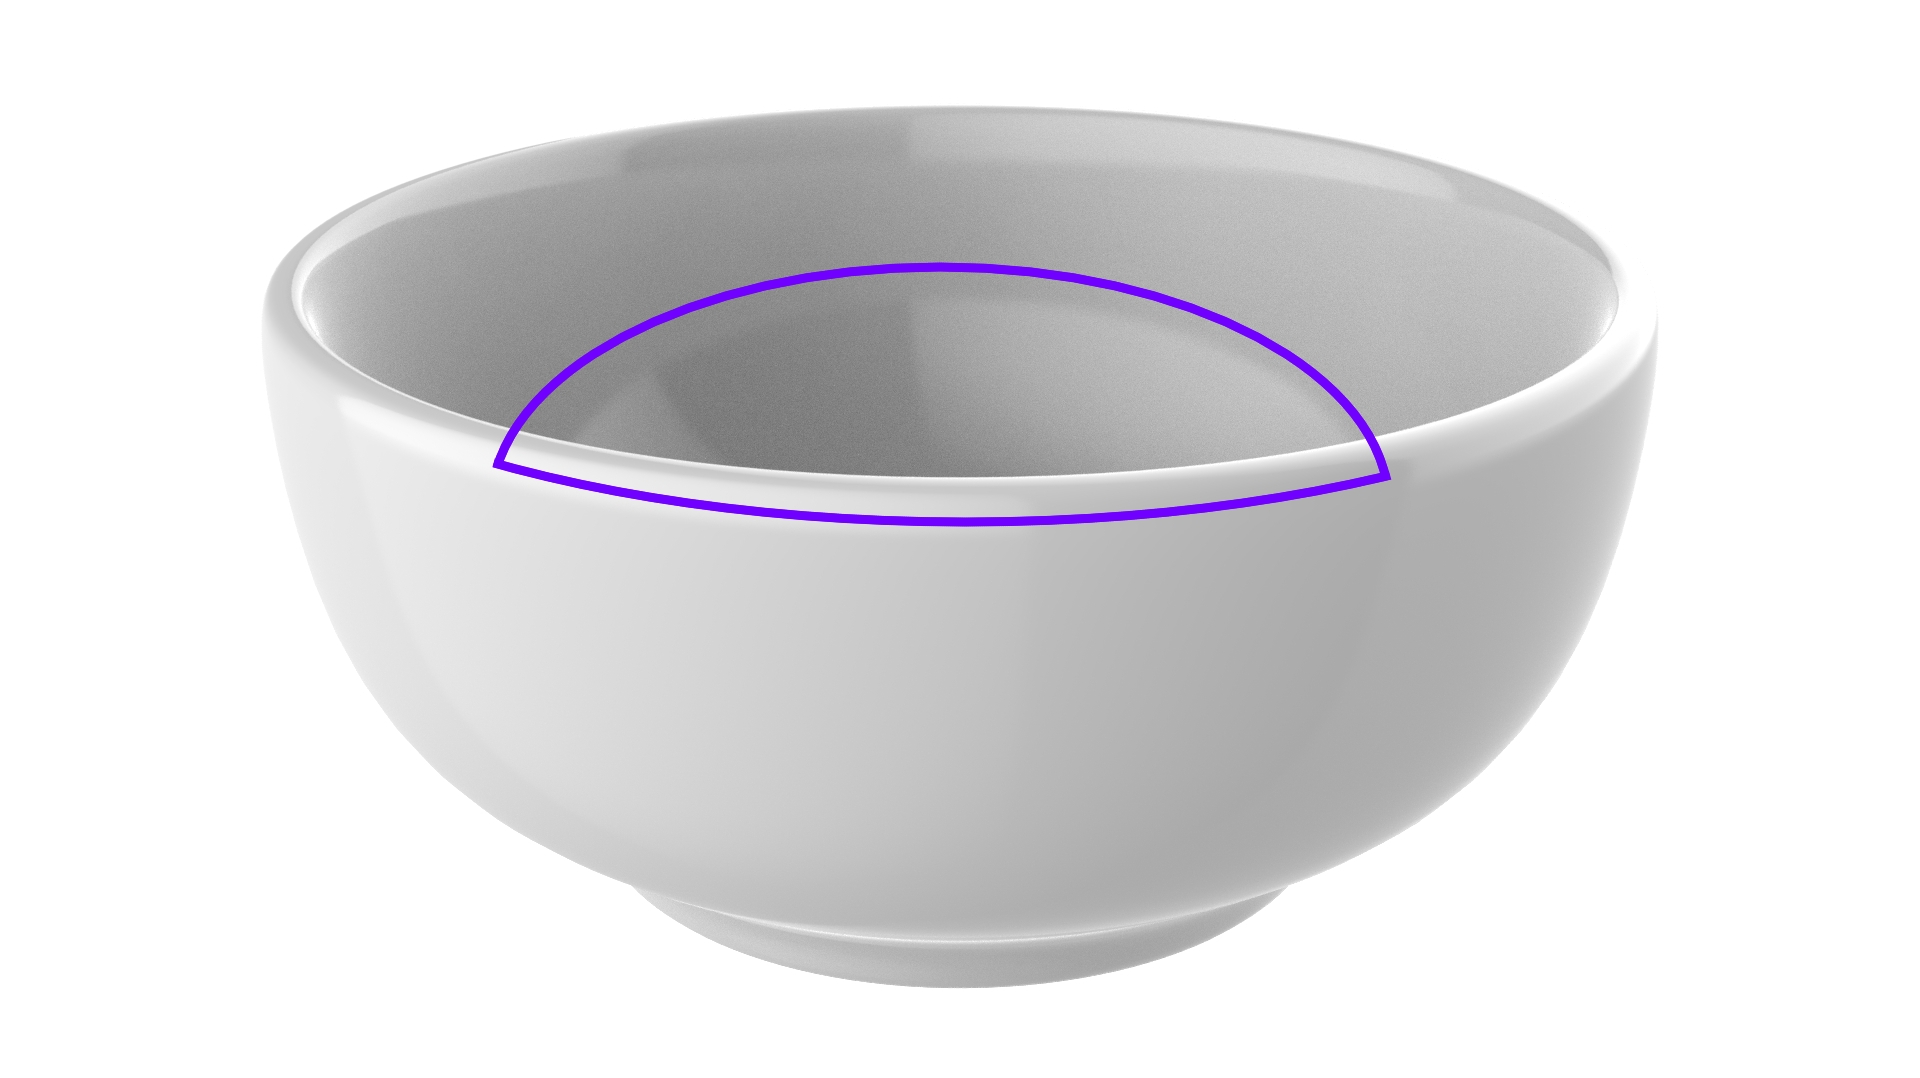
It may be more trouble than it’s worth, but have you tried using a cutaway material to hide the front half of the bowl? This would (in theory) allow you to render one image where the inside of the bowl does not reflect the adjacent face because it’s effectively been ‘hidden’ with the cutaway object. Then, render a regular image and composite the two.
More work than it’s worth if you ask me but may offer what you’re asking for.
1 Like
That’s probably what I’m looking for. I just tried it and it does what I need, but it can be tricky since I can’t just make a random cut, because this can also affect the other reflections on the surface. But I would say this is the resolution I was looking for . Thank you Will.
1 Like
maybe this is helpful
approximate values for the lights
20% Back light
50 % Fill light
100% Key light
2 Likes
Try a B&W Gradient Texture, set it to Angle mode, and connect it to the Specular Color of the material to fade the reflections.