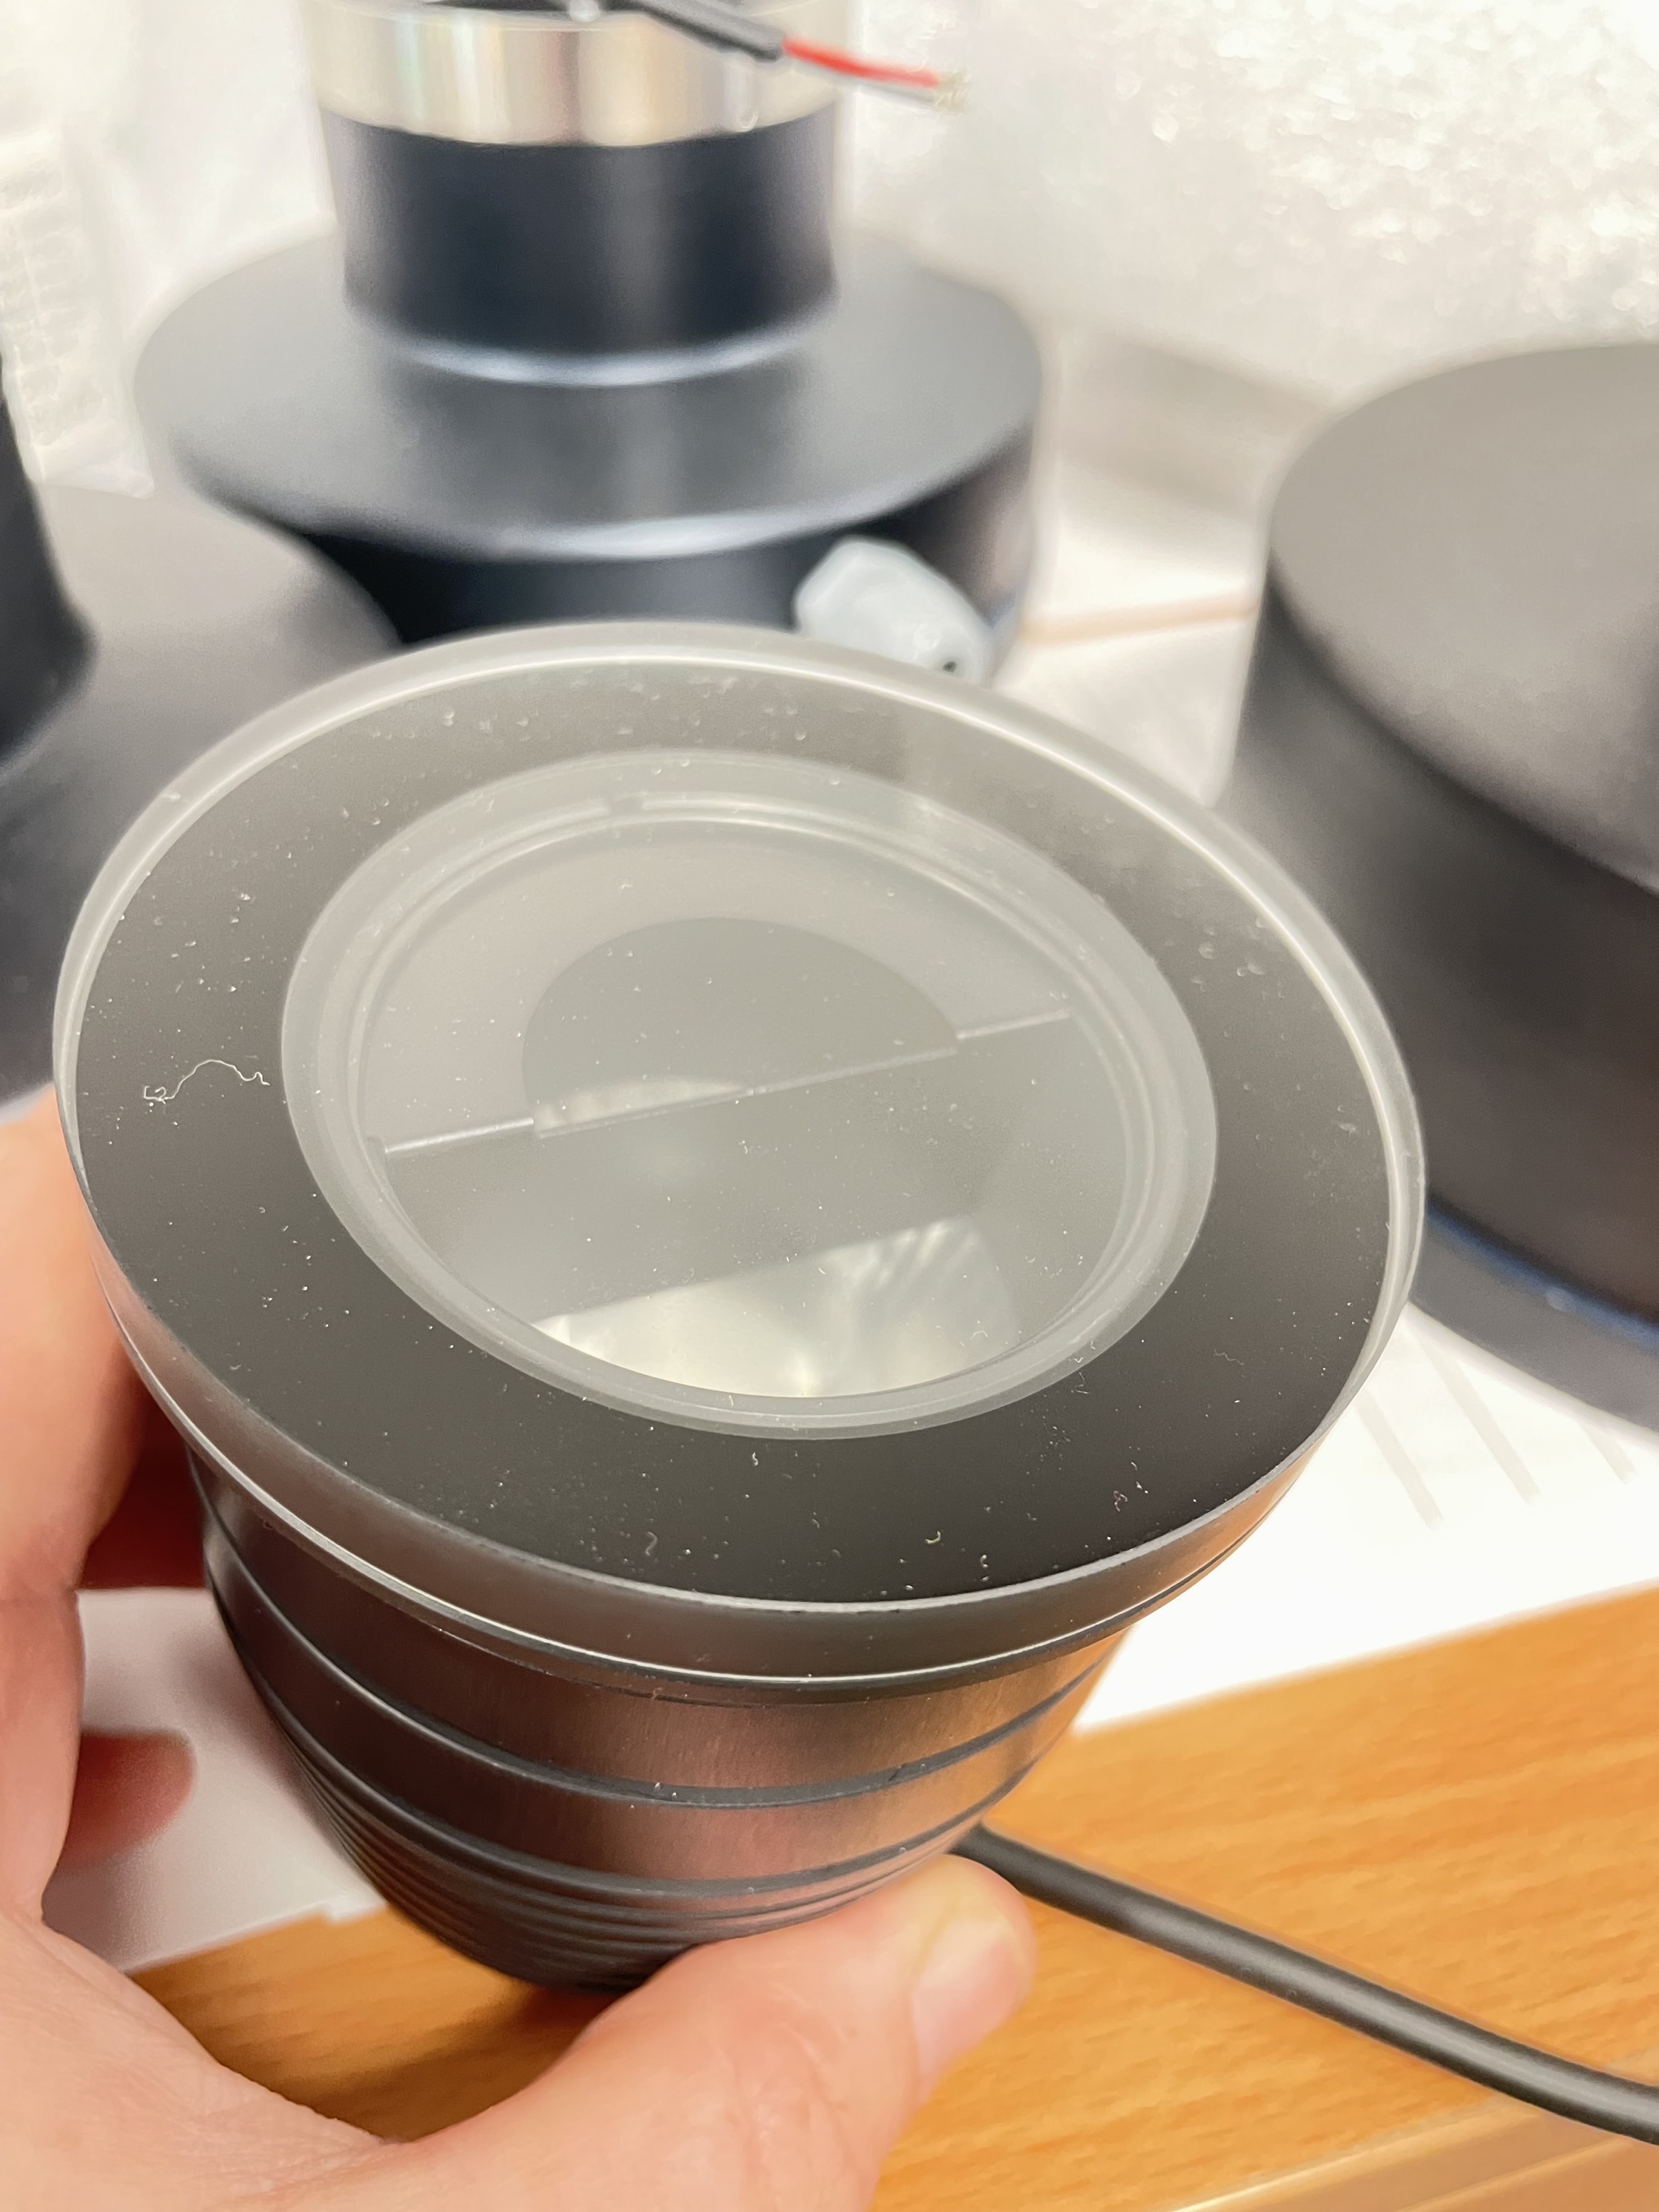
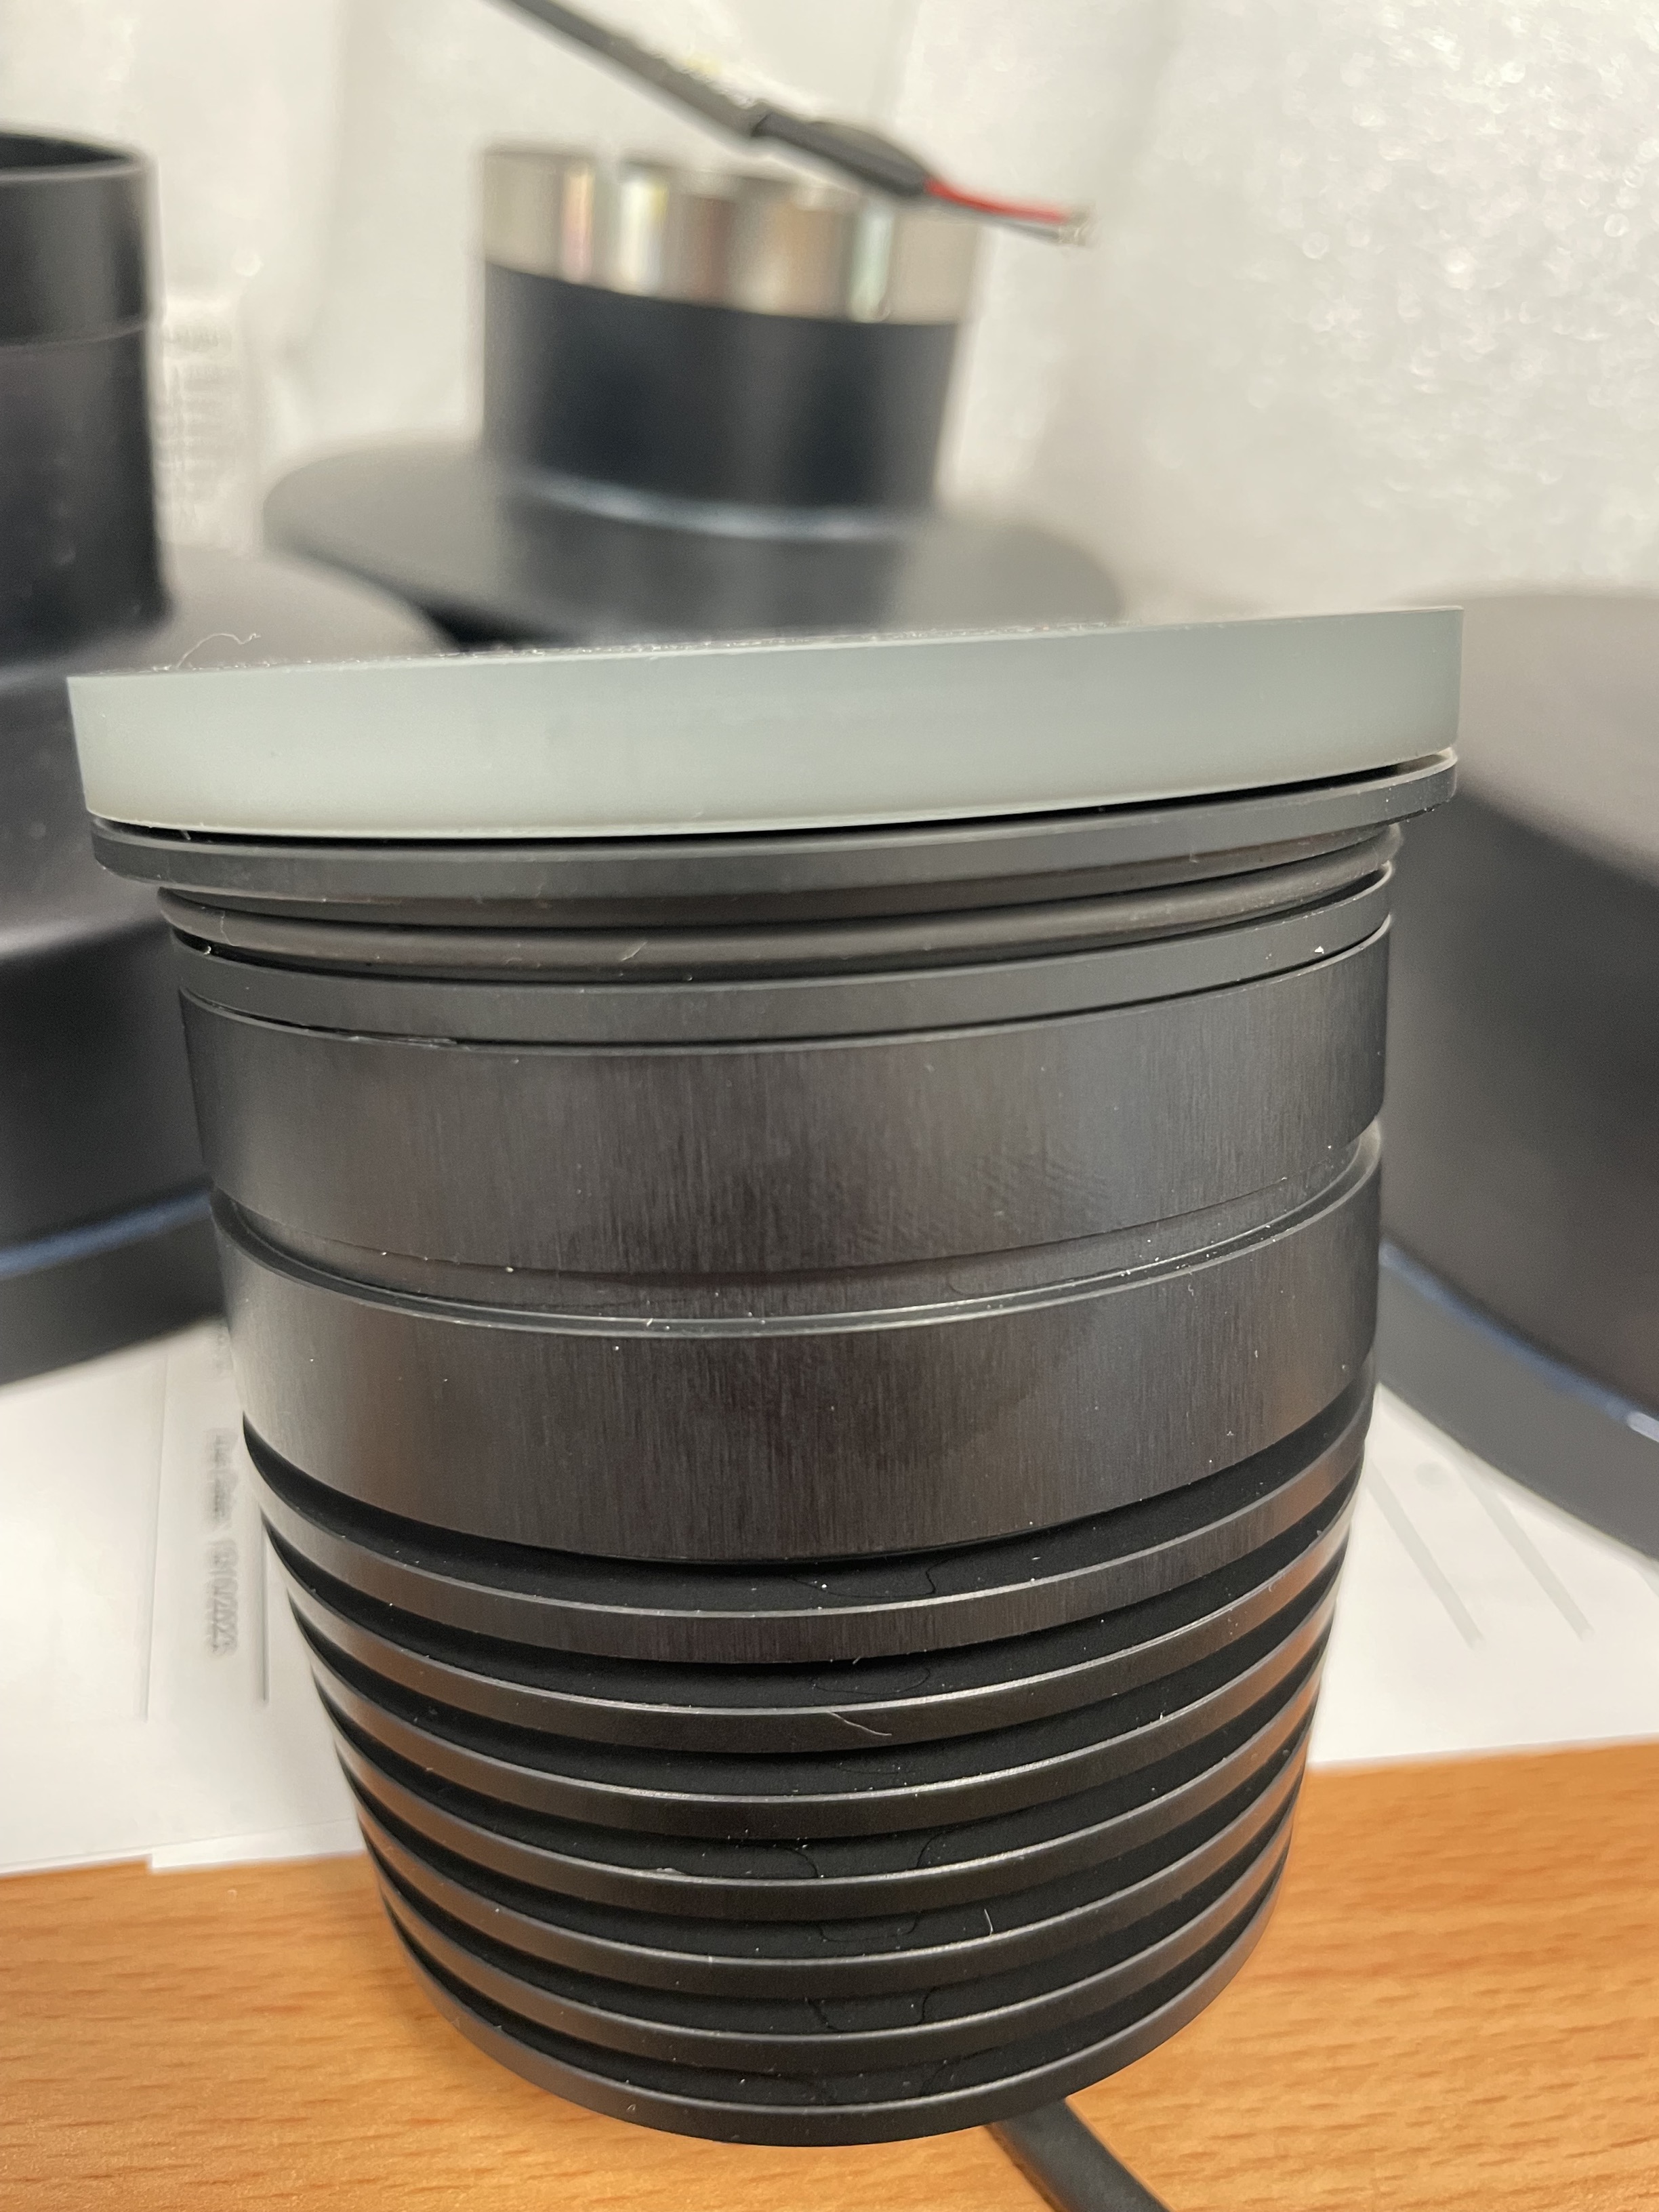
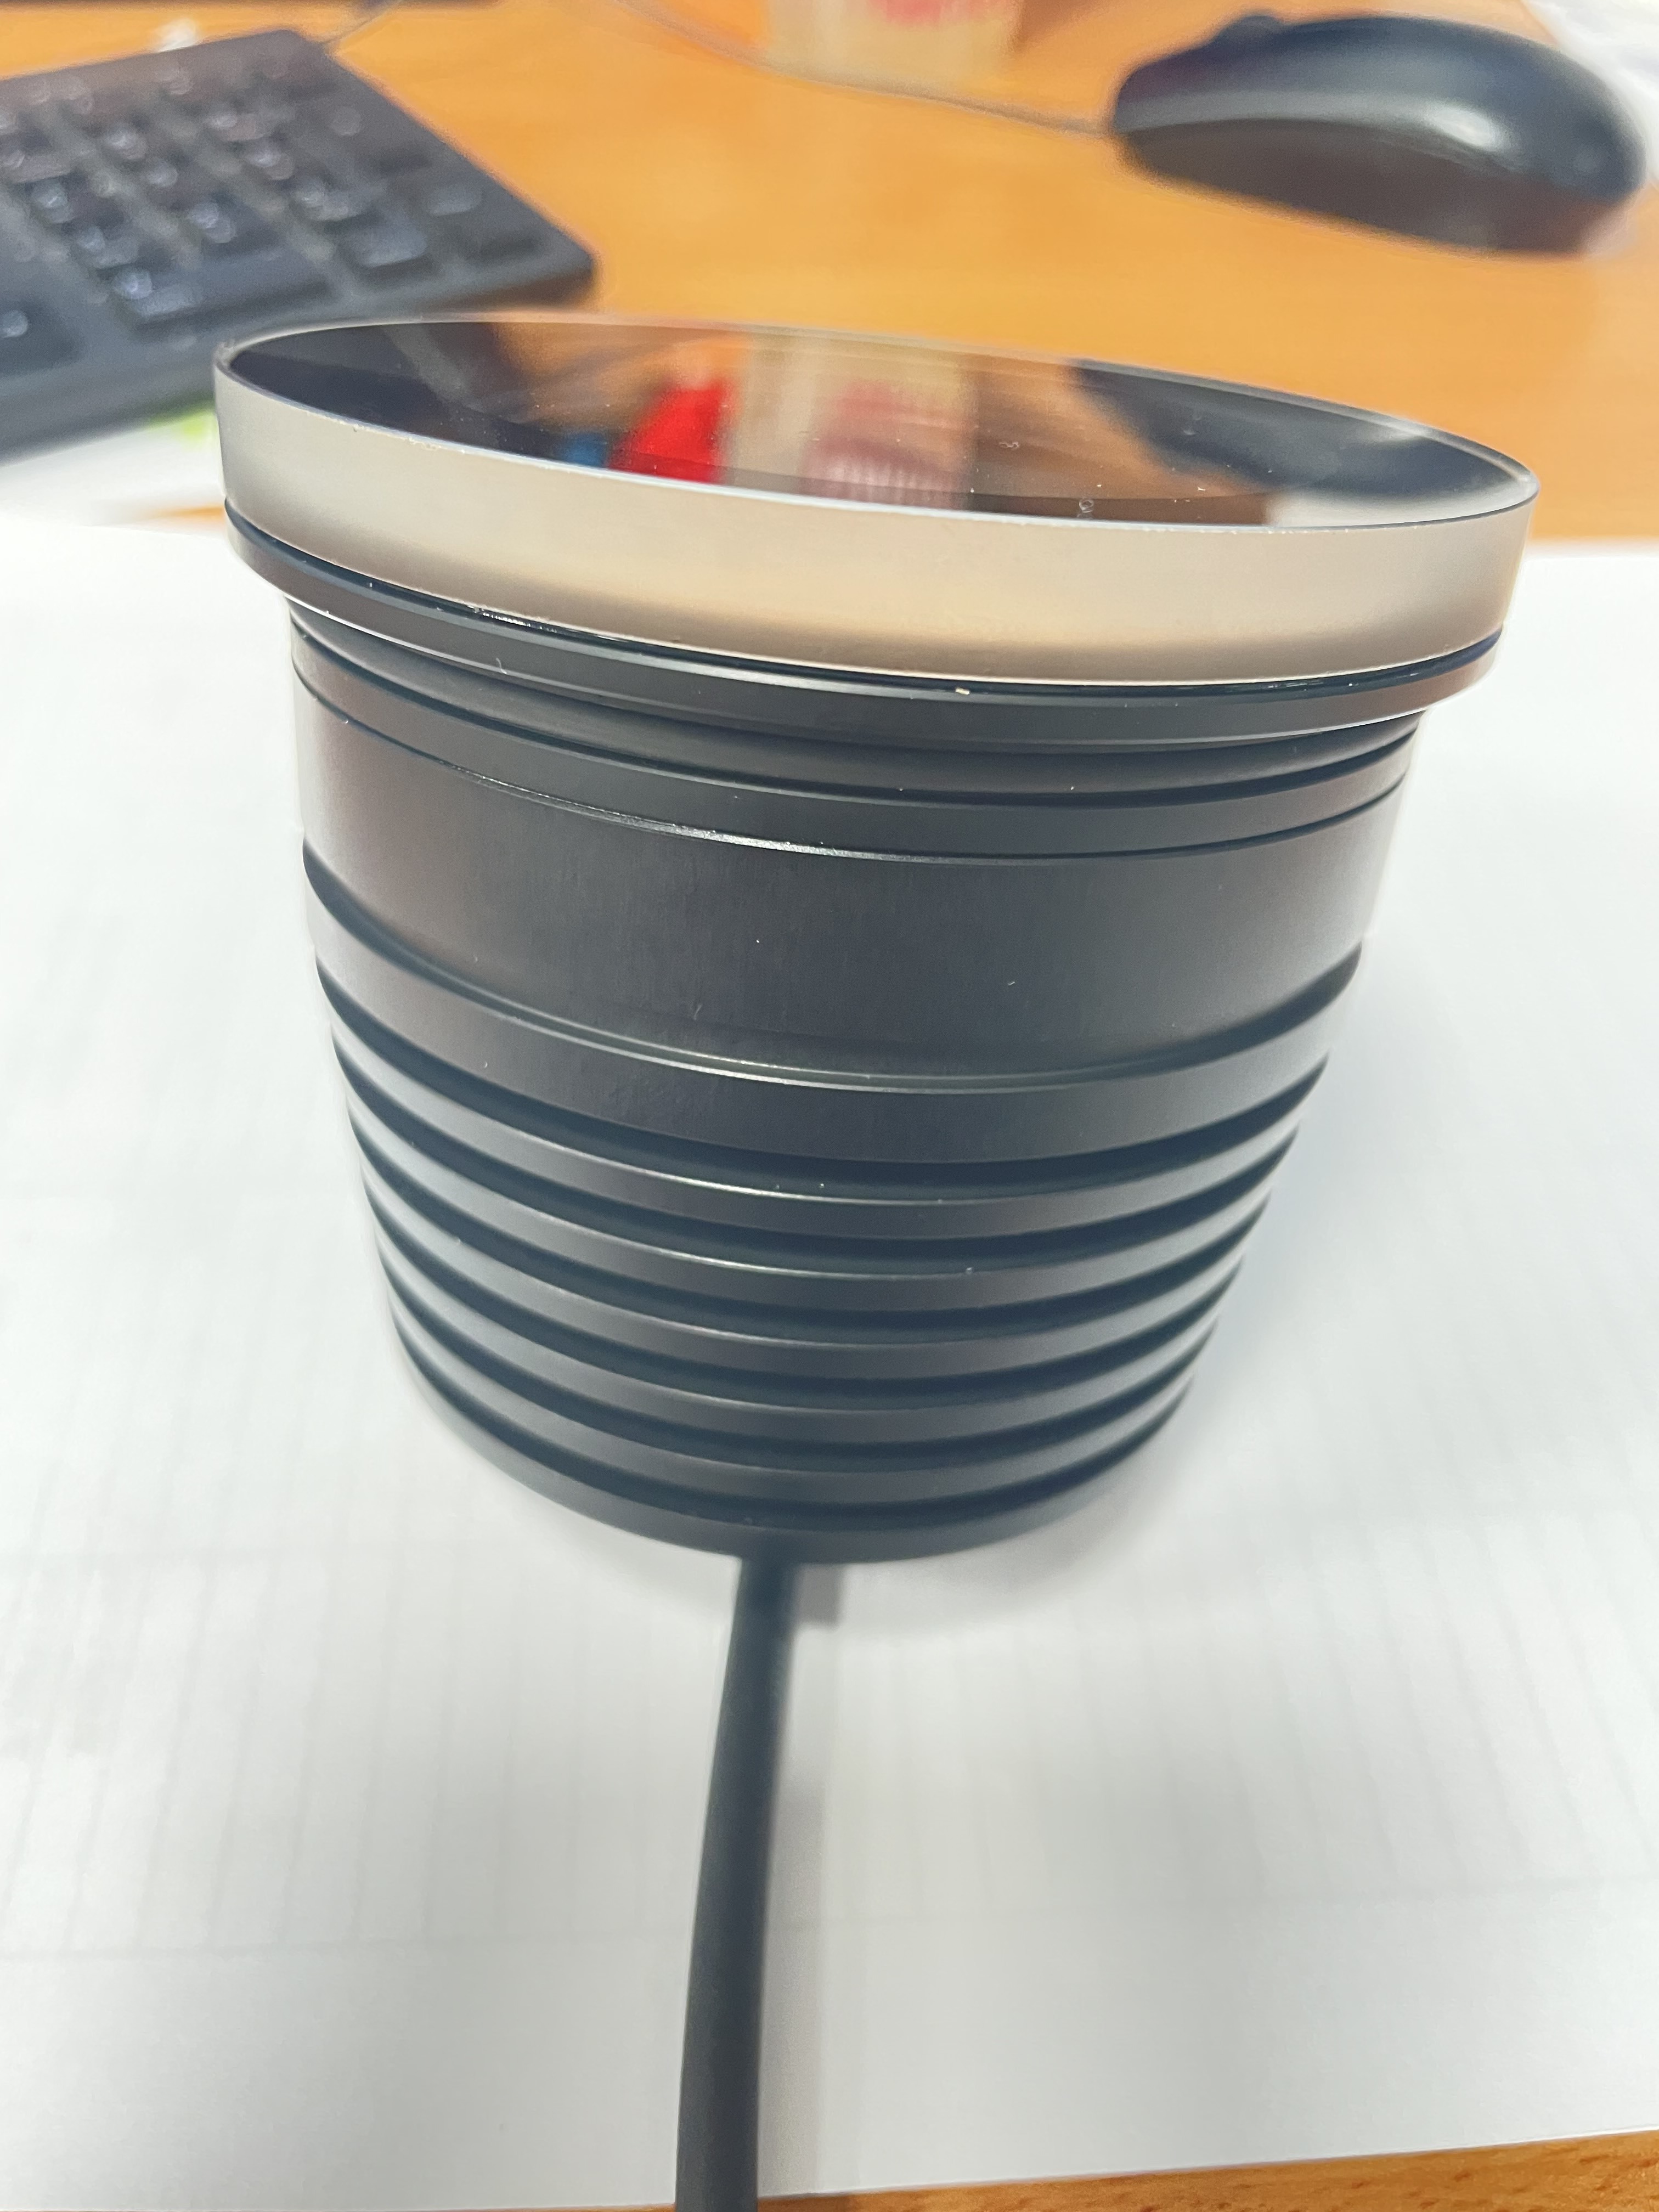
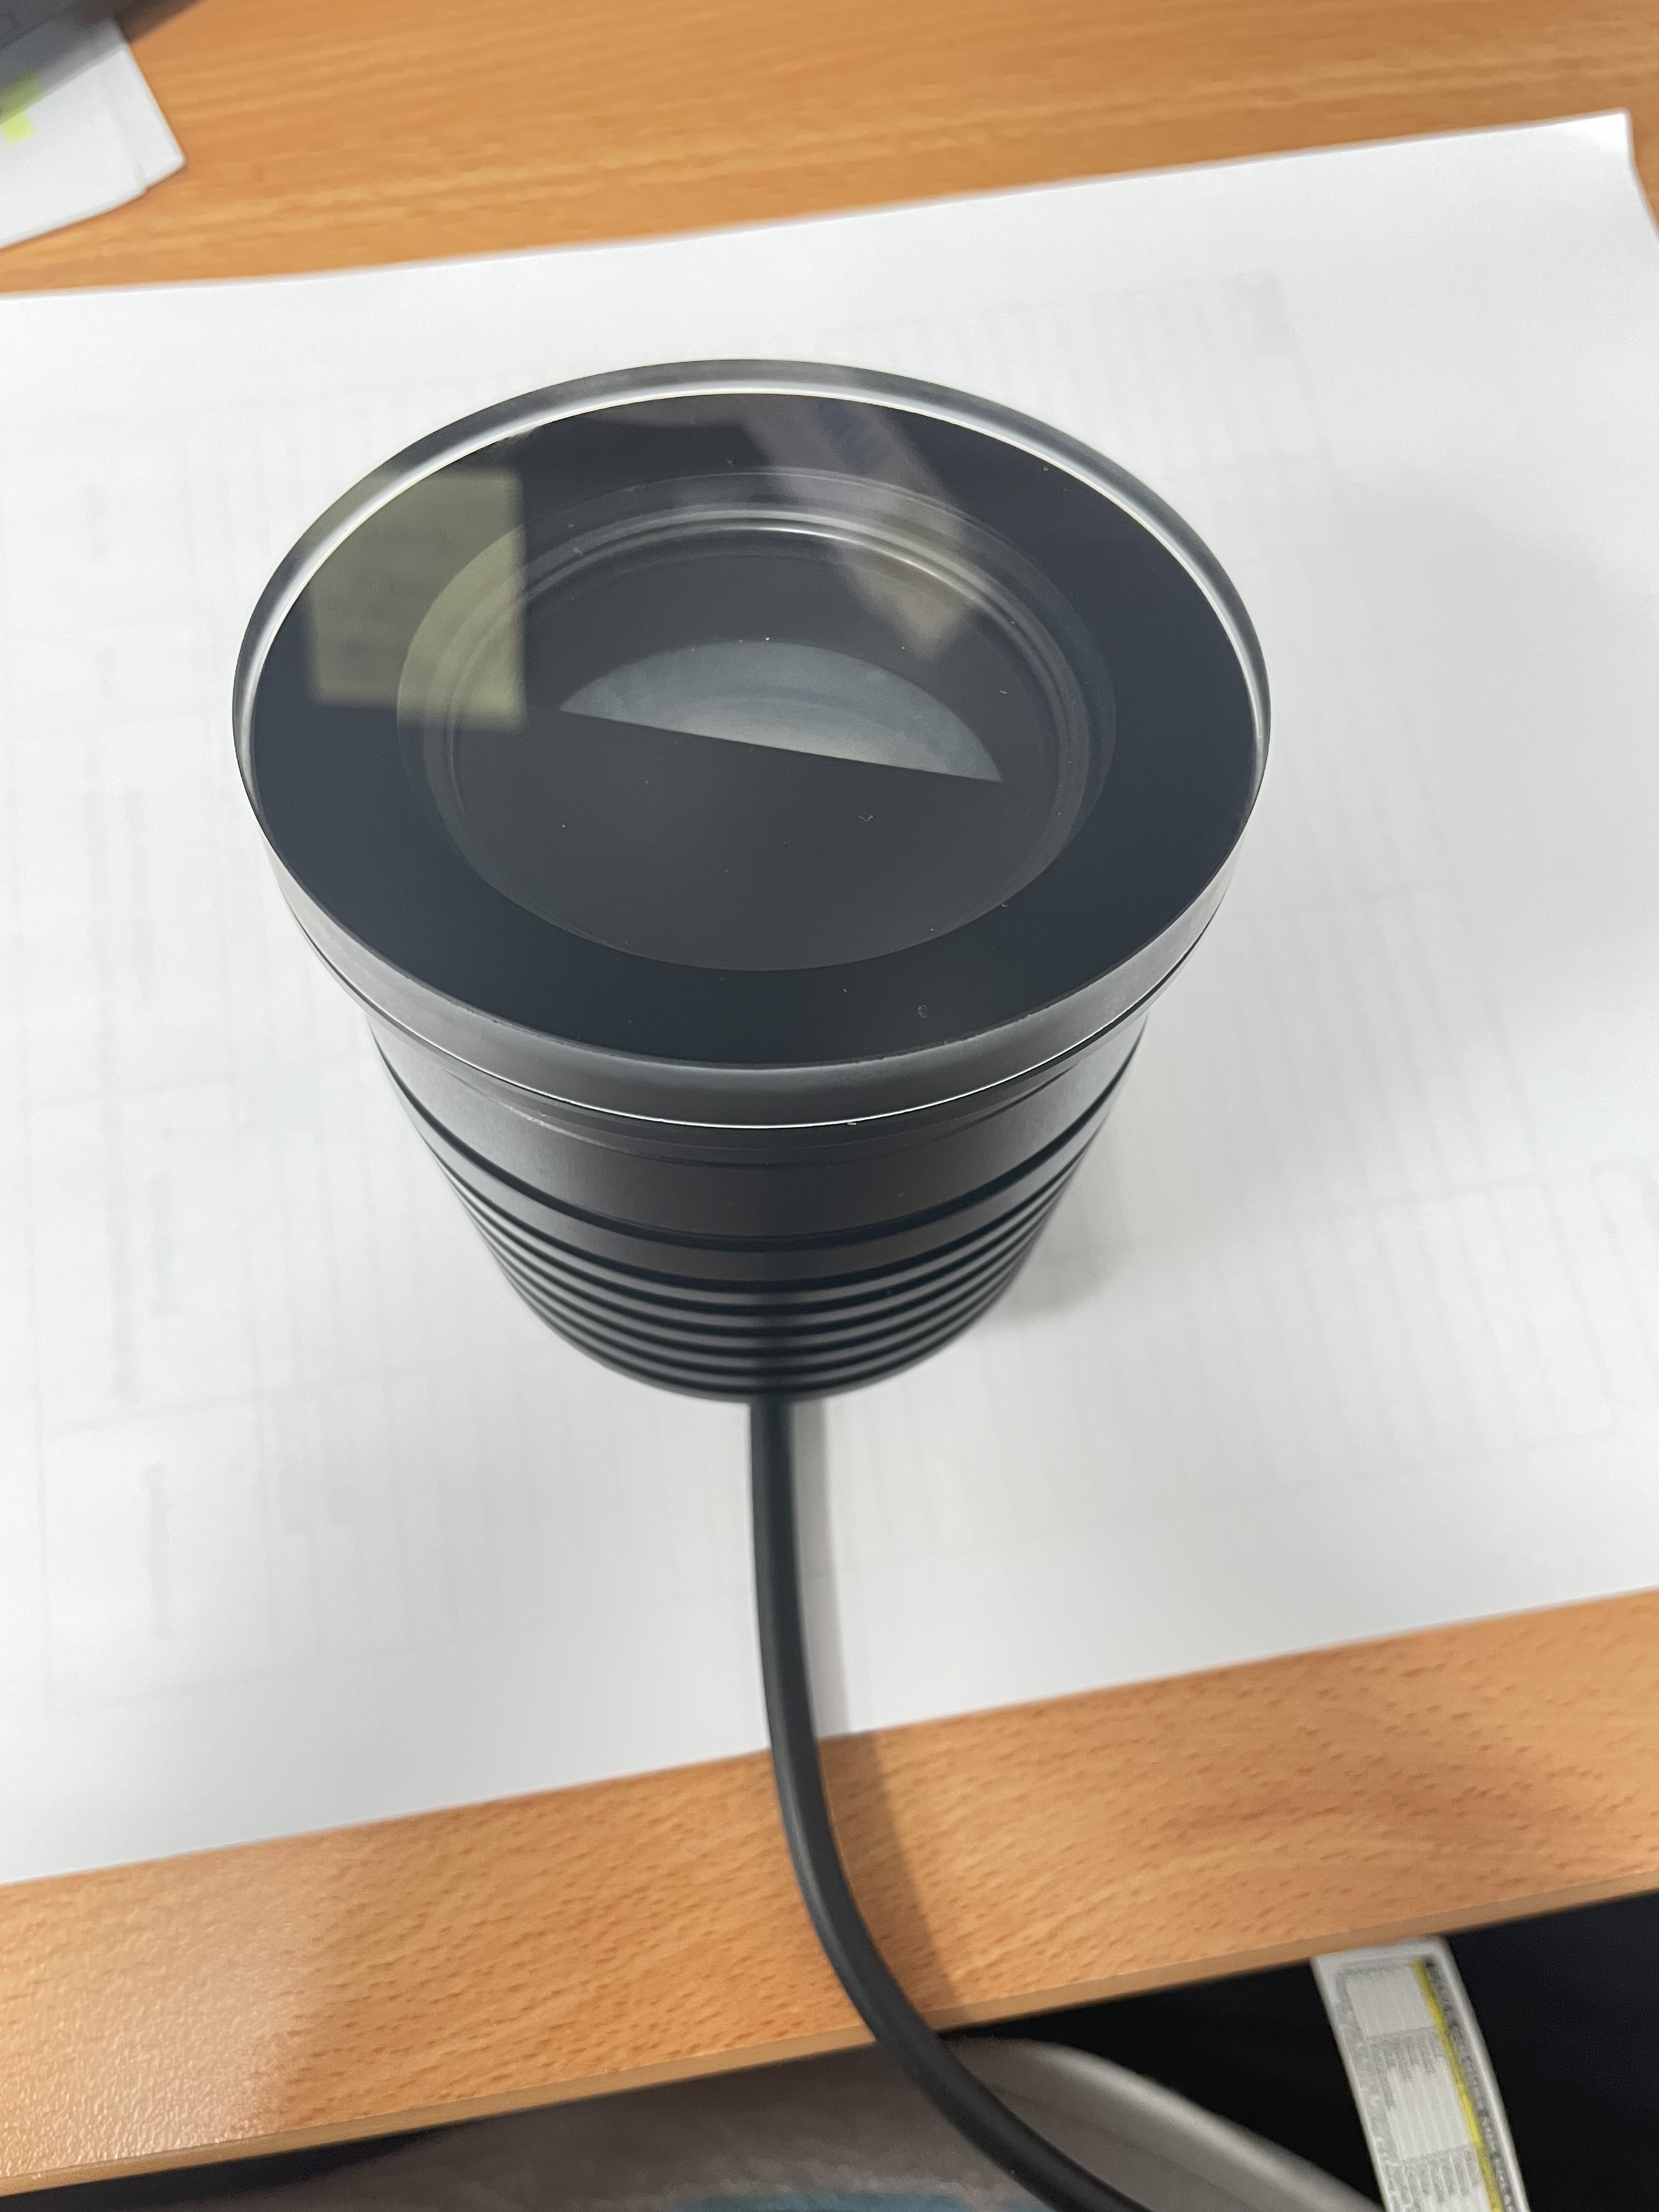
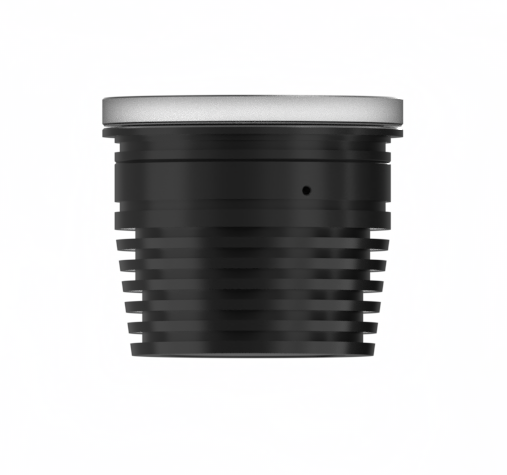
Hi all, i am a graphic designer working for a lighting company and we have a range of new products that i am trying to model up… the product has a glass top and from the photos you can see there is some sort of frosting on the side but it is not a heavy bump texture but it has a off white to it … can anyone help / recommendation on how i can try make my model look more realistic to the real product… i have attached both images of the product and of my current model.
Photos of product
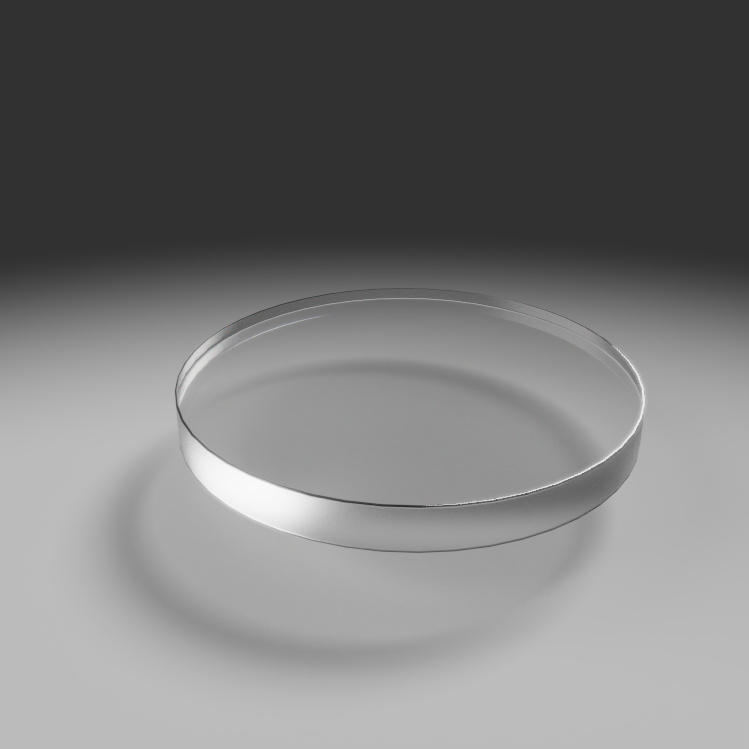
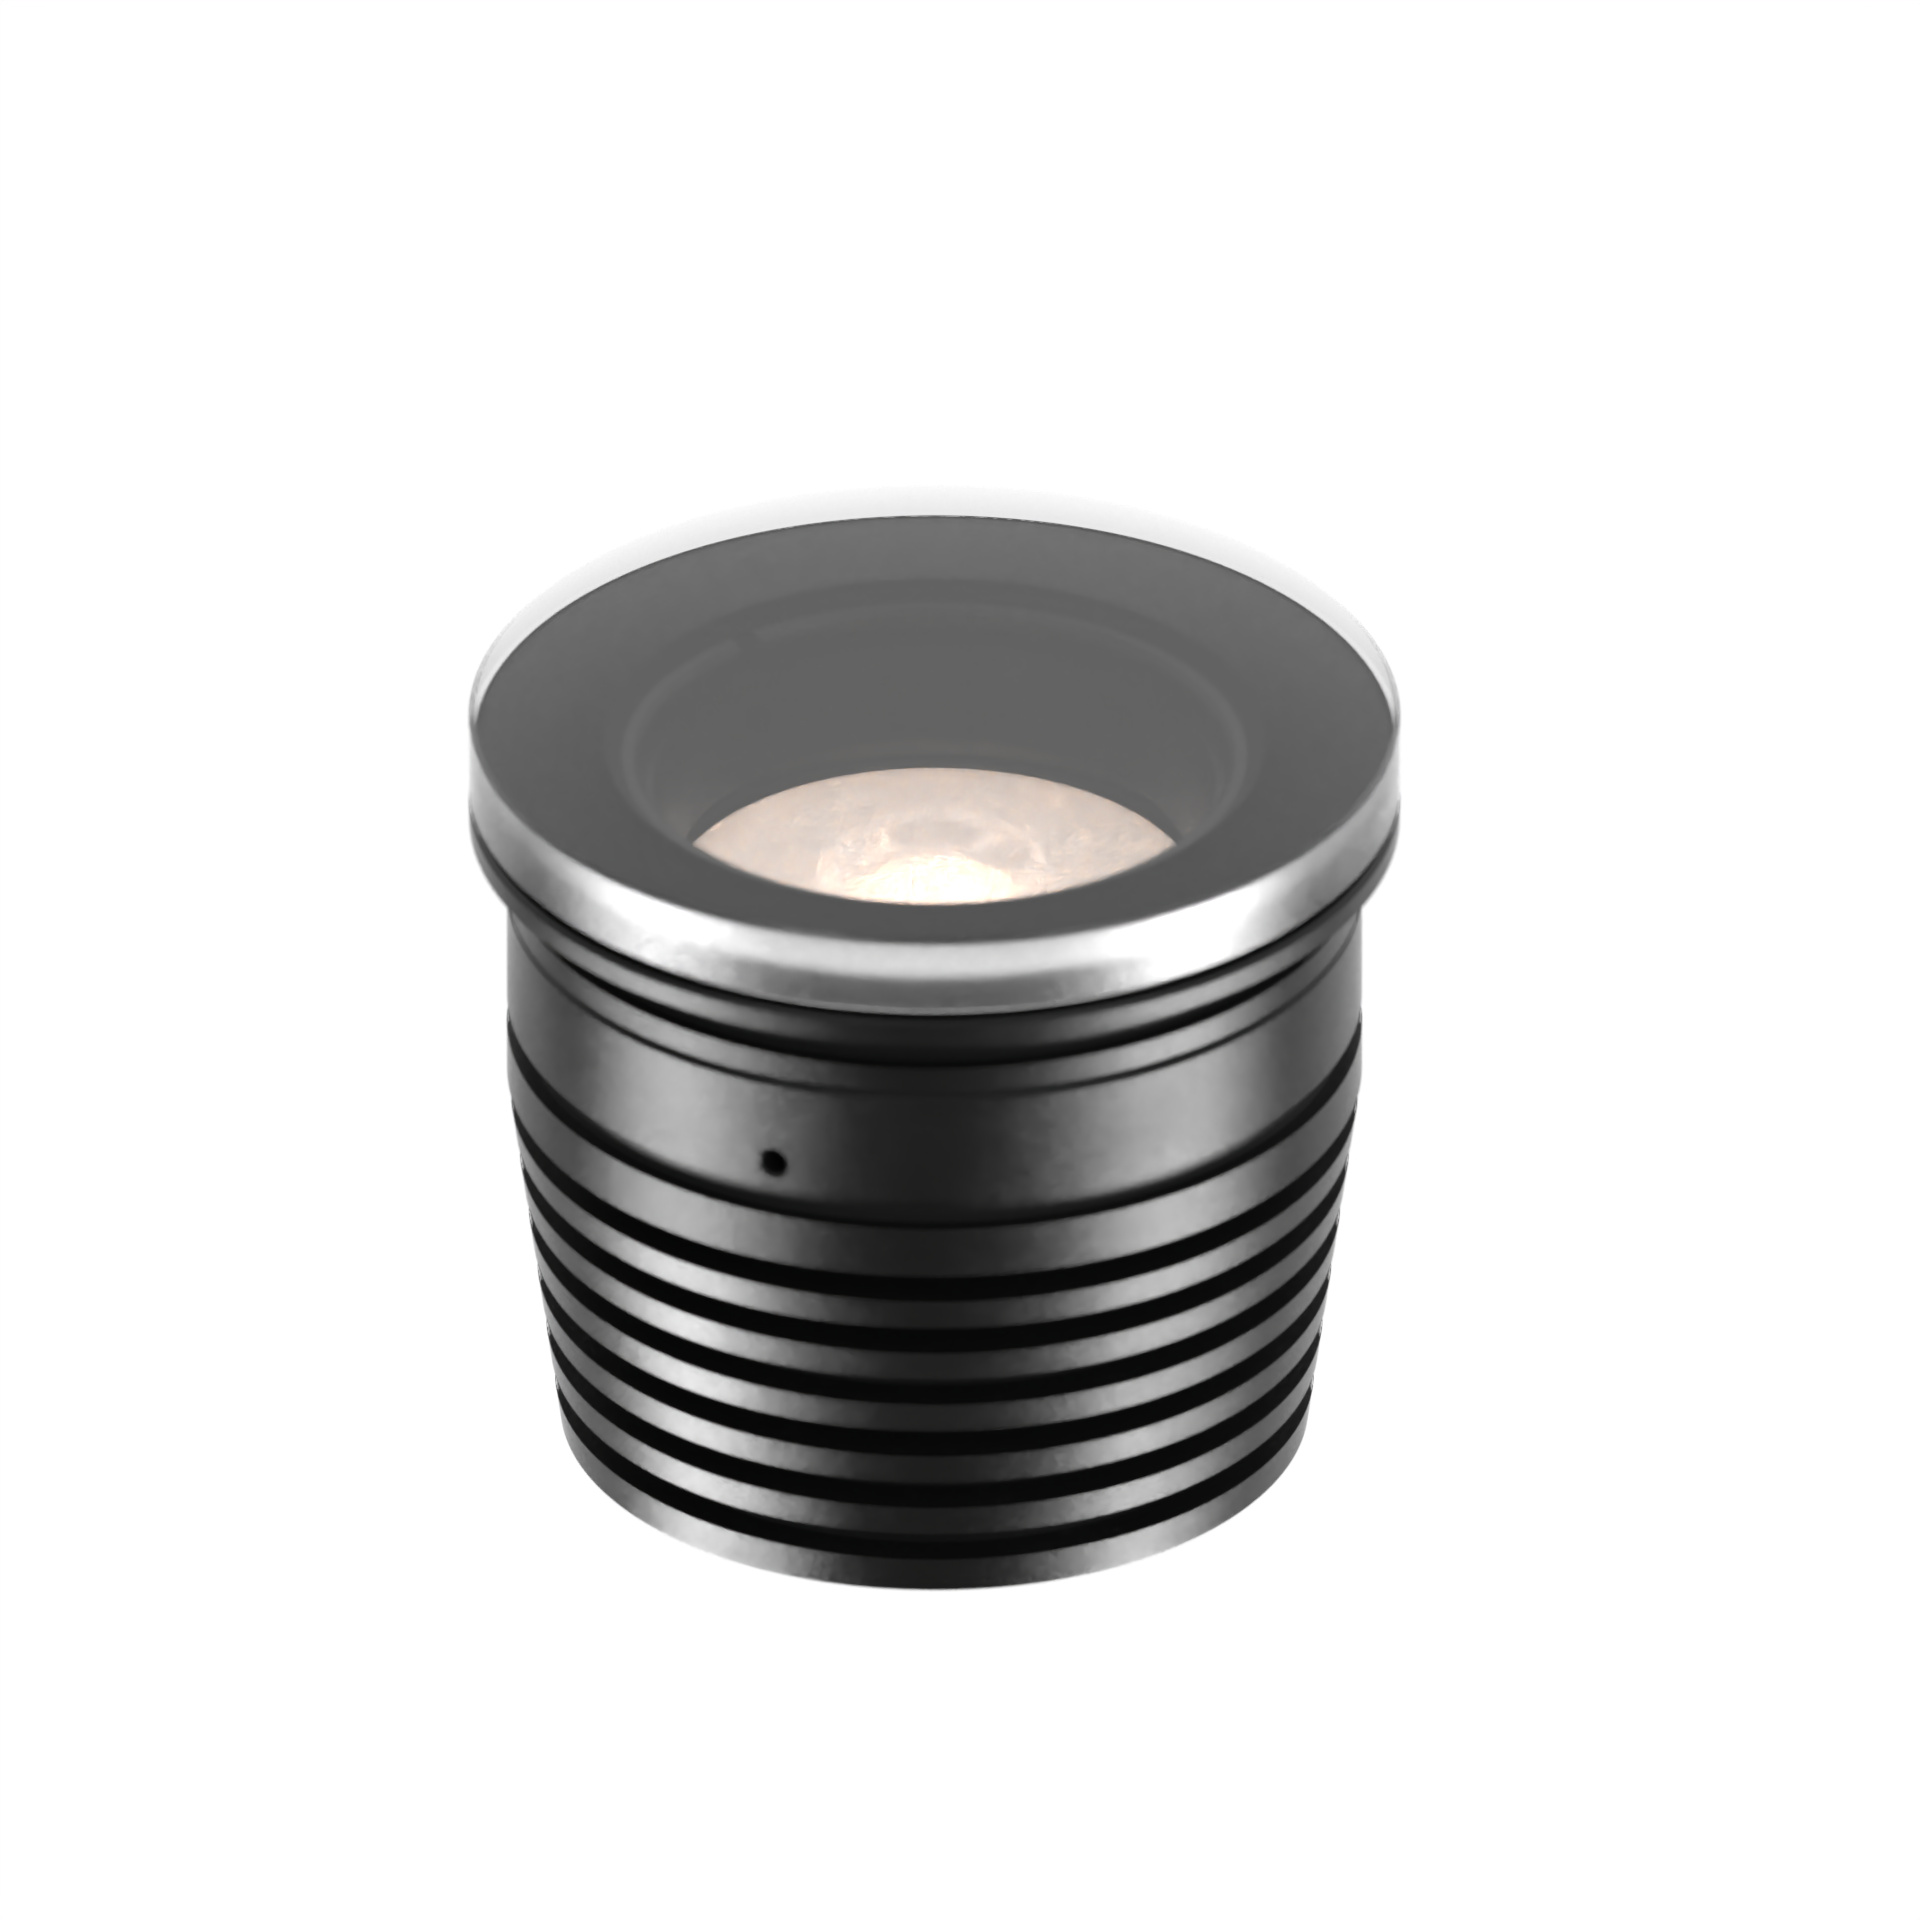
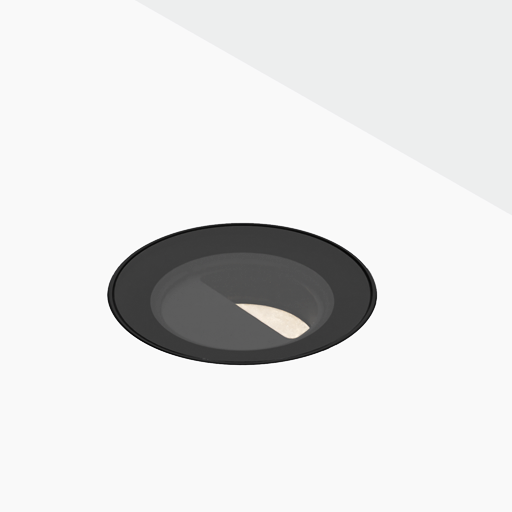
My model so far
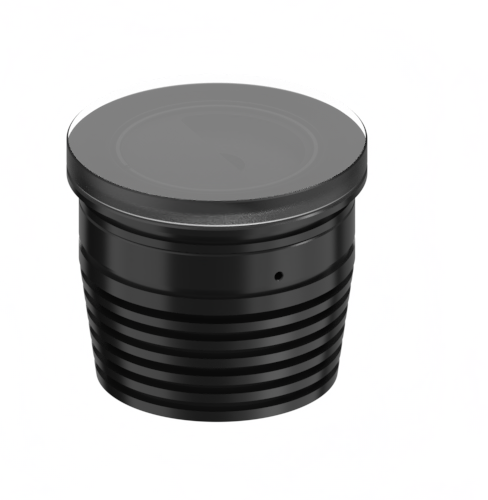
To me, this looks like roughness, not a bump texture. Having a higher roughness on the side and a polished surface on the top should do it. Also, I’d use a cloudy plastic with low cloudiness value instead of glass. That would give you the slightly opaque/hazy material appearance.
1 Like
embedded KeyShot 2023 bip.pptx (112.3 KB)
I jused a dialetric material and control the roughness on the side with a gradient.
To see the details of this scene, just extract the embedded bip file of the attached pptx
Hope that helps
CheerEO
Marco
3 Likes
I will give this a go thanks for the advice Will.
Thank you for the advice and help i will give this a go…
Thanks all
Hello all …
Again big thank you for the original help it was very helpful and got me to this render which i am quite proud of but i feel it is missing something… I am wanting to ask how could i make it look slightly more ‘photorealistic’ if possible? i have attached my current render and also 2 photo references of the product… i have also attached the products sister product which was photographed by our photographers ( thsi is the kind of photo finsih / close match i am hoping for) could i get some advice / tips on how to achieve this please?
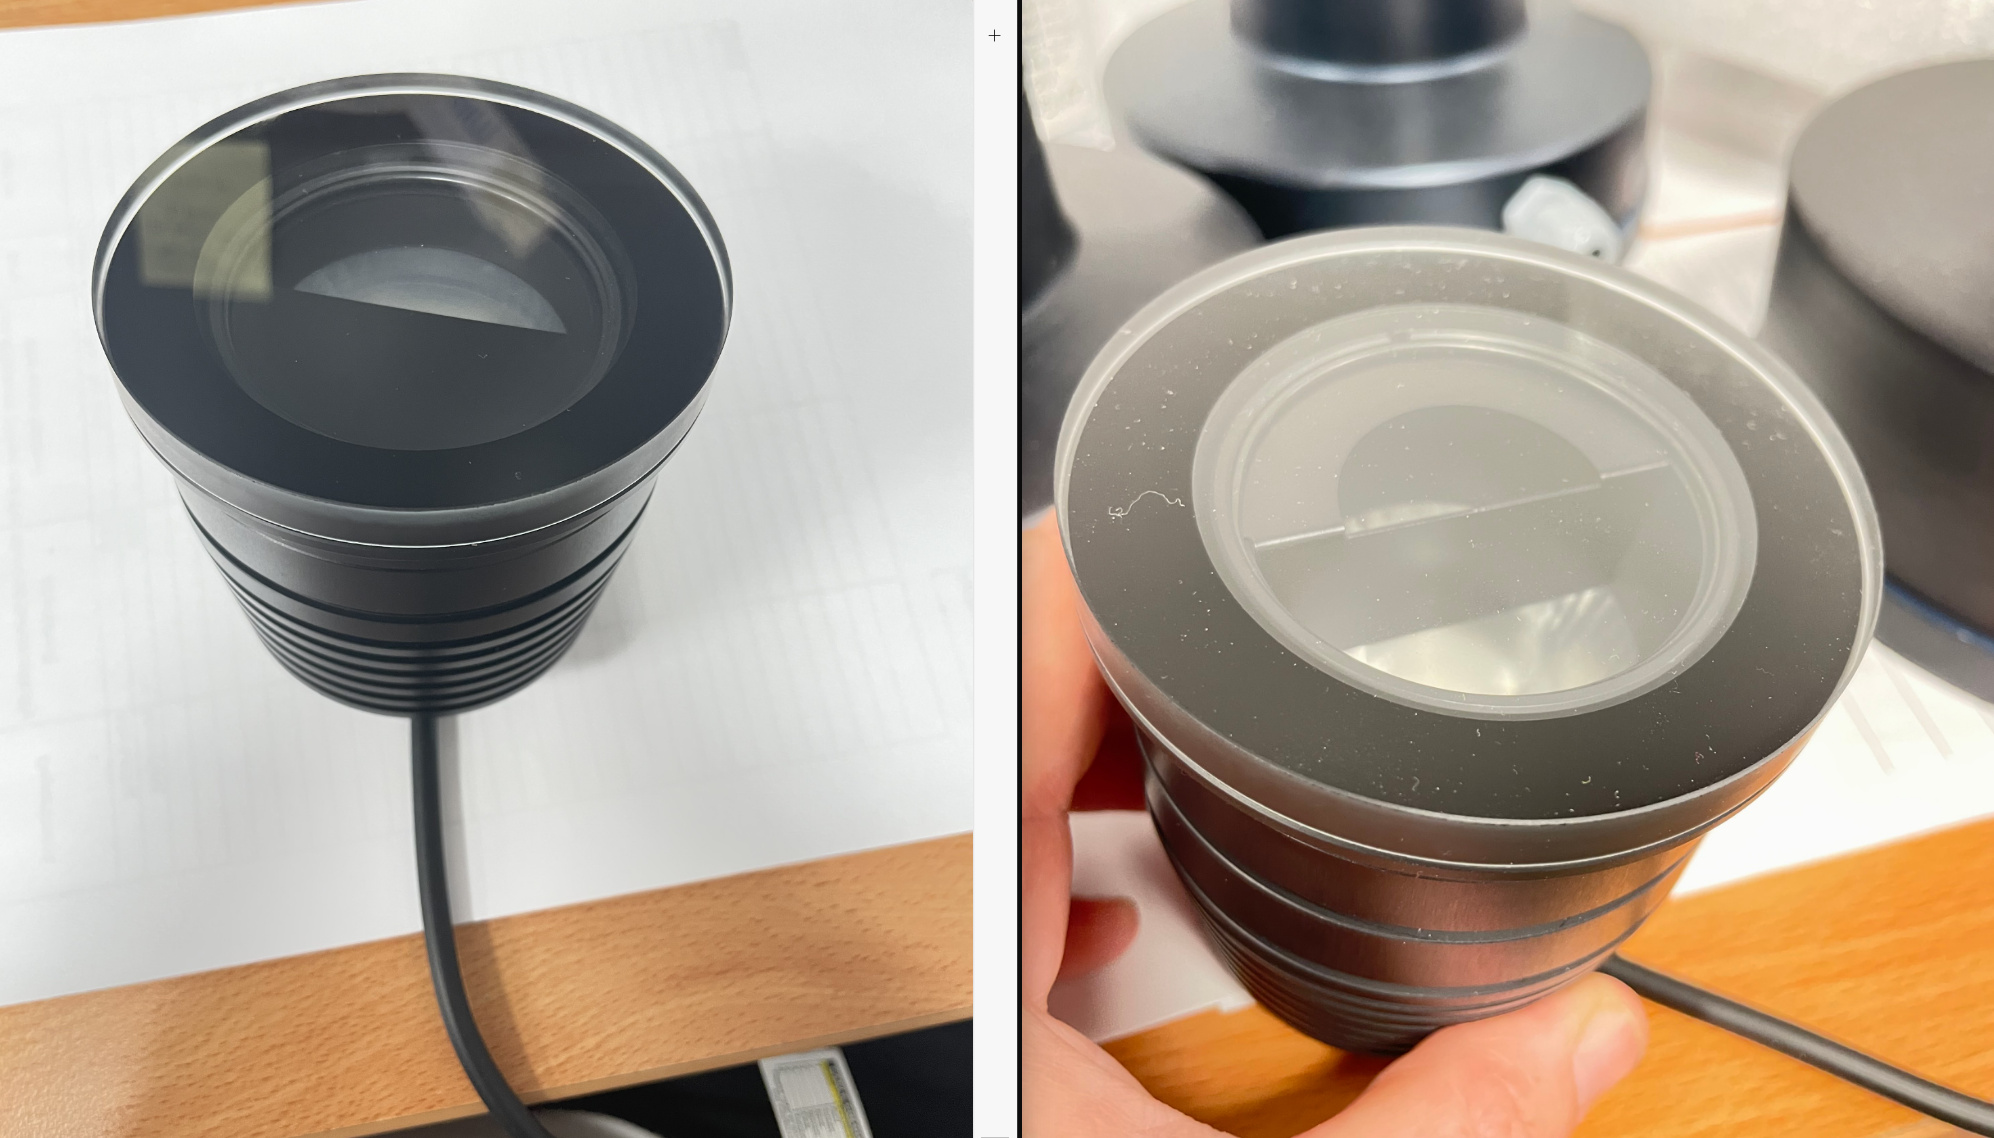
the sister product actual photography…
the new product is a glass bezel top where as the sister product uses a stainless steel bezel
A thing which always add to realism is not having perfectly clean products, like the finger print on the actual photo from the one with the stainless steel bezel.
What also help is to prevent edges which are basically infinitely sharp so no light can bounce off. Like at your render those edges which would normally be inside a ceiling. Their ain’t any light reflecting from those edges while on the 2nd image (first photo) you see light bouncing off those edges.
KeyShot has a great feature so you don’t have to model those but you can just select the part and give it a radius of for example 0.2mm. It just has to be really tiny but that makes it enough to bounce light back like in the photographs.
Those infinitely sharp edges are always a real give away if you want to see if something is a render or not, in reality those edges don’t exist. While it can be very small everything has a bit of a rounded edge which bounces light back.
1 Like
Hi Oscar,
oooh great advice and tips there thanks… how do i do the radius feature you mentioned? do you know if there are any tutorials on how to create this edging please?
These renders are going to be placed on our product website side by side so i wanted to try make these as photo realistic as possible or even be slightly close to the previous photography (example of how our website product page looks)
Here an example of adding a radius to existing geometry in KeyShot. What I often do is just check which edges of materials are actually visible in the render and if they don’t have a bevel in the model I add a little radius in KeyShot.
That can be a really tiny one but everything around you, even some paper has a bit of an edge so light can bounce off. I really like the fact you can add it in KeyShot since adding it in models makes it also much more difficult to change the model later on. Especially when working with mesh models from Blender/3DSMax etc.
2 Likes
Oh wow… that is a great tip… thanks Oscar this will help majorly to give some more realism, Thank you.
Do you know how i can make the inside area look more realistic at all please?

as you can see from the photos from our website the black edging is alot darker n pretty much stands out as acrylic on the glass and also the inside area looks faded on my models any suggestions please?
A lot of it I think is how you use the light and what is reflecting from above the lamp. I try a lot to just build a kind of studio like the one which would be used in real life.
Maybe it could help if you have a black plane in a bit of an angle above the fixture so it doesn’t get affect a lot by the background colour or HDR image. If I look at the overview image above it also changes quite a lot from model to model. Which has also a lot to do with the angle, the ones tilted more towards the camera look darker on average.
Also don’t be afraid to do some Photoshop in POST. Sometimes a little bit of extra contrast can help a lot and is only seconds of work. It’s also a good idea to put your screen on ‘photographic’ under the image tab. There’s also a curve you can use which you can adjust for more contrast or for example more highlights.
Don’t really think there’s one way to do things. It’s also what you prefer. I’m using Photoshop for ages so I mainly render things pretty much linear and save them as a 32-bit file (exr for example). That way I’ve a lot of bandwidth/values to do some quick adjustments in Photoshop/Lightroom or other software.
And if you save things with a curve-correction layer you can also adjust things afterwards of copy that adjustment layer into the other files. You’re more flexible that way than when you render an image from KeyShot and save it with a curve as a 8-bit PNG.
In the end it’s what fits you most. And it helps if the render as no blown out areas are totally black parts since you can’t get detail in those areas anymore in post.
Maybe Will Gibbons has some more tips since he’s the KeyShot Oracle 
1 Like
Thank you so much for the help and tips… i am very much new to keyshot n i just want to try make my renders photo realistic as keyshot has so much more flexiblity with creating new images without having the big photography bill haha… i will keep the tips in mind thank you again for all the help.
You’re welcome! For a lot of really handy tips be sure to check Wills YouTube, his videos really give practical information on how to achieve certain things: Will Gibbons | 3D Rendering - YouTube
There are also some great webinars from the past on the KeyShot channel where people explain how they use it at their company for different departments which can be really interesting if you’re also make ‘digital copies’ of all light fixtures you guys have. Especially how people organise their products and their materials in digital form.
As with previous reply here you see two of your earlier images but you can see what difference it makes what is reflecting in the glass and how the roughness of the glass impacts the overall look as well.
Good thing is that experimenting with KeyShot is quite easy and I often look at what normal photographs use as a light setup and try to mimic it in KeyShot. These spots are mainly used in ceilings I guess so they would reflect more the floor instead of a light ceiling or sun light for that matter.
It could also be cool to have another render of each fixture with only the part you will see so people get a bit more an idea of what will be visible. Which would be really little with those two new fixtures compared to the others with the metal rings.
Of course it all depends a bit on who your clients are, architects can easily see what part will be visible but normal consumers have more difficulties thinking away the later ‘invisible’ parts. Those are nice things to experiment with I think.
2 Likes
Hi Oscar,
yeah i follow Will’s youtube channels and also on his newsletter as well his stuff is great and also been really helpful and i have put a request in for budget to do the courses.
In regards to the environment, this is great advice, the issue i sometimes have is my manager wants the product to not have many reflections etc (which is impossible in real life i know) so i tend to try use lighting studios but as mentioned before i just find that when the product is rendered out it is not as strong or it looks faded in colour etc is this a render setting situ? i am tryin to do what you advised with doing stuff in post render with photoshop etc as well … i have also done a version which shows the product in a slight situ with this one, it sits into the floor so did a floor / fake wall versy basic to follow our datsaheet style but yeah again i am wanting these to be photo realistic which i am prob asking for too much for my skill set haha. But the help given so far is great thank you again for your help.
Hi Trevor,
Yeah for product shots it makes sense not to have many distracting reflections. But I think that if for example the ceiling is grey and it’s a floor light the grey combined with the bit frosted glass will appear faded. Because the grey color gets reflected but also scattered through the frosted glass.
I think same would happen if you hold a piece of light paper above one of the real examples on your desk. That’s why I thought it might help to have a dark surface above the lights or maybe almost black with some kind of subtle (also dark) gradient. But that gradient would be mostly to ‘show’ the glass a bit more. Like Apple used to do with their iPhone images.
It’s a bit cheesy to do it like this nowadays but it helps to make clear it’s glass people are looking at. That can be helpful because otherwise without any reflection it would maybe look too solid and almost like there’s nothing on top.
Just for a quick idea, this is a spotlight with the default dark studio environment. But if I rotate the scene you see what impact it has on how the top of the glass looks. With a lot of contrast you get a ‘glass’ feel. With a grey you get a more dull feel which doesn’t give a good idea about the material. And if it’s totally dark it looks like there is no glass at all.
So maybe you can sit down with the manager just so he also gets an idea that everything is possible but it’s mainly a matter of taste and how you want things to appear.
A good thing to know is you can also put pins on the HDRI which actually absorb light. Like if you want the sides lit like with the examples you might not want that light on top. By moving a ‘black’ light around you can prevent it having an impact on parts you want to keep dark.
1 Like
Hi Oscar,
again brilliant and great tips / advice. I agree that if we want to try portay something is glass like then the classic line effect is the best way to do so as it gives the impression of glass.
When doing a render of a product do you advise to try make some sort of light box around the product in keyshot / creating emissive lights using shapes or using the envrionment tabs? i find that sometimes the environment / make shift created lights clash
Hi Trevor,
Thanks! Using a setup that represents a lightbox can work really nice if you want soft shadows caused by very diffuse lighting. But with those spotlights such diffuse light can also really make it look too clean so you basically loose little details because of the picture perfect light.
I’m no photographer but I often check online sites just to get an idea what they would use. Especially with metal objects you need a bit of contrast in the lights/environment since metals always take most of the color by what they reflect.
If you use an HDR the advantage is that it renders super fast but sometimes it’s not flexible or precise enough I think. The size of HDR/ground is one you should really keep in mind so it actually fits the object/surrounding.
I once bought these HDRIs basically just to be able to quickly check very different looks by changing the HDRI. It’s really nice how to see how light is such a big part of the actual render if you for example use simple 3-point HDR or a more complex one with some contrast lines.
ArtStation - 50+ High Quality Studio HDRI Pack
You could also take a look at car photography that’s mostly done with most light coming from above since that looks most natural since we’re used to sunlight, well if you don’t live in The Netherlands currently.
If you would be able to put a car in some kind of lightbox-tent kind of thing without any contrast than just very diffuse light it would loose all lines what make a car stand out. And a car is basically easier than your spots since they basically don’t have flat surfaces (well before the Cybertruck got drawn by Elon’s 4 y.o. niece  ). Even really subtle changes of light will cause curved reflections while the top of the spotlight is absolutely flat so you need a bit of contrast in the light what comes from above I think.
Anyway, there’s not really one way to do things and it’s also a matter of taste. It’s just not easy with an object which is actually made to be as invisible as possible when it’s turned off 
1 Like
Brill thanks for all the help on this oscar, it has been great.