How to Automate Your Rendering Using KeyShot Scripting

I have found the above blog post on using script to automate rendering. This will be game changing for my work where I need to render bathroom vanities that are offered in 10 different wood finishes with 10 different top options (9 stone tops and built in vanity top options). There are over 1700 product codes.

I am not familiar with coding at all. I have followed the blog post and downloaded the files but I found the step by step files very confusing. How do I edit the code to use 10+ material templates on all the CAD files saved in the model folder.

Vanity_BatchRender.txt (11.9 KB)

The above attachment is how I edited the script (guessing with trial and error). This ran however it only added the first material template (BV) to the queue. Also the models would save on top of one another rather than removing one model to render the next. See the image output below.VT_Realistic_Camera%201|574x499

Hi Hilary,

You already got further than me so interesting to follow this for me. I saw a KeyShot presentation today and maybe you can contact the guy from the presentation (email at the end). They are also working on scripting 100s of materials for their Speedo sunglasses.

Interesting presentation and at 21:57 (should start at this time) you’ll see what they are currently working on: KeyShot World LA 2023 - Speedo X KeyShot - Alex Moy - YouTube

[edit]

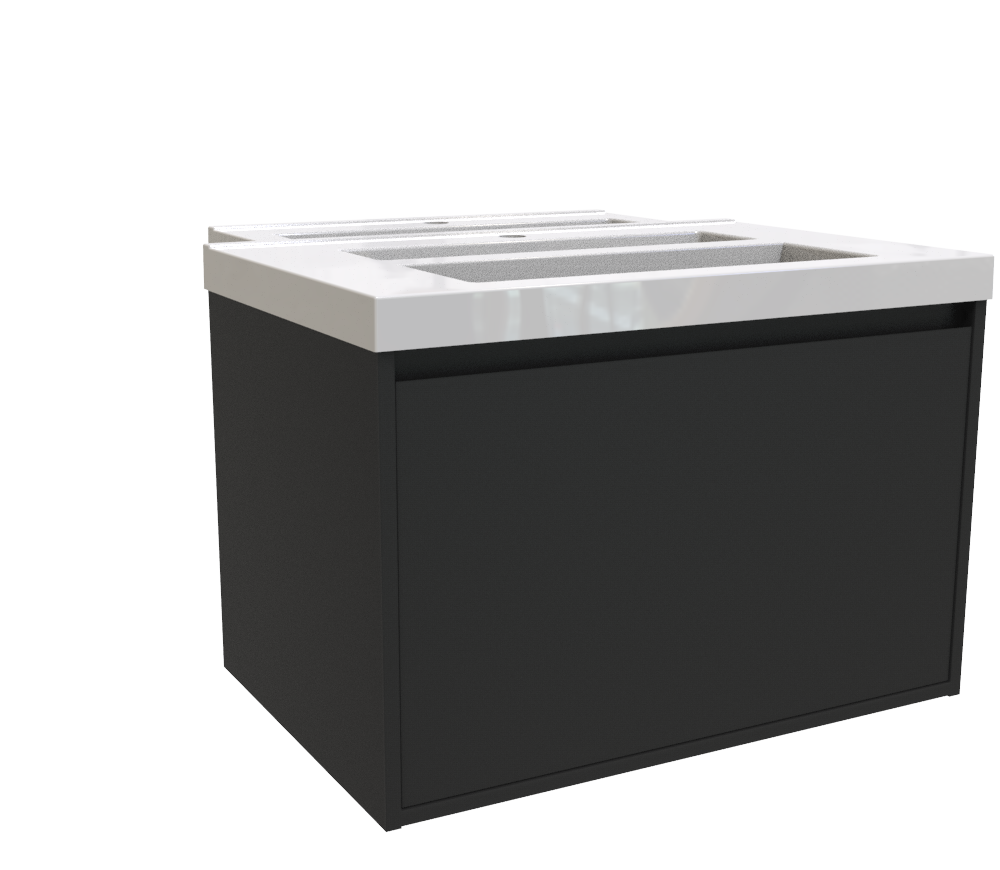
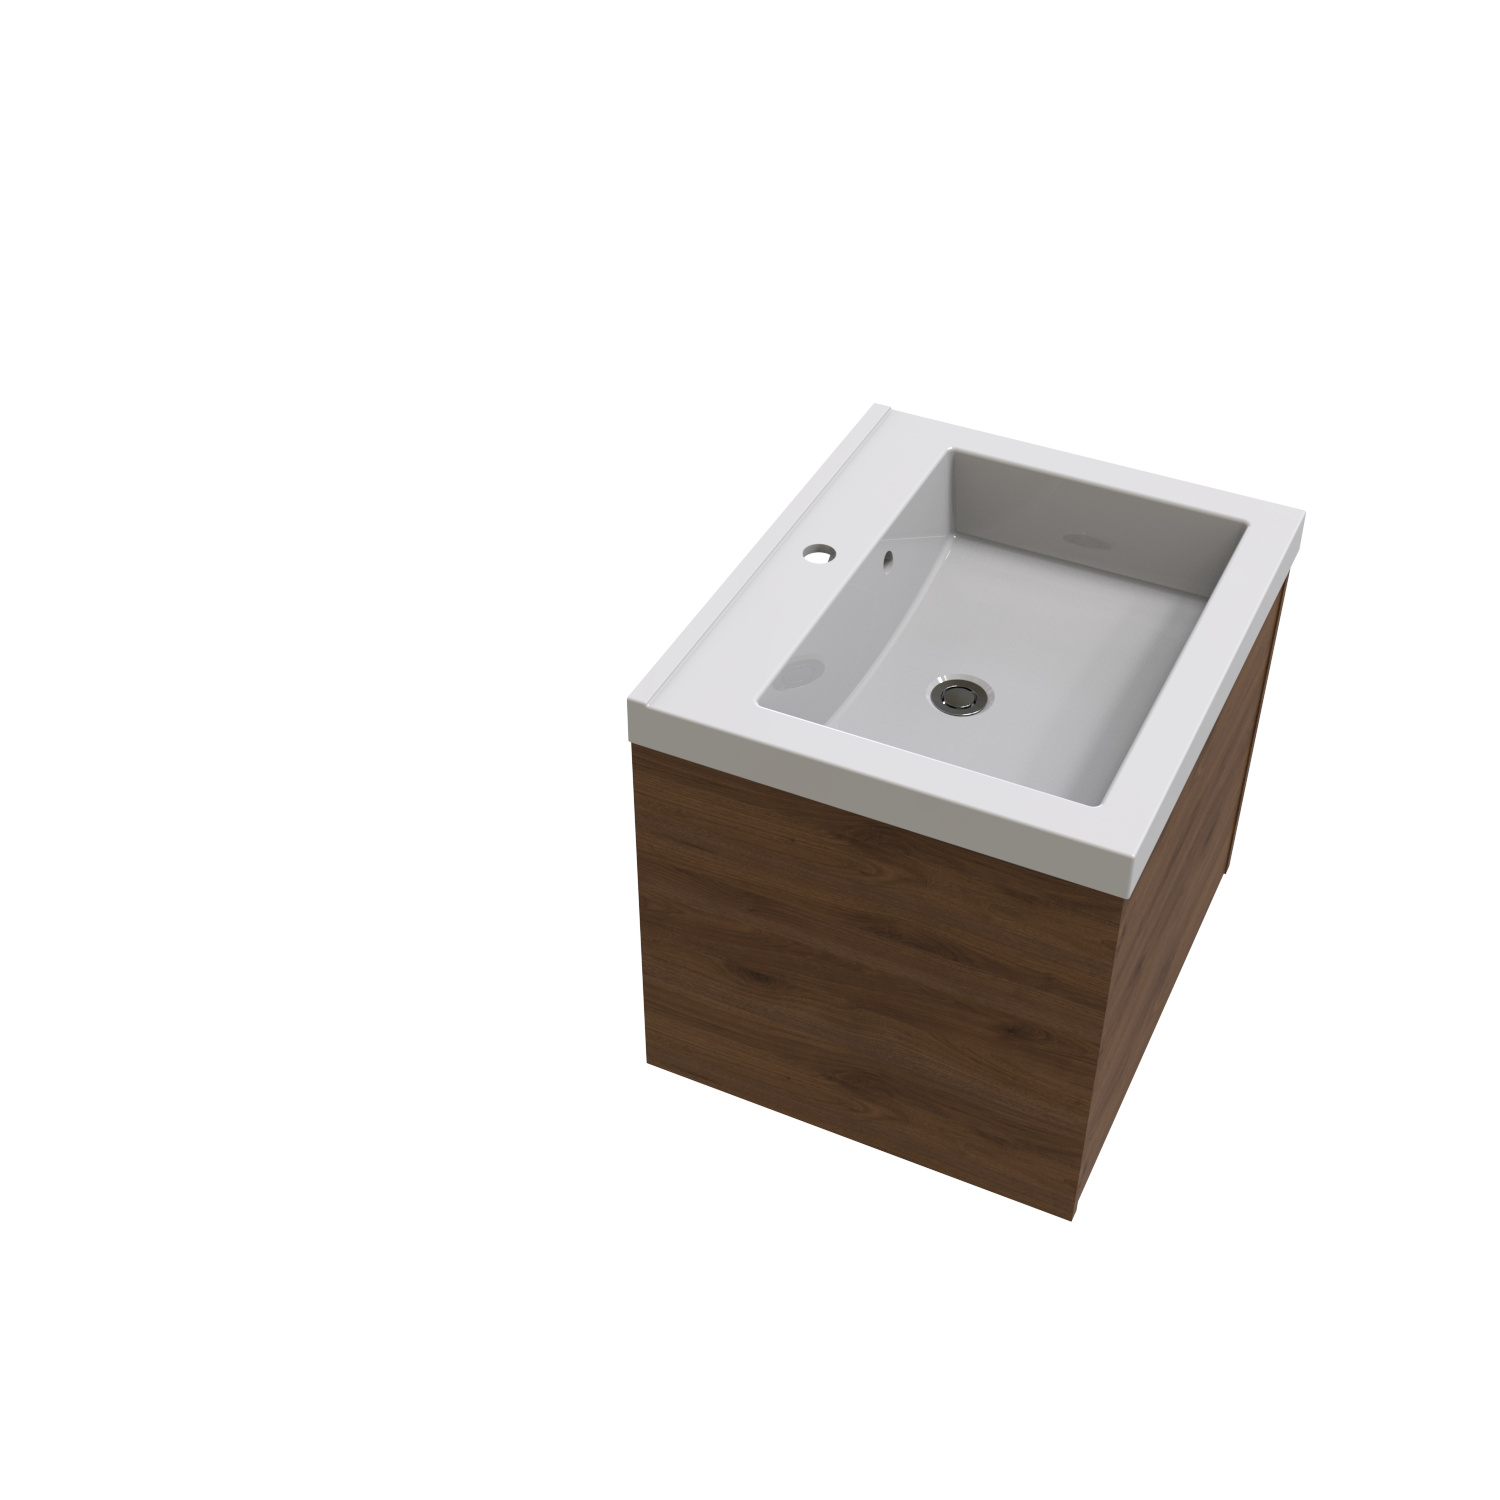
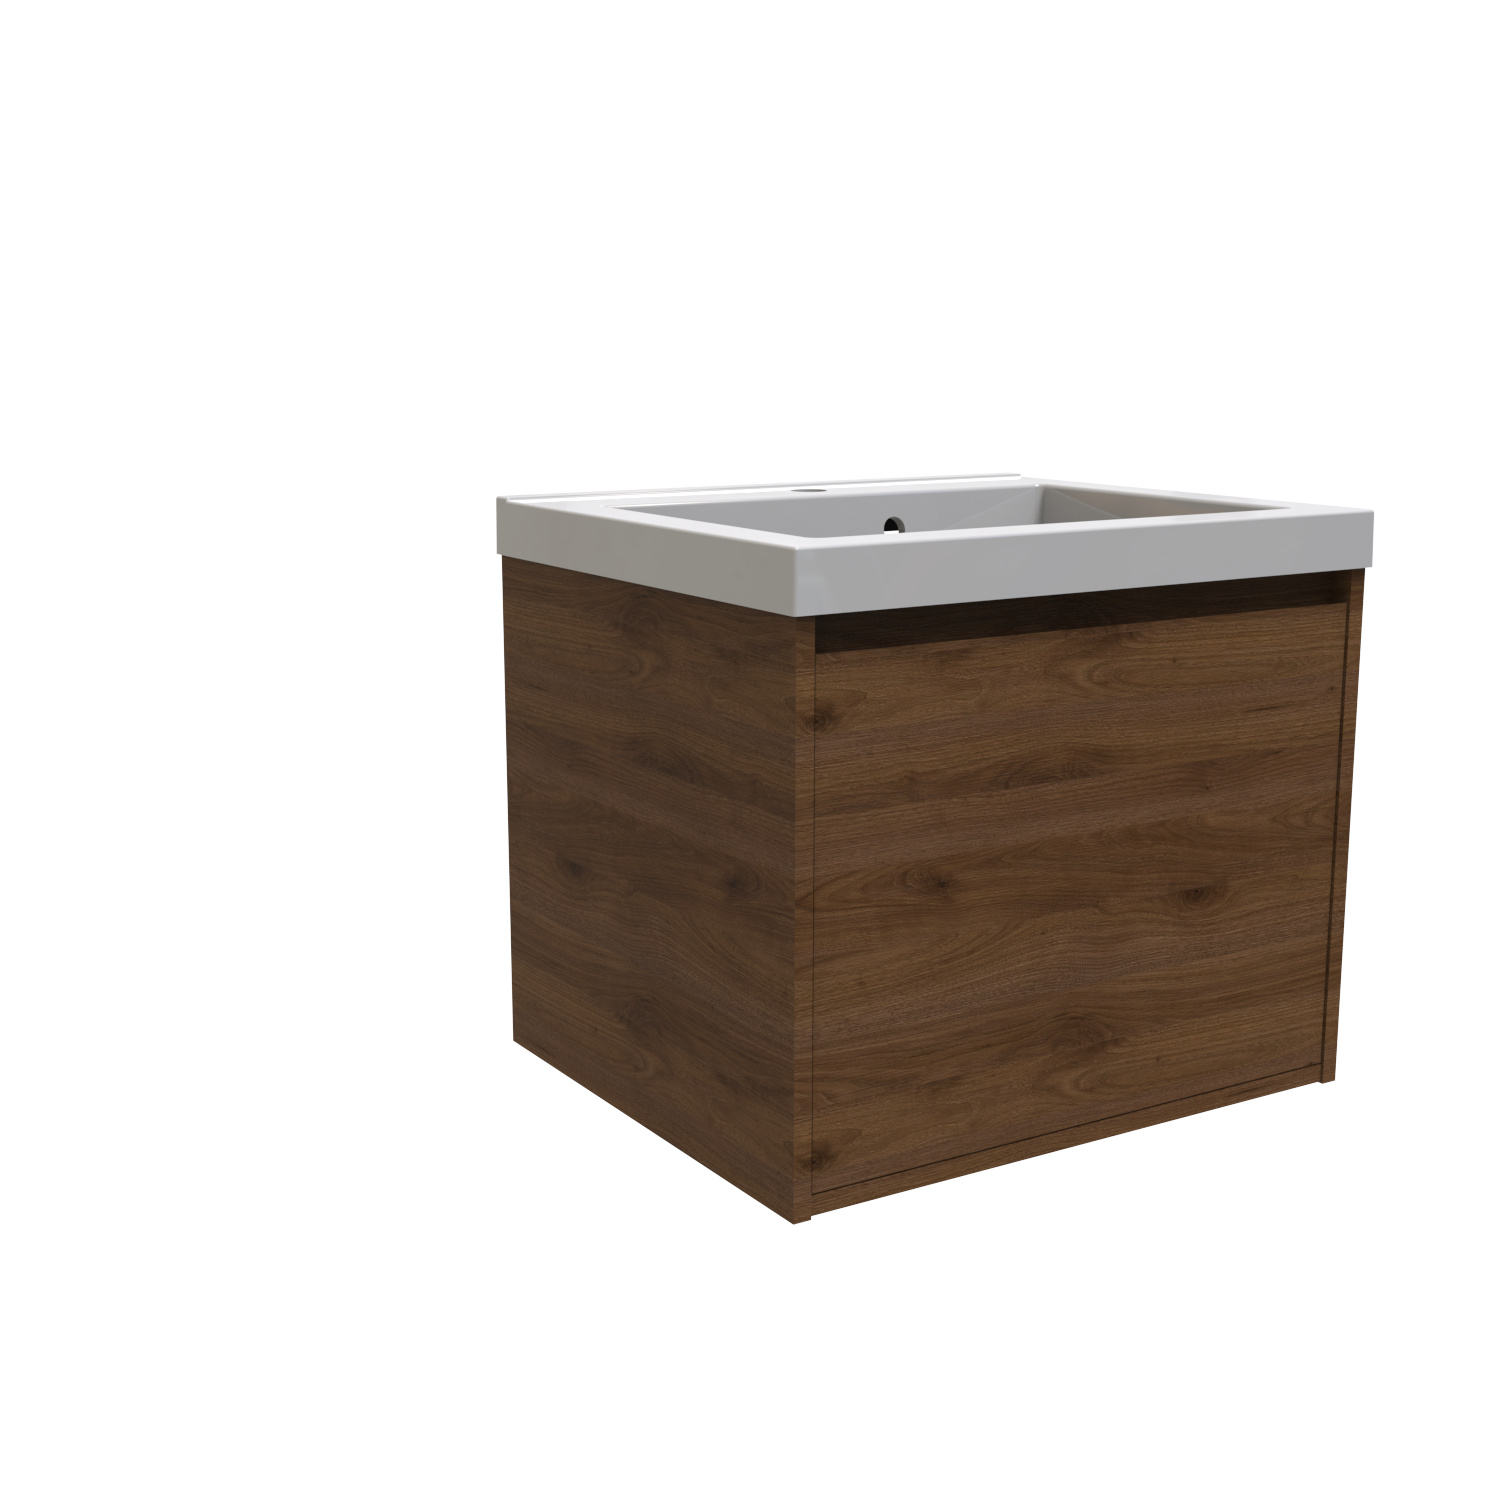
Had some trouble viewing the image with the link in your post, not sure why. Hope this helps (for others as well)

About the script, I’m sure someone can help you with some actual code but the part which I think needs some changes is the part from here, line 185:

for file in os.listdir(importFolder):

I’ll try to explain what happens in my best English.

Currently it loops x-times (number of files in directory) through the loop and within that loop it loads each file and changes the variable for the materialTemplate 10 times (for each file, line 213-222) and since ‘BV’ is the last value of the template that will also be the one template that actually gets rendered (together with all models on top of eachother).

What you actually want is that it uses the queue and maybe the templates that should be used are based on part of the filename.

To have it use the queue I think you need something like this:

**setAddToQueue** (...)
Instead of rendering immediately then it will be added to the internal KeyShot queue, waiting for processing. Note that a copy of the scene will be saved to disk each time. Call  *lux.[processQueue](https://media.keyshot.com/scripting/doc/10.2/lux.html#-processQueue)()*  to process the queue and render what has been added to it.
add = Whether to add to queue or not. *

Together with this you need to build in some logic like a conditional statement that looks at a part of the filename and sets the right material template. If it’s not based on the filename you could for example put all those template names in an array and use a counter to go through them and it’s also handy I think to have the template-name in the filename as well.

Within the loop you also need a ‘clean’ part. where you delete the other table top or entire scene. I don’t know which code would be handy for it but a logical place to put it is after the file gets transferred to the queue. That way it can load the next table top at the top of the loop again and start with a clean slate.

And than after it looped through all your files it will exit the loop en go to line 237 and line 240 to process the queue.

Like said earlier, I’ve no experience with Python but I think it might help a bit if you see what is happening and why it behaves like it does. I’m sure some can explain better or offer some code as well.

Once you get the logic of the code a bit it’s also easier to think what’s the most smart way to all the different models you want to render. Especially if for example product codes already have certain logic like model X starts with AB in the code, you can use such things hat again in your scripts which can save you even more work.

When I did some PHP/javascript code I liked to draw kind of schedules on a piece of paper so I got a bit of a clear view on how it should run through a bunch of files. If you have for example 10 different tops with 10 materials you could basically render 100 products with a few lines of code. And if only the material changes you just need the 10 different table tops and have the materials inside KeyShot.

I’m more a picture guy than a coder but with some loops and arrays to store values you get far. That modelList for example which in this script holds all filenames.

Hope this was not too confusing, I tried to make things a bit clear. With your post my hands do itch a bit to try to fix some myself as well to get some renders done, just to see how it works.

Hey,
I took a quick look.
I can only agree with Oscars input.

I would like to add just add a few code examples to assist with your script.

So i assume you intend to:
Apply the material template “TWT” add that to the queue
Then Apply the template “SOT” and add it to the queue
etc.

What you script currently is doing is to first apply the Templates on by one, and then after all have been applied add a single rendering job

To do what you intend you need to add additional lux.renderImage calls and as Mentioned by Oscar.
Note: This script is designed to use a custom “renderImage” function (line 89-99) which uses lux.renderImage. The below examples will use that custom render function.

So the order would be:
Open file
Apply the material template “TWT”
renderImage
Open file
Then Apply the template “SOT”
renderImage
etc.

You also need to make sure that the new files use different names to not overwrite the renders already made.
You can do that by changing the “style” variable for each rendering. The custom renderimage function, uses the “style” to modify the output filename.

Here are a few code snipits to point you in the right direction.

So the simplest for someone with limited scripting experience would be to create multiple bloks like:

lux.openFile(scenePath)
template="TWT"
lux.setMaterialTemplate(name = template)
style=template
renderImage(cameraToRender, outputFolder, file, style, outputExtension, imageWidth, imageHeight, renderOptions)

For mor advanced users, its probably cleaner to create a new “for” loop that walks through a list of templates like this:

templates=["TWT","SOT","SET"]
for template in templates:
    lux.openFile(scenePath)
    lux.setMaterialTemplate(name = template)
    style=template
    renderImage(cameraToRender, outputFolder, file, style, outputExtension, imageWidth, imageHeight, renderOptions)

Note: The above example only contains the first 3 Templates you will need to extend it.

You will also need to considder the code on the lines 198-210, if those is critical for your renderings they need to be repeated as part of the blocks or loop as well.

I hope this helps.

Hi @oscar.rottink and @niko.planke,
Thank you very much for your help I really appreciate it. I am getting a lot closer. I must admit I used Chat GPT a lot to edit the code. The script is now saving a separate image per template per model which is fantastic.

However it is rendering the images slightly off center, despite saving the camera views as a centered view. I have also tried to change the default import settings so Keyshot doesn’t adjust camera to look at geometry.

I will also need to figure out how to change the naming convention to top view and front view.

Do either of you have any thoughts on this?

Vanity_BatchRender.txt (11.9 KB)


Hey,

Regarding the naming convention, on line 232 you probably want to change it to include {camera}:
outputFileName = f"{file}_{style}_{camera}_camera{i + 1}.{outputExtension}"

In case this is chatGPT code, here is a breef intro on what is happeing in that line:
It’s using something called string interpolation, so anything inbetween the curly brakets ( “{” and “}”) will be replaced with whats inside the brakets. In this case these are variables getting insterted.
You can find that explained in detail here:

Currently the Script will try to place your geometry on the ground, that might be the problem.
Try to modify line 39 and 40. I suspect the snapping to ground that causes your issue.
importOptions['snap_to_ground'] = False

I hope that helps .

To center your model, the script has to select the top parent node of the model and the use “centerAndFit(>>>camera_name<<<)”