
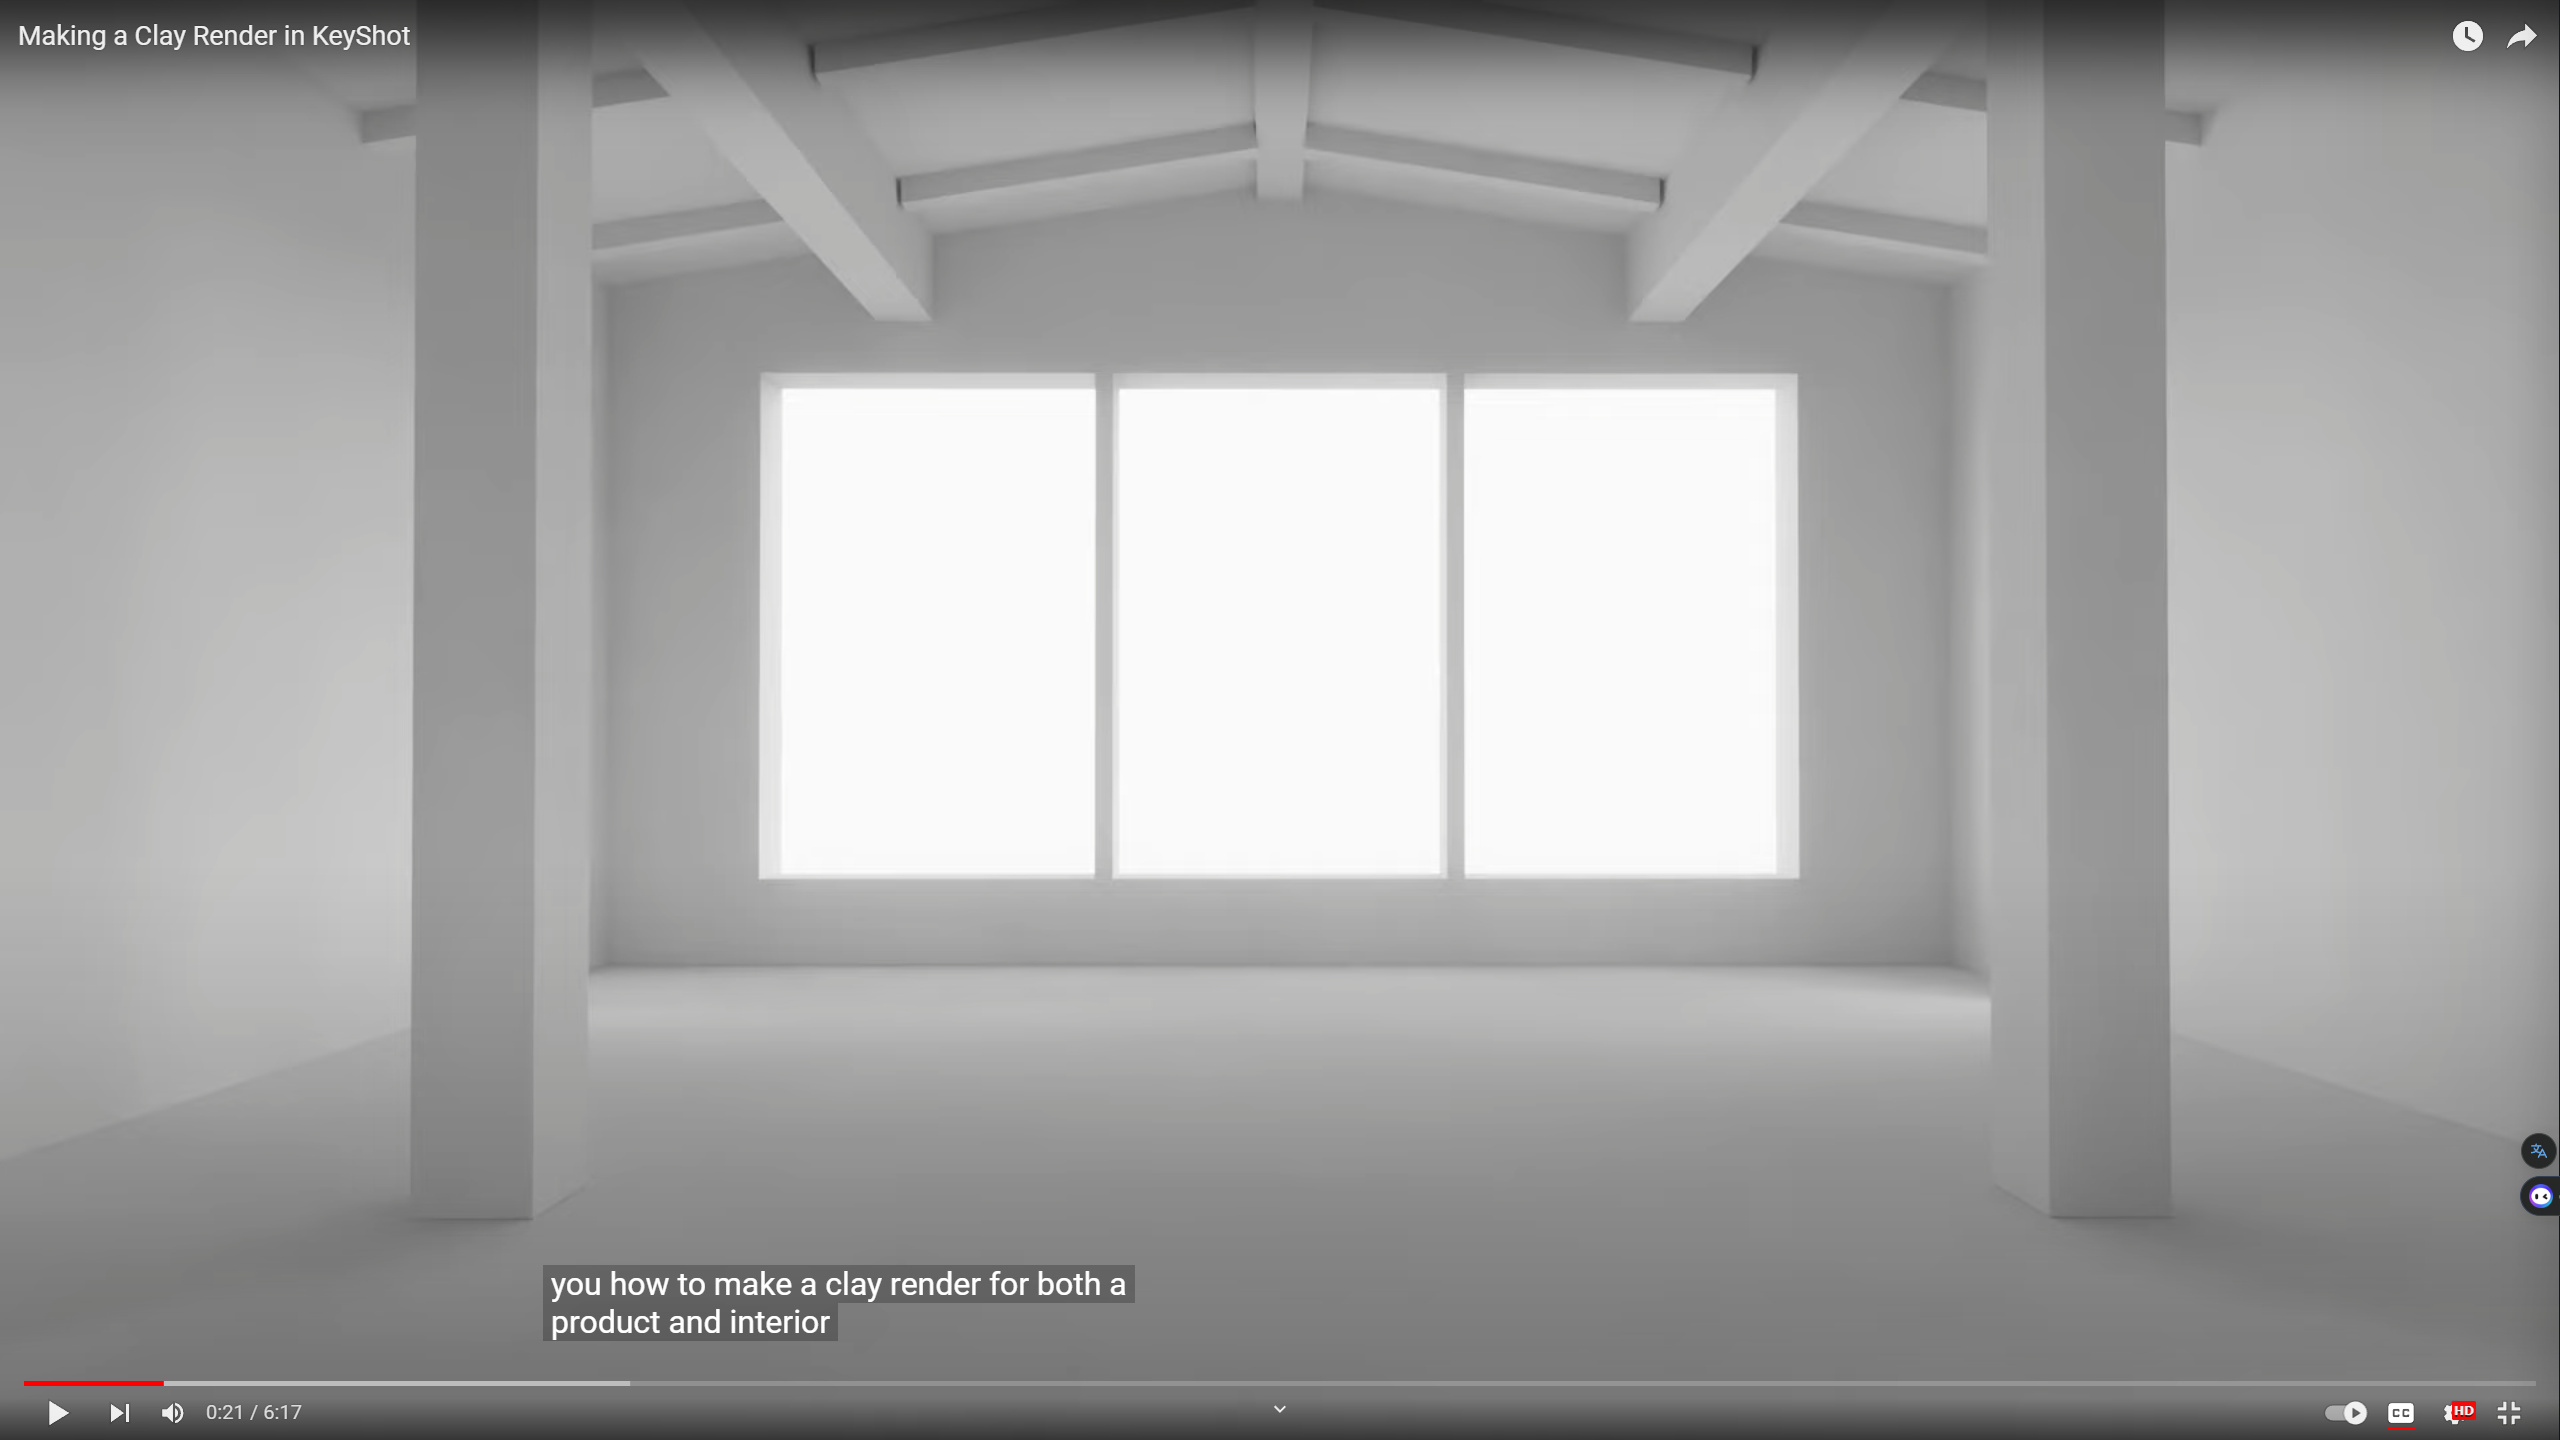
Anyone knows how to set a bright interior lighting environment like the above image, my renderings always like the following

Thanks!
I usually start off by adjusting Global Illumination and do some tweaking in the image tab, like exposure and contrast. With an interior render like that I also try to push as much light as possible through the windows, being careful not to blow out any whites.
If the “sun” feature or other HDRI’s aren’t enough you can try placing a plane outside the window and apply an area light so that it faces the window, which you can then easily control the intensity of. With such a setup you can crank the area light up a lot to get more light into the scene, if you keep an eye on white details so that they aren’t getting overexposed. You can do the same but behind the camera as well, placing a plane with an area light to push light in from behind. Can be a bit tricky to get it to look natural or realistic, but it has helped me on several occasions.
I work with caravan interiors, which means very long and narrow “rooms” with a few small windows, and getting proper lighting in those scenes have been my biggest problem as well.
Edit:
Materials also play a big role in what you’re trying to achieve. The image you’re referencing has a lot of bright colors on walls and floor as well as a lot of the furniture. That in itself will make it much easier to get a bright result compared to a dark brick wall and mostly dark furniture.
4 Likes
In addition to the feedback from Joakim I also noticed some things while doing an interior scene in KeyShot.
I was trying to compare a scene which was created for 3DSMax/V-Ray to KeyShot (will post results soon). And I looked how the scene was setup in V-Ray as well because it was so much darker in KeyShot.
I noticed in 3DSMax on every window there was an area light helping pushing light into the interior. So basically just outside your normal window you create an area light with the same size so you get more light in the interior. That really helped a lot as well in noise reduction as rendering speed for a ok result.

This is how the lighting setup looked like for the scene I was doing. It had a lot of windows so also a lot of area lights. This was all in addition to the sun which was used to be the base light.
1 Like
Another option is that if your lighting ratios are good to you, you can always just use the image tab to increase the overall exposure and adjust it this way so you don’t have to rematch the light ratios from light to dark. You also can adjust the curves as well in the image tab and just have it post process the results you want to fine tune the light ratios so you don’t have to keep messing with the HDRI or light geometry.
1 Like
Yes, you’re right, I found that when I change the wall to the normal white wall, it’ll get much brighter than the red bricks do, and another easy way to make the scene more brighter is to play with image tab, like explosure.
Thanks for your advice, I will try it with more area lights beside the windows, and explosure in image tab is also a good choice to get a brighter scene. Another problem is what you mentioned above, the noise, I always confused about if I did something wrong that my scene always get a lot of white noise while the blogger on the youtube alwyas show a clean and bright light environment, I don’t know why
Yes, adjusting exposure bar in the image tab is a good and immediate way to get a brighter environment, thanks.
You mean those bright single pixels where it should be dark? Those are fire flies. You get a lot more of them if you have caustics enabled in combination with lights like spot lights.
They are a bit hard to prevent I think, sometimes I try to up the sample slider for some lights but that doesn’t give me a better result most of the time. Another thing I try is to check if there are no objects around which have a reflective surface that’s too bright and close to white. Like keeping the value of the RGB below 230/230/230.
I was working on a interior render with a black fabric chair and there were quite some fire flies on the chair which, I think, were caused by the light above it and maybe it’s reflection on the outside of the lamp which is chrome. But since the chair is a very rough material I don’t really understand why it puts those white pixels there since it’s not a glossy surface at all.

This is the chair and you see the white pixels basically at every surface. The most annoying thing is that in this scene a longer render time gives even more of those fire flies. So you really need to use the denoise which in return ruins some of the rough fabric-like surfaces.
1 Like
Have you tried enabling photographic mode in image styles? Then, increase brightness on lights significantly, then increase GI as suggested? Also, use the exposure slider in the image style tab. Those should help.
1 Like
Yes, I agree with you on that, it is also the same annoying thing to me.